
If you own a VBM Domobar Super Analogic HX, occasional maintenance and servicing are part of keeping it running at its best. Some components—like the grouphead and steam/hot water wands—are easily accessible from the exterior for routine cleaning and upkeep. Other internal components, such as the boiler and pump, require opening the machine to reach them. Below are step-by-step instructions to help you safely and easily remove the panels to access the interior.
Notes: The instructions below are for the VBM Domobar Super Analogic HX. This should also work for the other VBM models.
Before you begin: We always recommend powering off your machine and allowing it to cool completely before starting any service. Remove any loose components, including the portafilter, drip tray, and top lid. Unplug the machine and remove the water tank. Accessing certain internal components may require tilting or turning the machine. Taking these steps beforehand helps prevent burns, avoid scratches to the machine, and reduce the risk of water spilling from the tank.
Before you start, it is best to power off your machine and allow it to cool. This helps prevent burning yourself from touching certain parts inside.
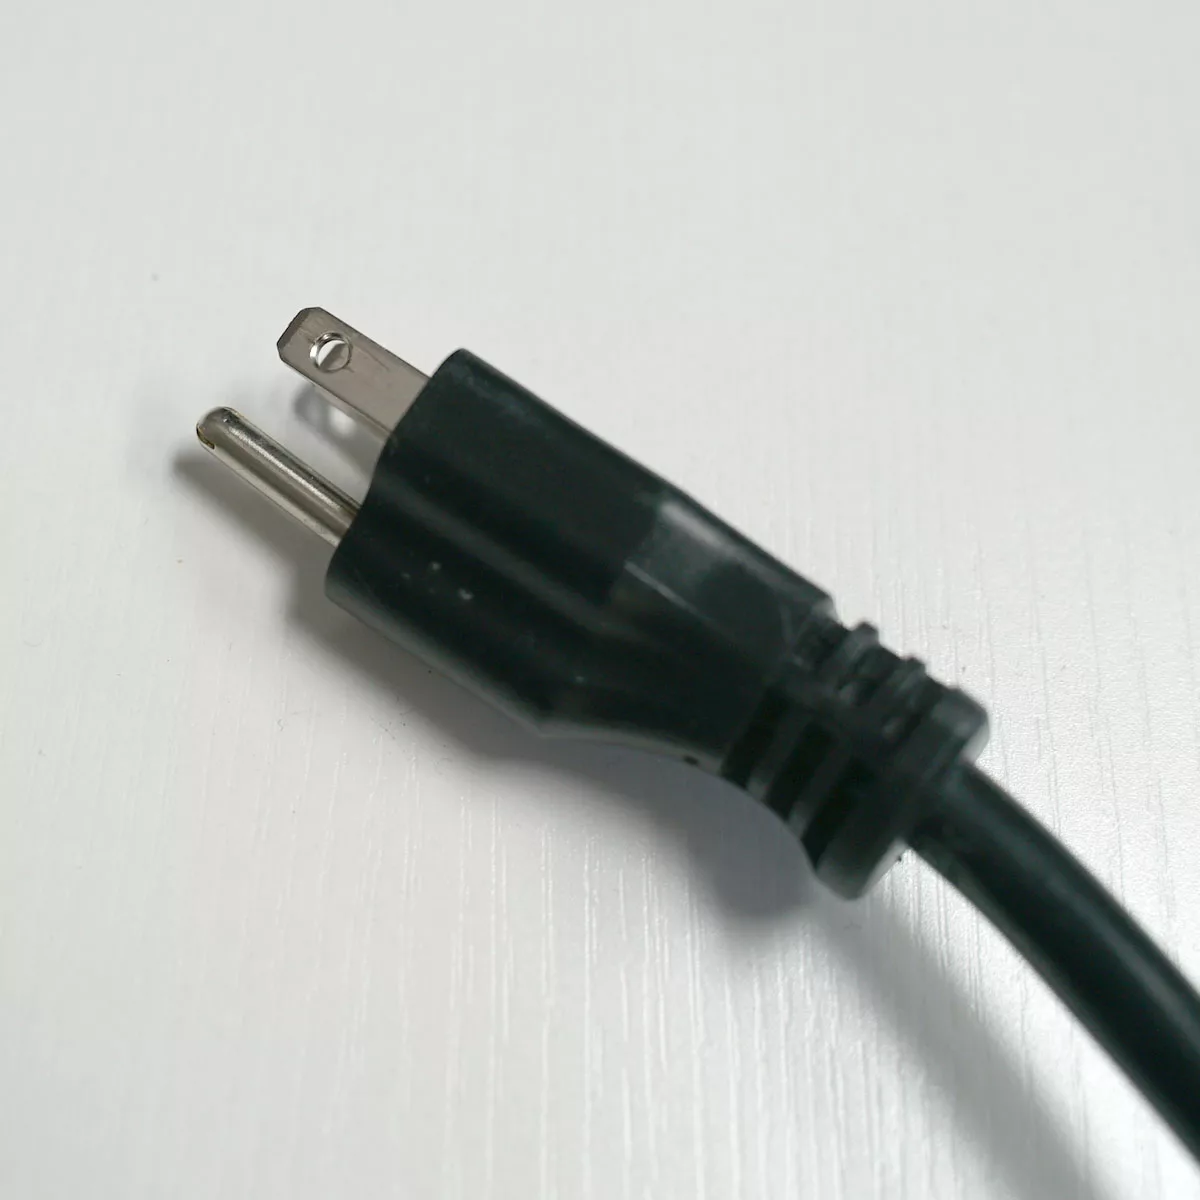
Unplugging the machine from the outlet is another safety step. Especially when touching any electrical parts inside.
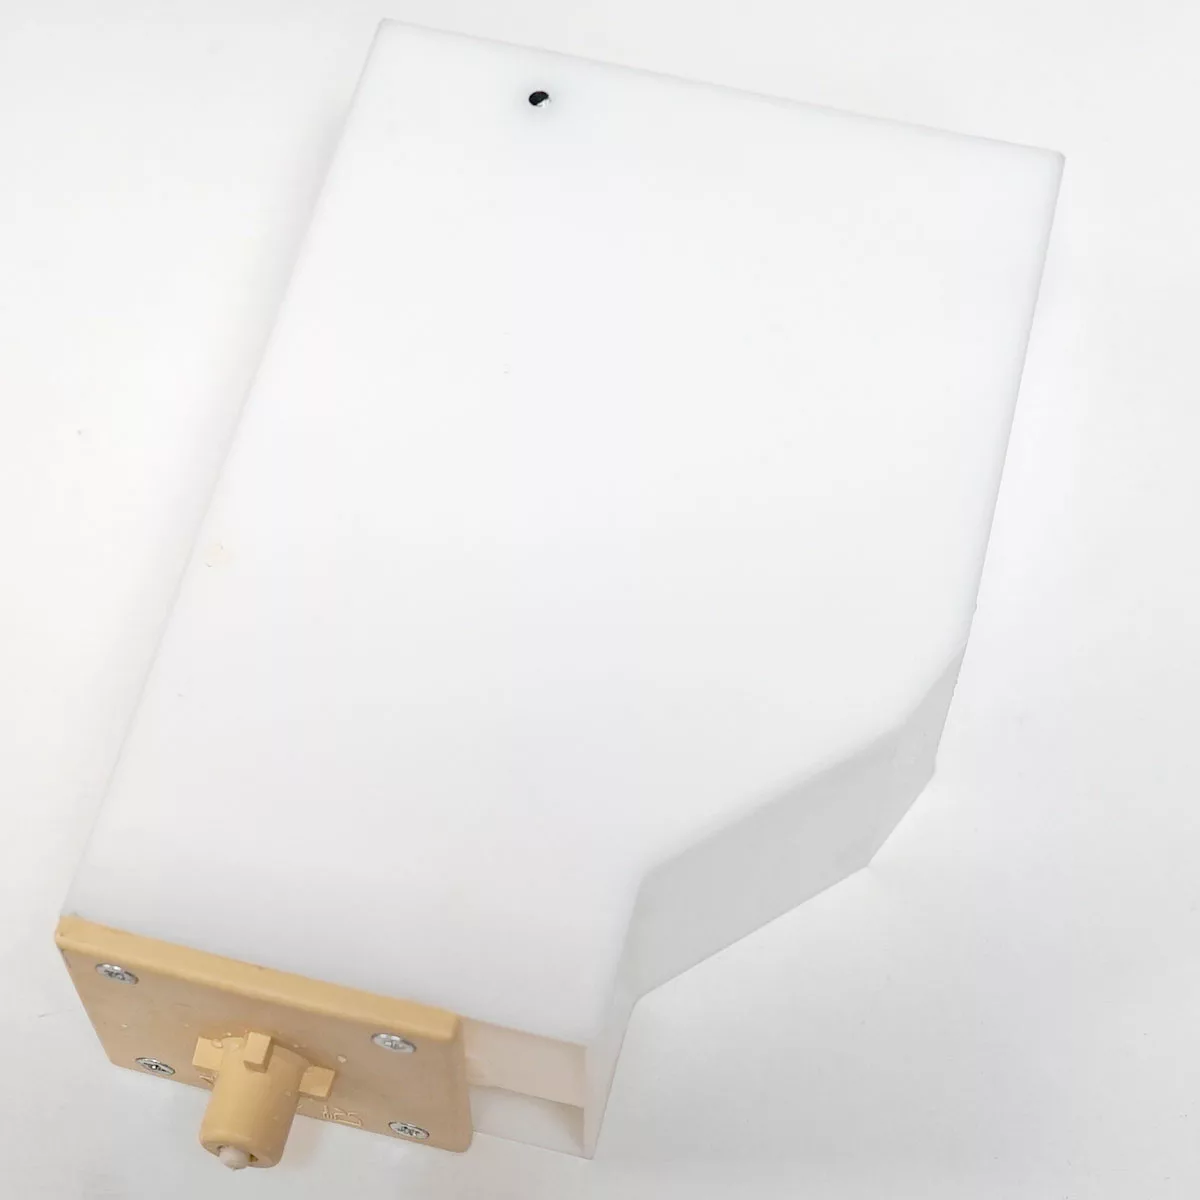
If you are using the machine tank mode, it is also important to empty and remove the water tank. This helps prevent spilling water accidentally into the machine as you are working on it.
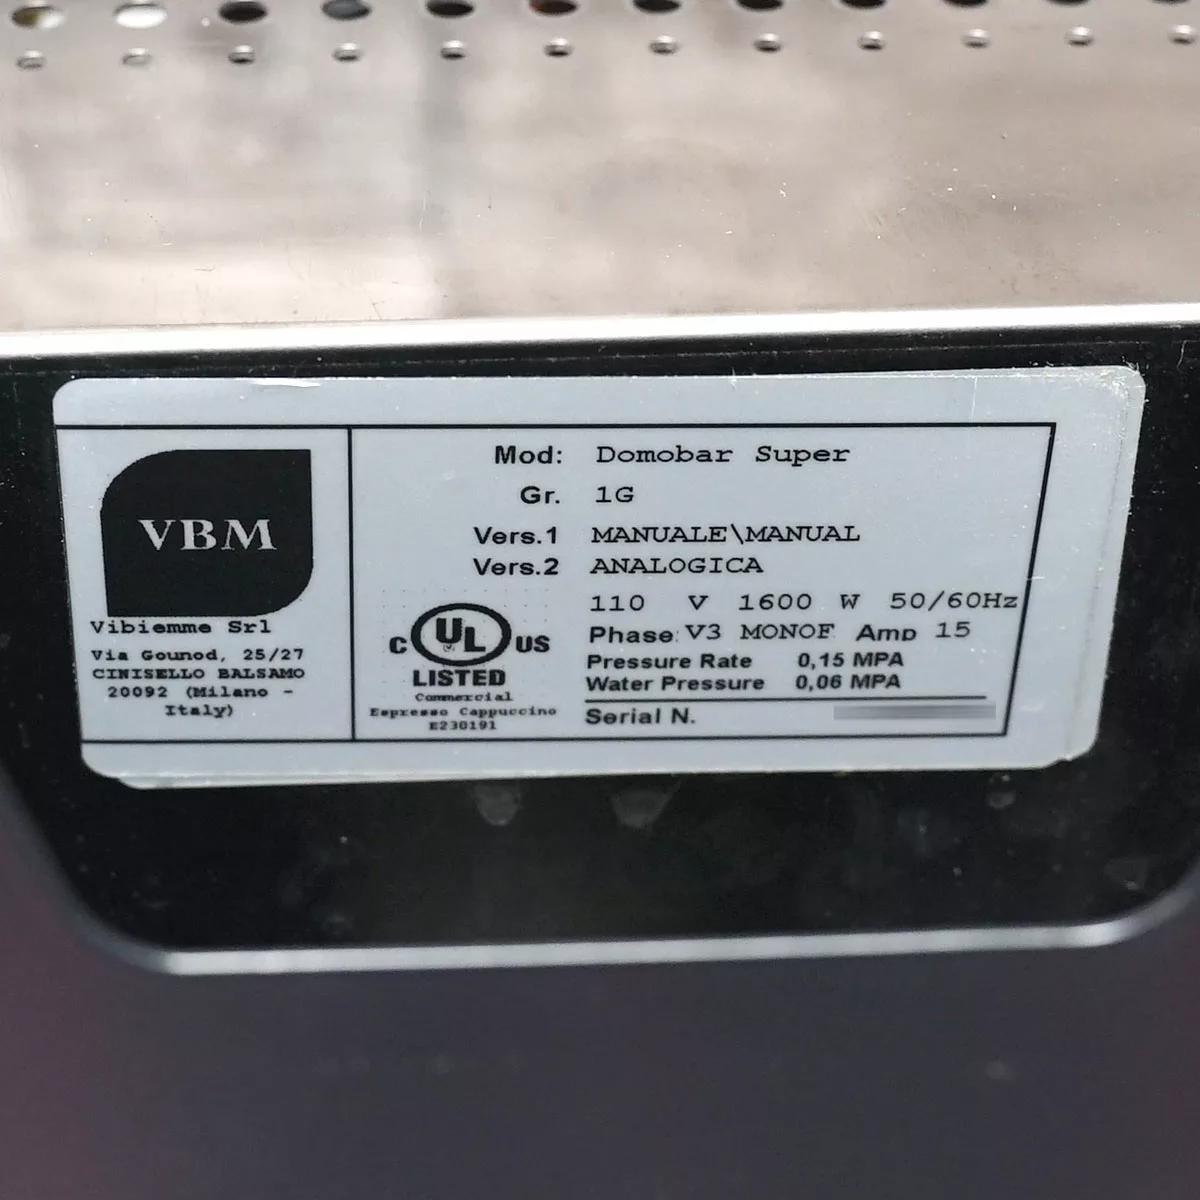
Behind the water tank is the serial number sticker.
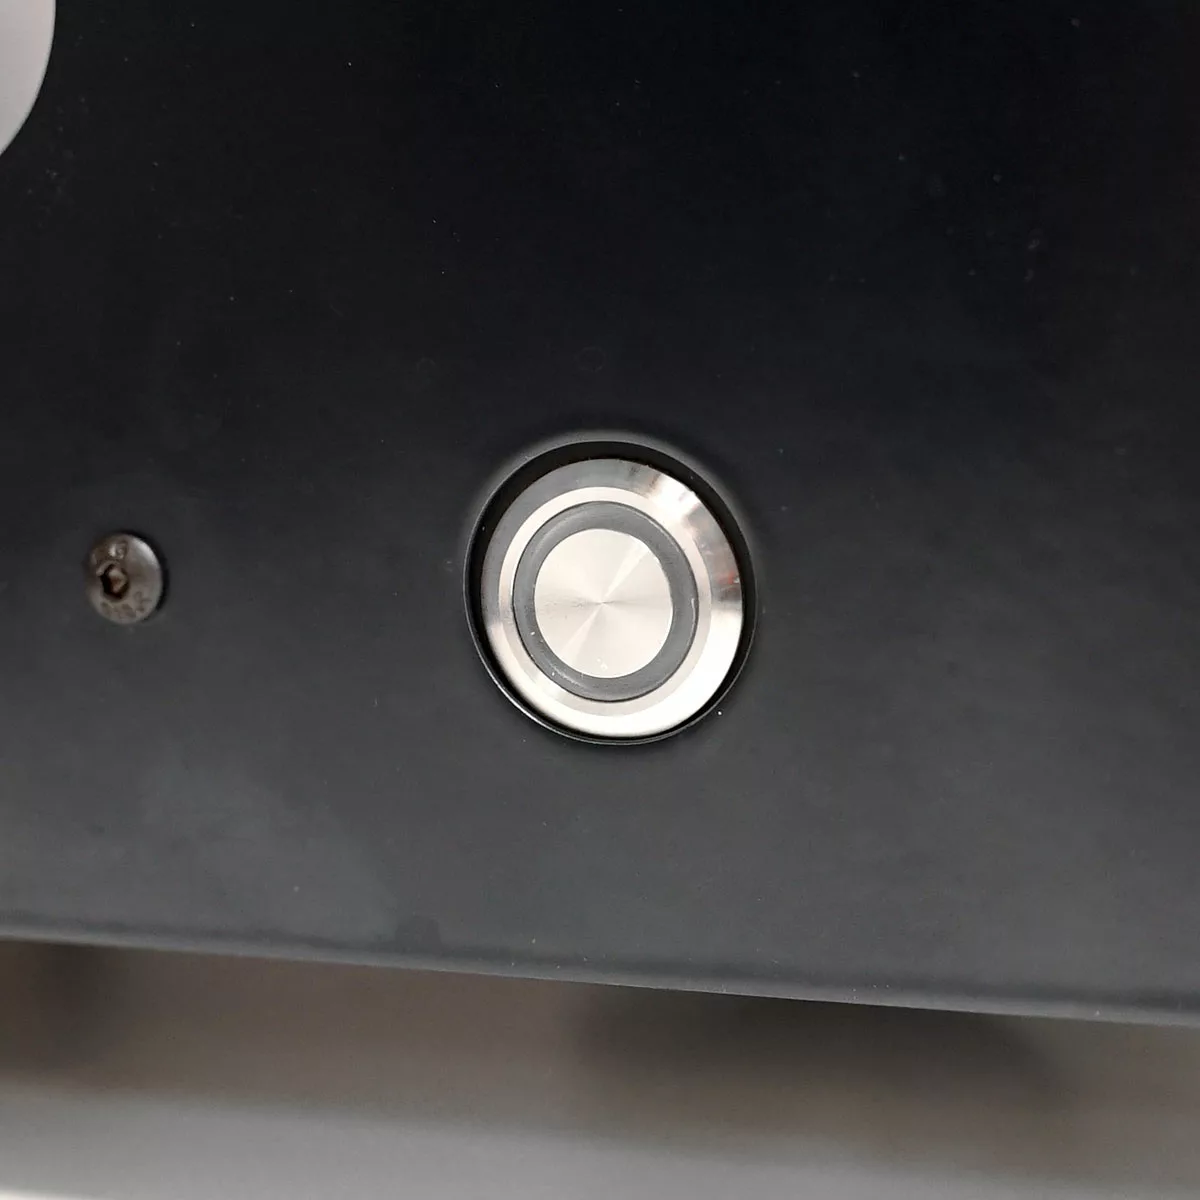
You can adjust the pressurestat through the top grill as seen above.
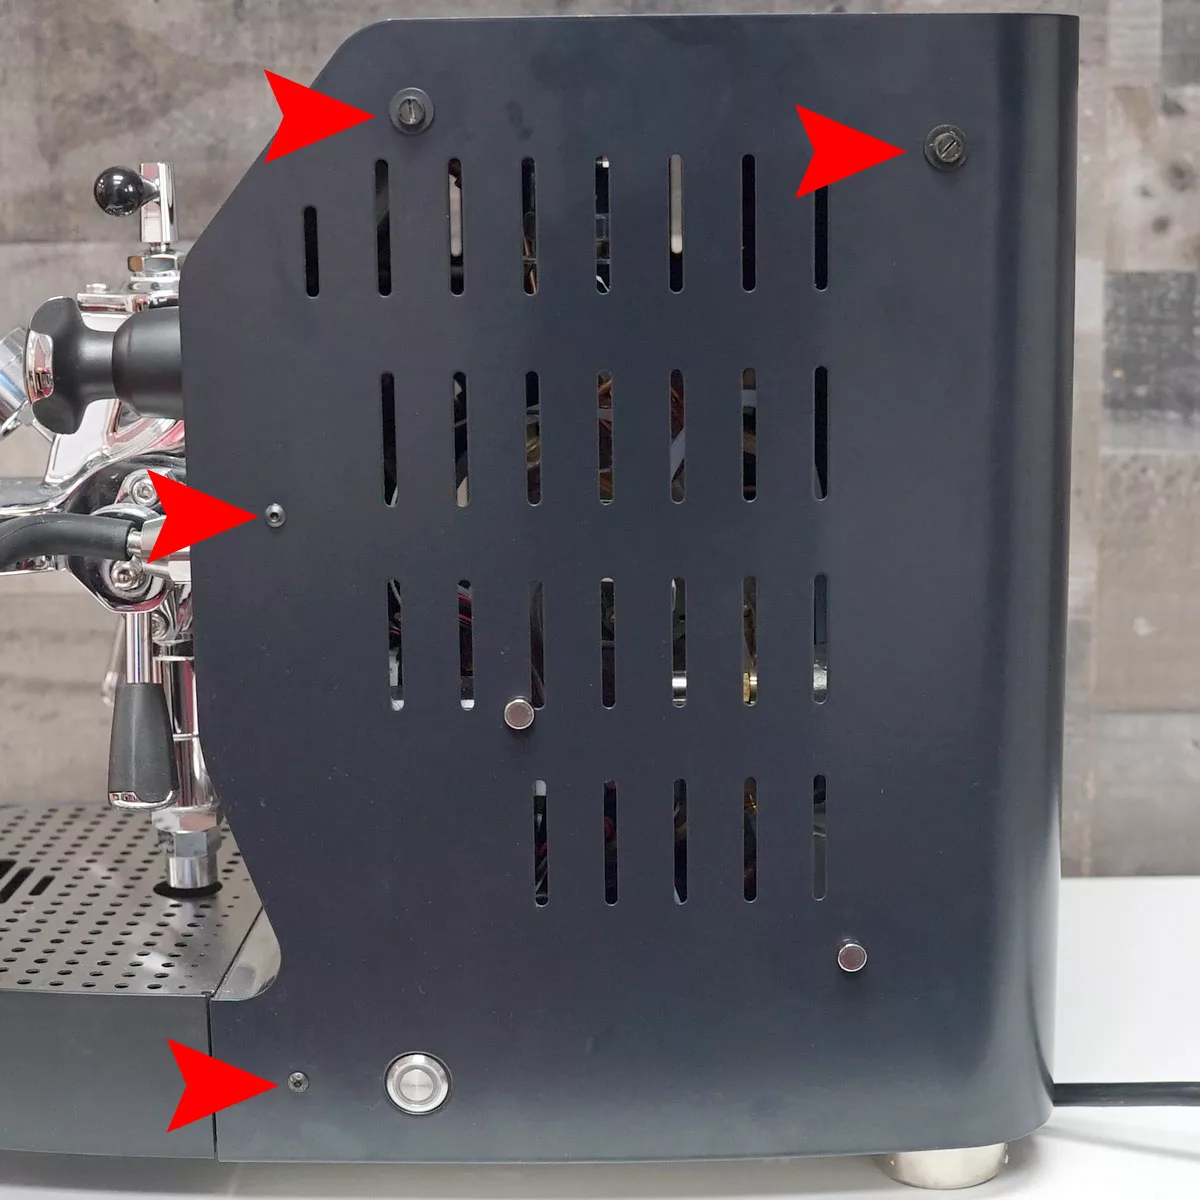
To remove the body panel, there are 4 screws on the left & right sides. The top 2 screws are flat-head. The other 2 are Allen keys.
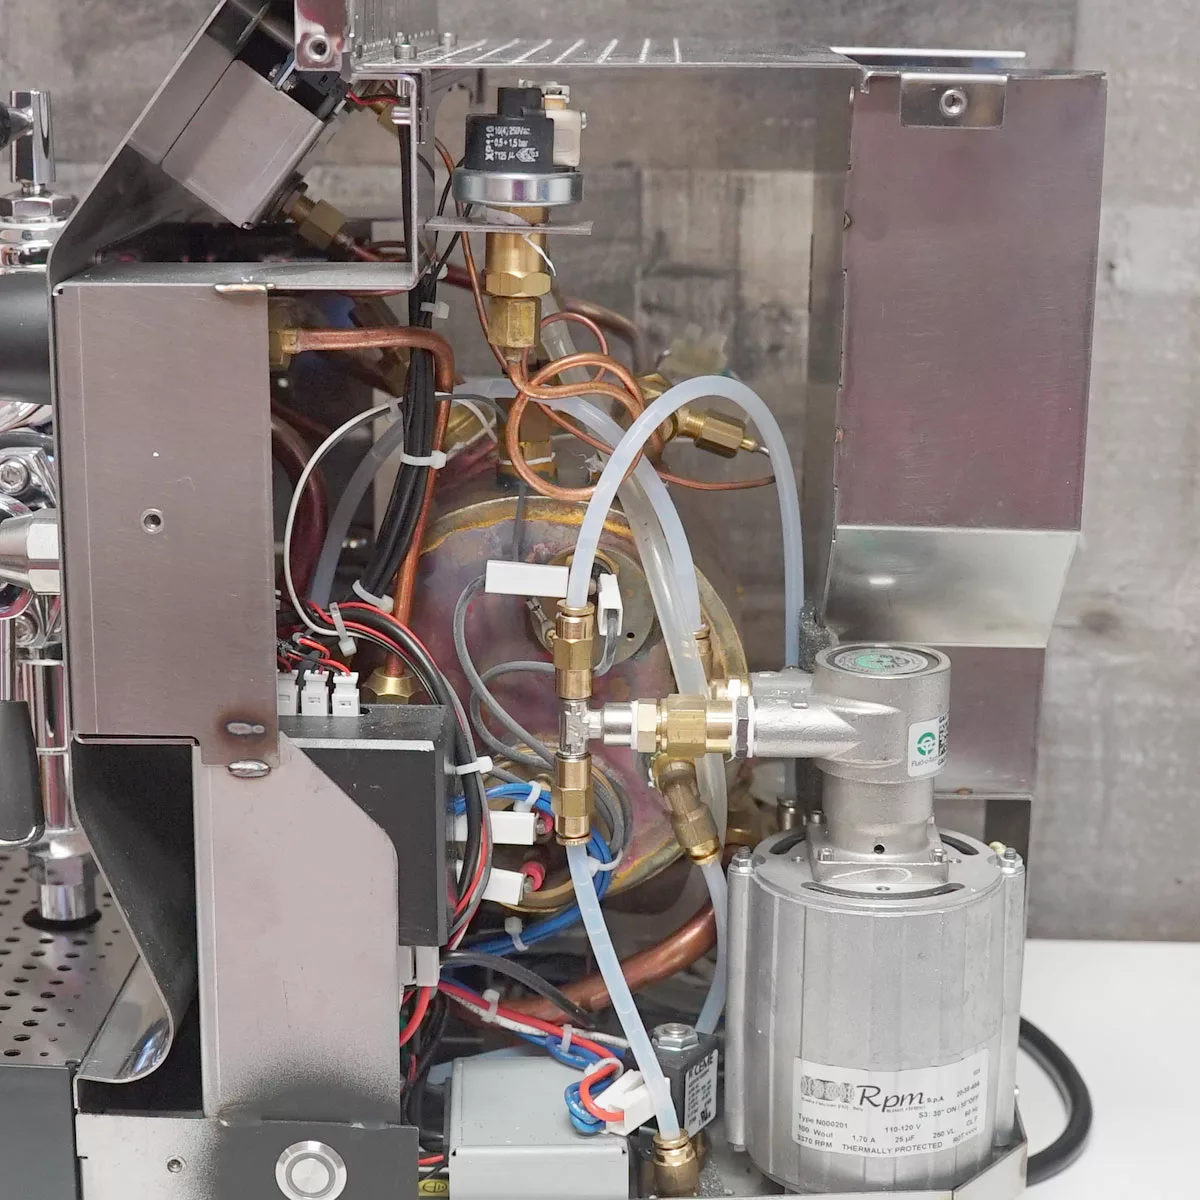
This gives you side access to the internal components. On the left side, you can access the pressurestat, brain unit, boiler safety reset, heating element, pump & motor, and other parts.
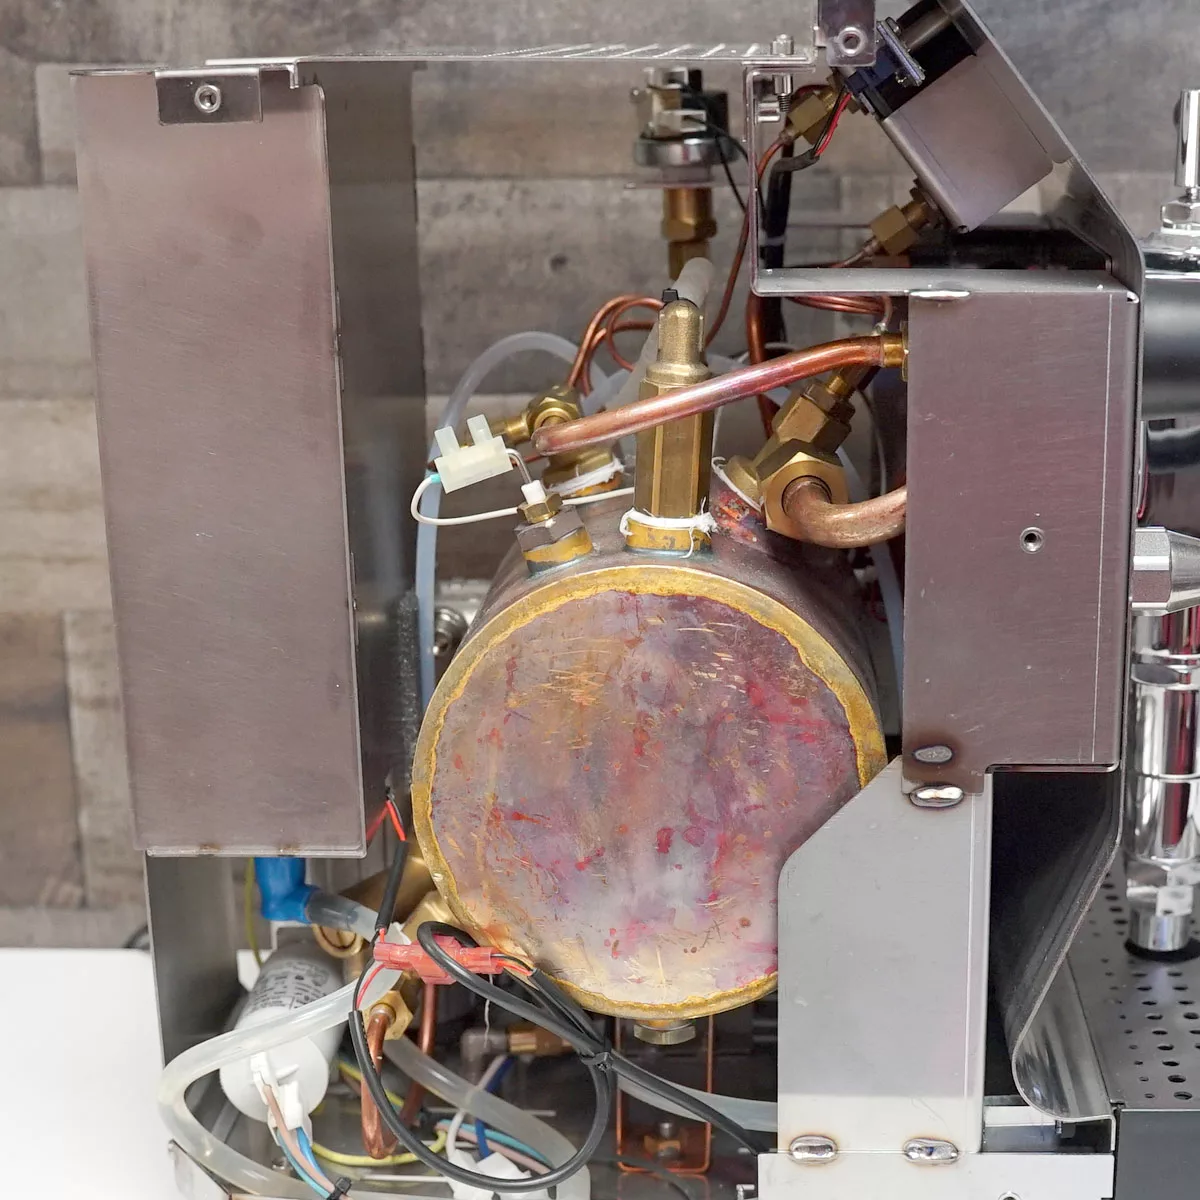
On the right side, you have access to the boiler probe, the overpressure valve, and other parts.
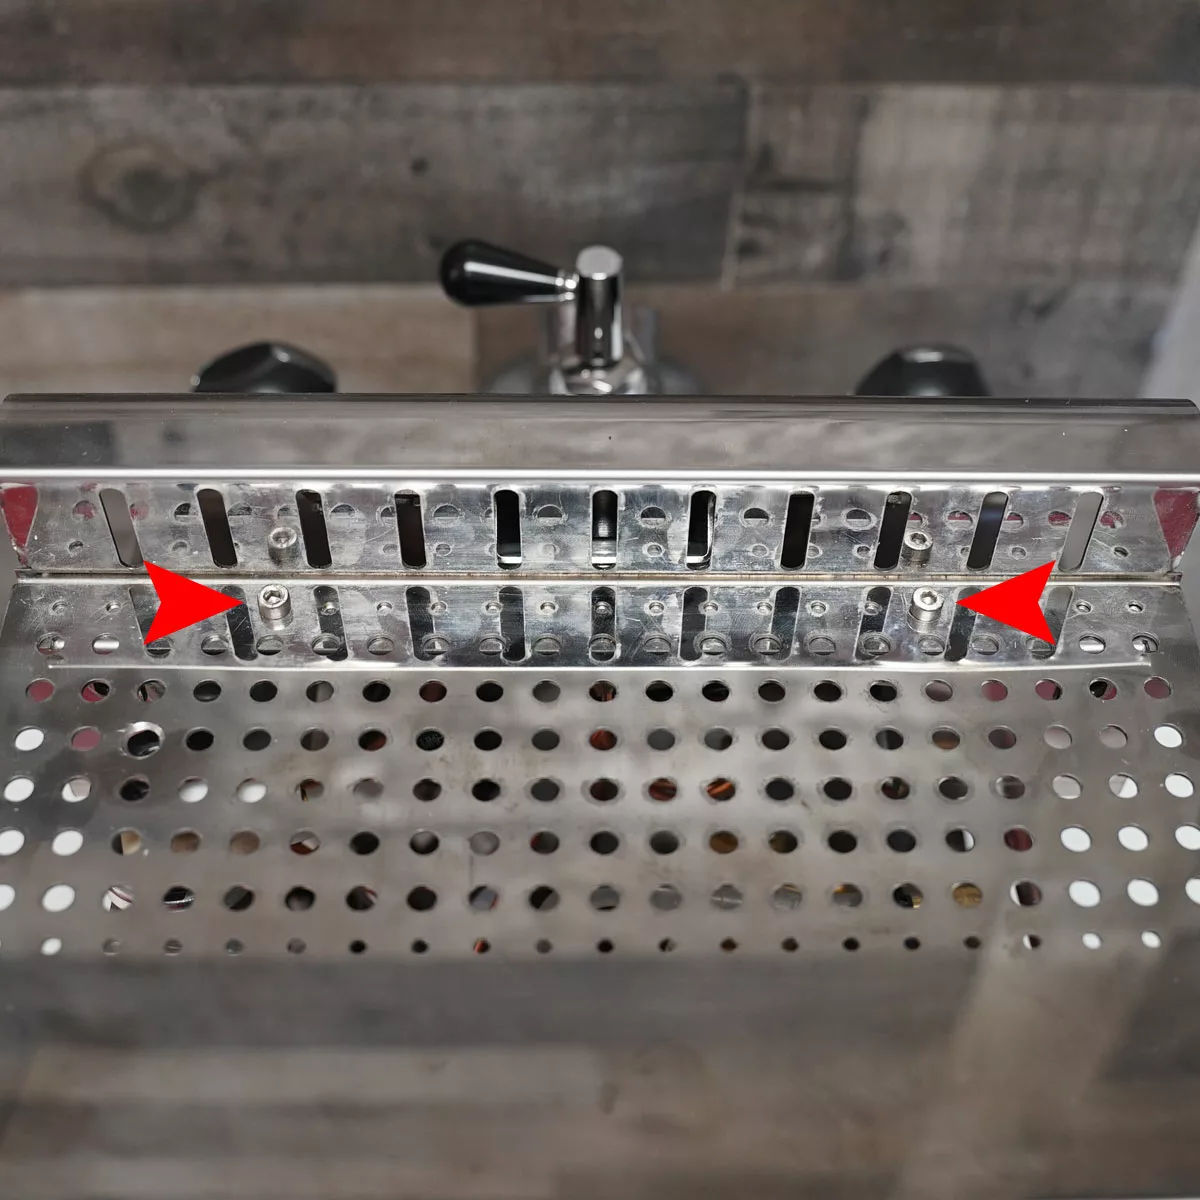
The back plate can be removed to allow you to work on the inside more easily. First, there are 2 Allen key screws on the top grill.
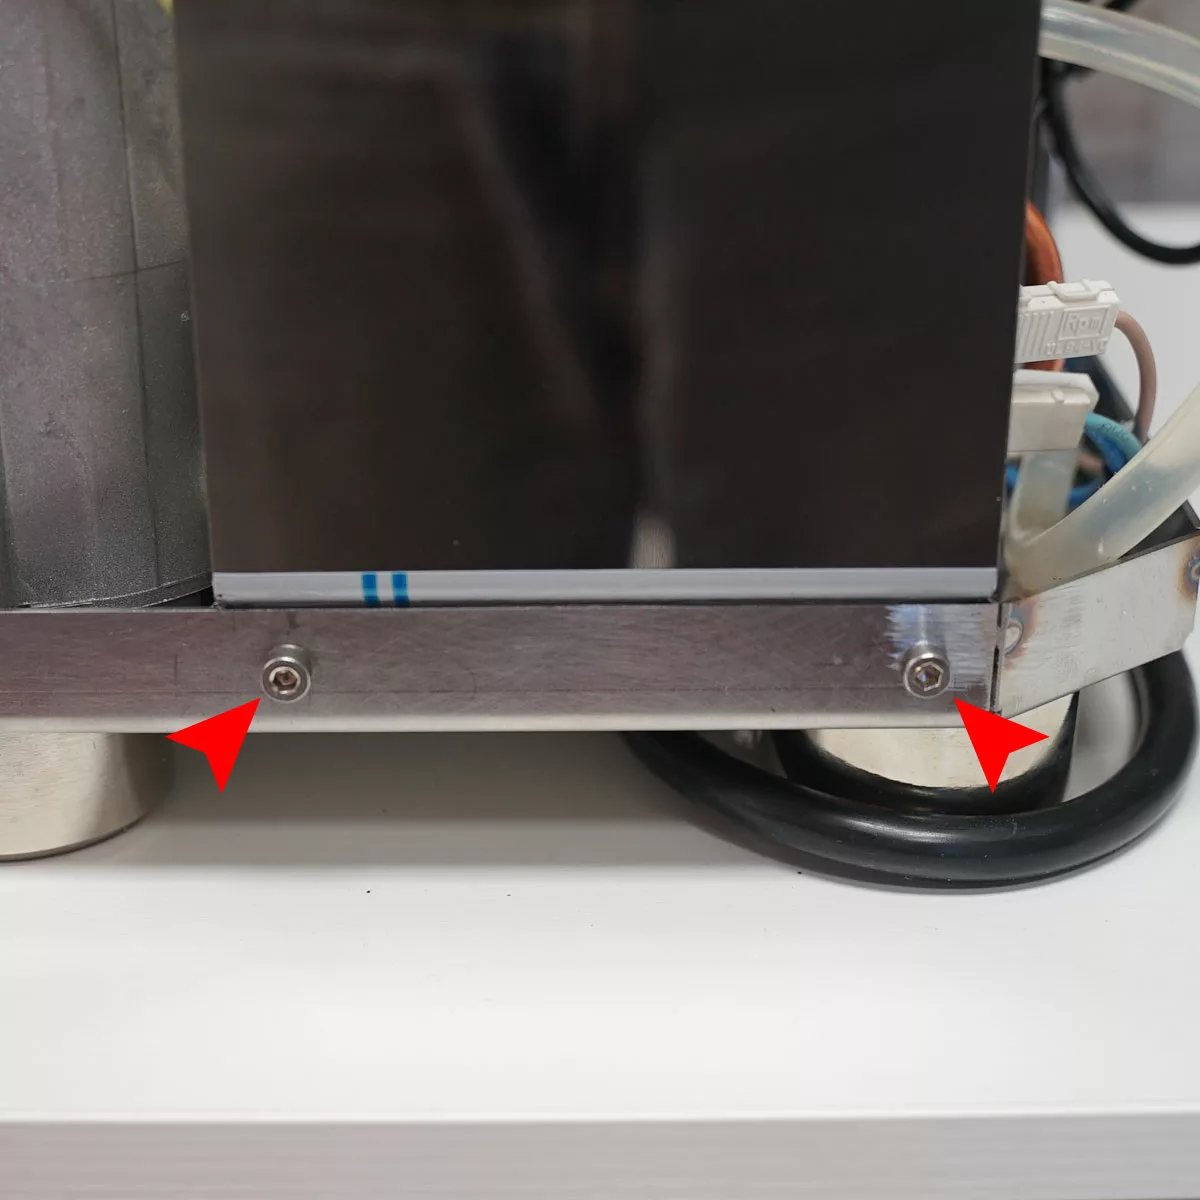
Last, there are 2 more Allen key screws near the bottom rear.
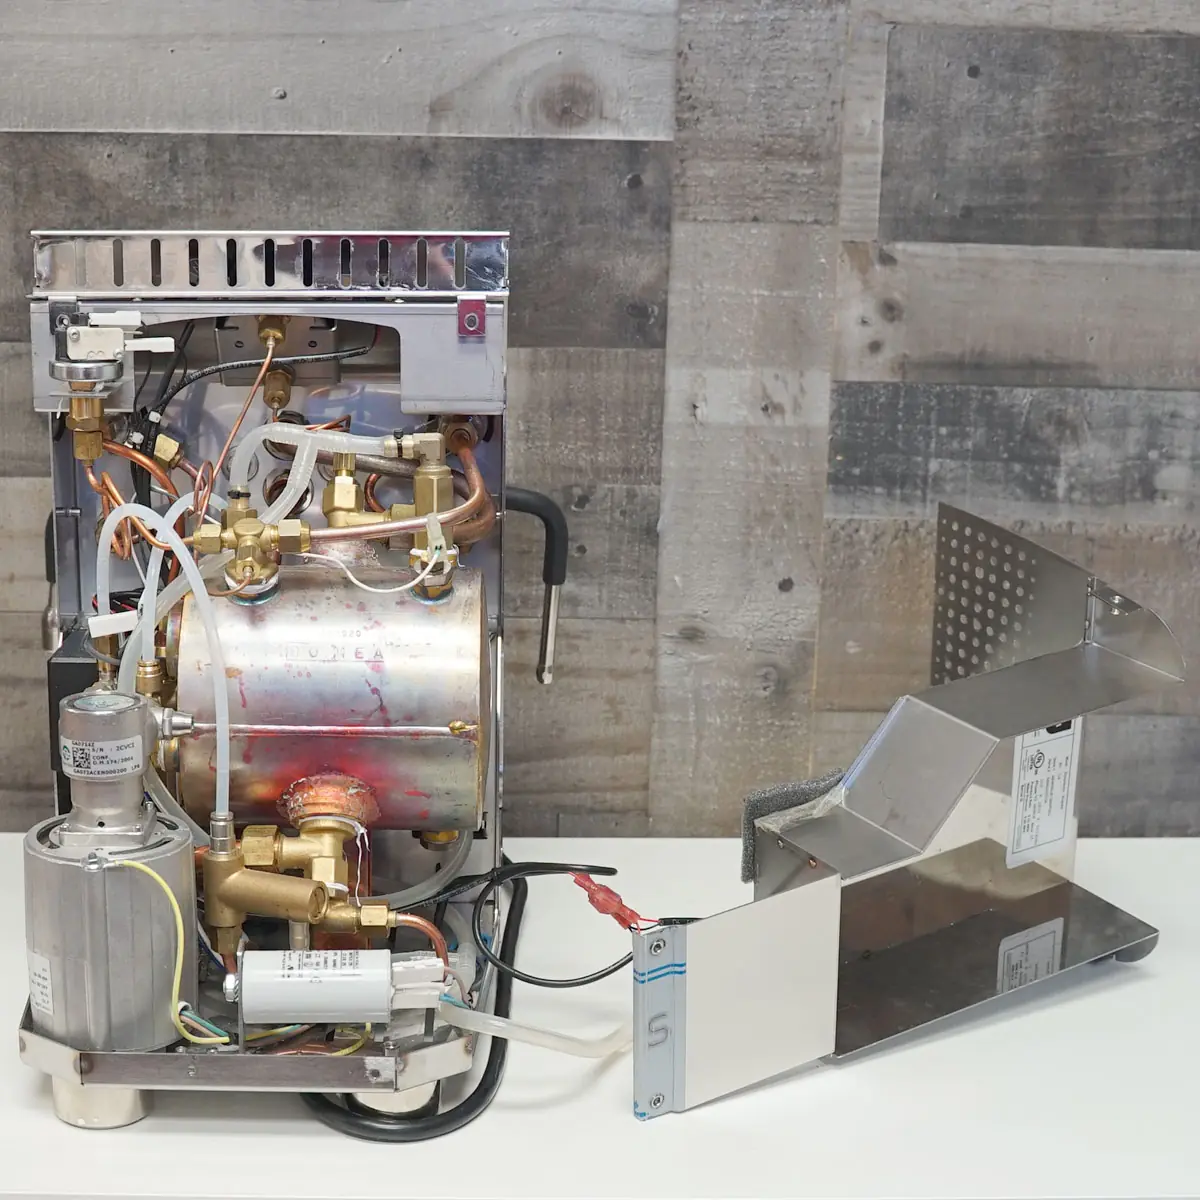
The back plate can rest on its side easily.
Please note the above information is subject to copyright. It cannot be published by any means without the expressed written consent of 1st-line Equipment, LLC.