1st-line's Espresso Blog, Posts
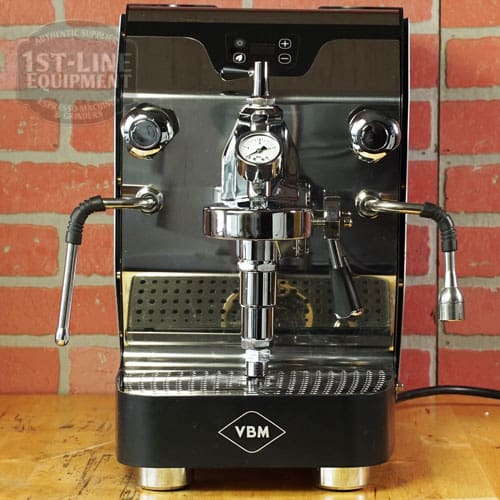
How To Prime VBM Junior Digital Espresso Machine
May
A common problem that comes up in any espresso machine is when it powers up as normal, but no water seems to come from the grouphead or it does not fill the internal boiler. This usually results from an air pocket that formed up in the pump from the espresso machine sitting idle in as little as two (2) weeks. Normally, this is a simple fix when there is an in tank hose we can connect to (review our video). However, there are some espresso machines that don’t have an intake hose to pull water from the top of the reservoir. For example, the VBM Junior Digital feeds the water from a connection at the bottom of the water tank. This is known as gravity feed. To remove the air pocket, such as on the VBM Junior Digital, it requires us to open the machine to get direct access to the pump.
First, power off your machine and unplug.
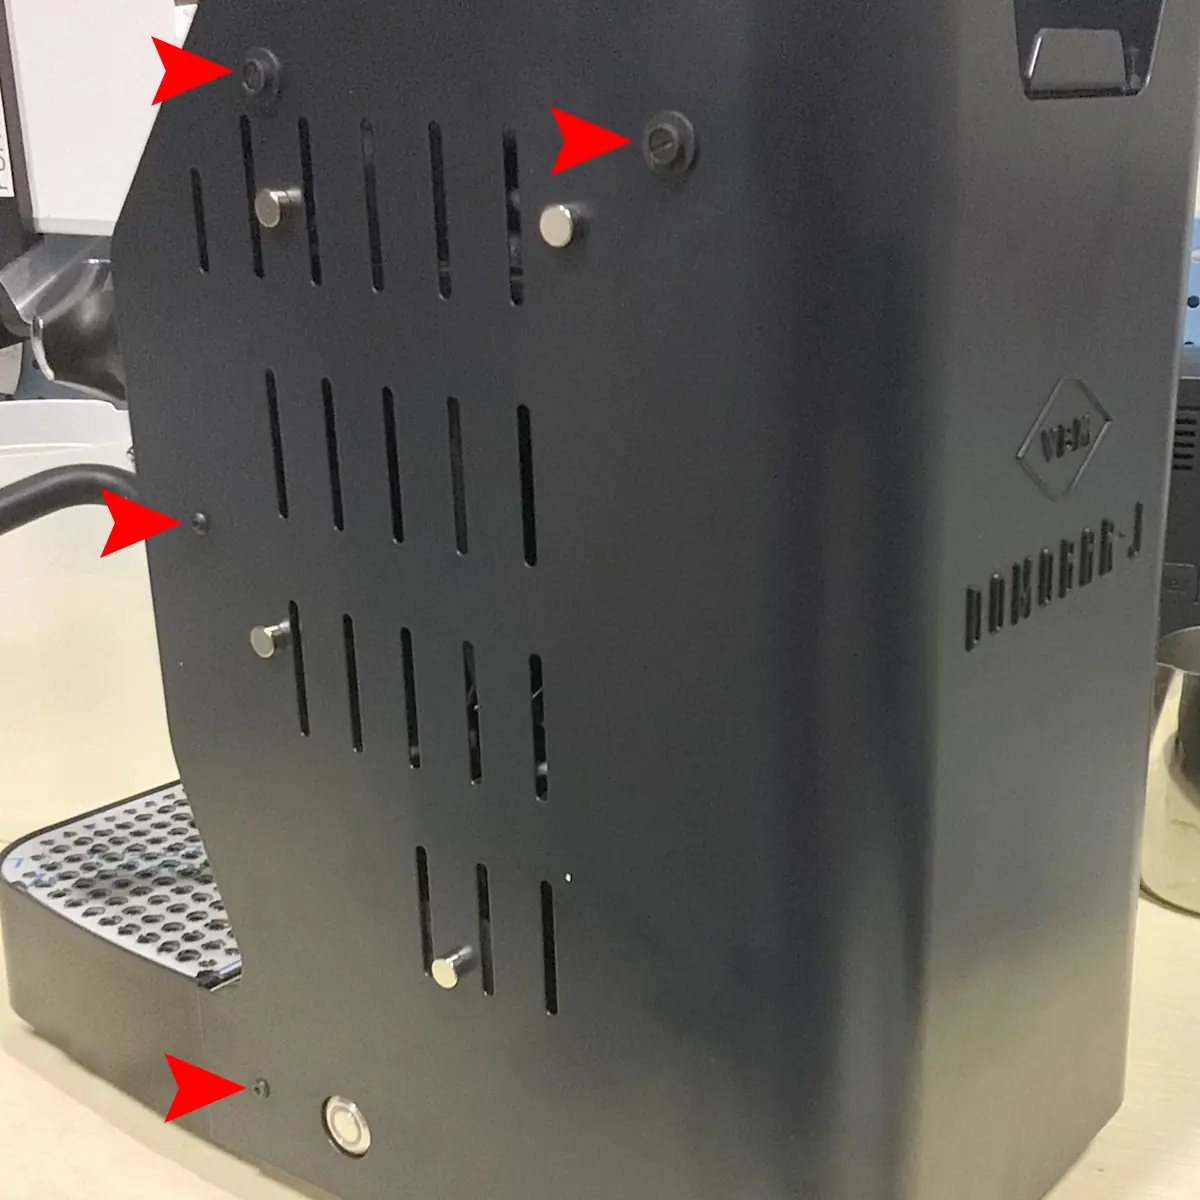
Next, we need to remove the body panel. There are 4 screws on each side (8 in total). The top 2 screws need a thin flat-head screwdriver. The other 2 screws need a 3/32″ Allen key wrench.

For the next steps, we need to temporarily remove the water tank.
Locate the vibration pump near the back middle. We need to disconnect the hose from the vibration pump as indicated above. Before doing that get a small dry towel and place it underneath the hose.
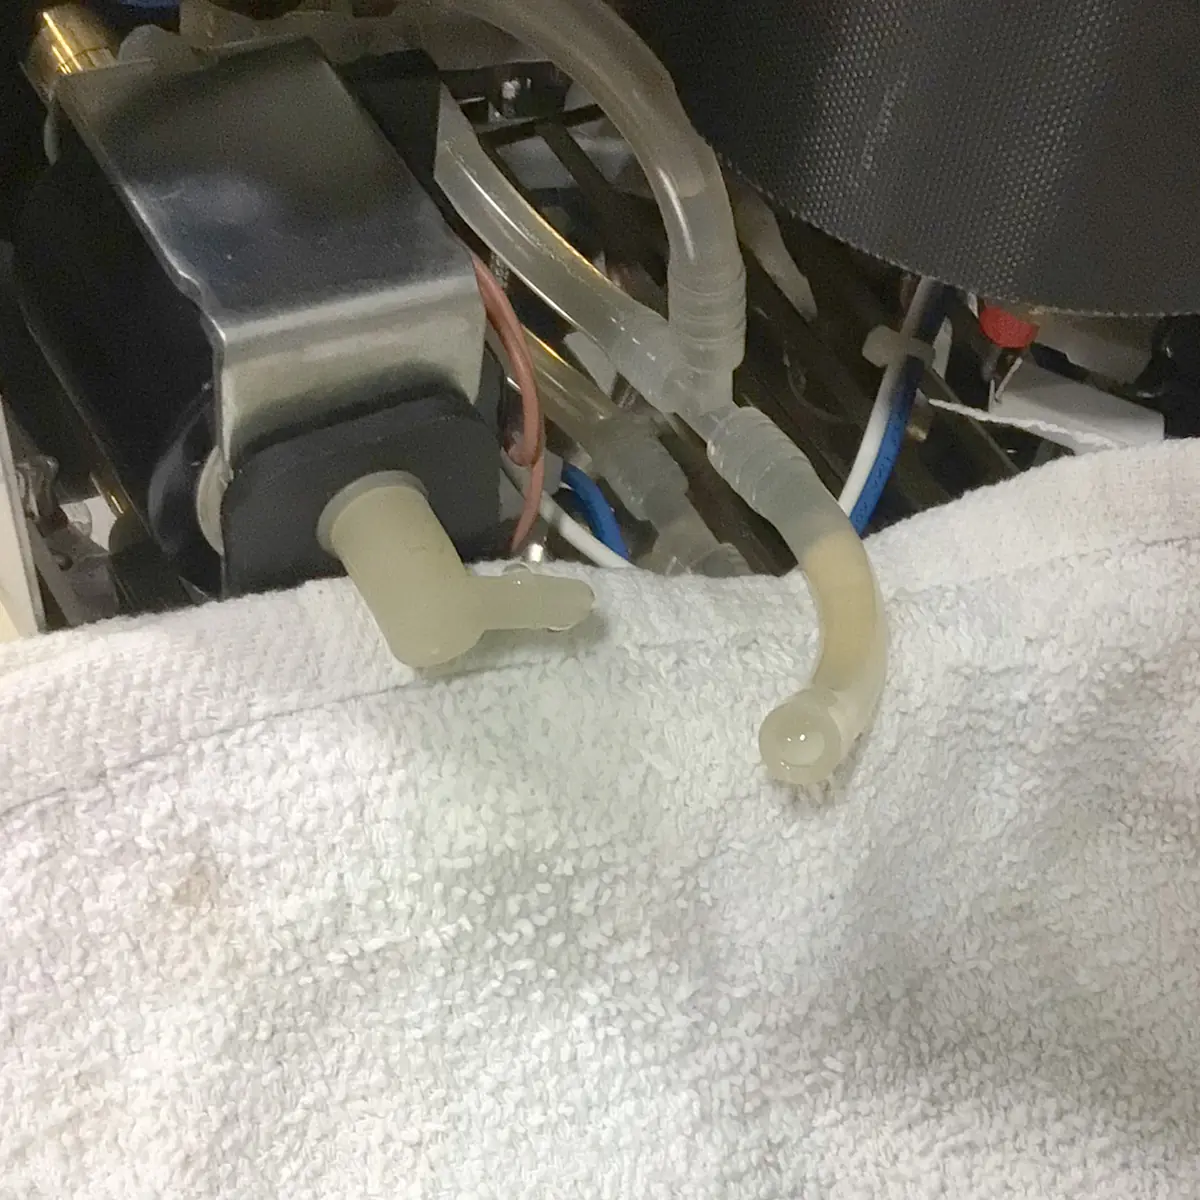
Once you remove the hose, some water may drip out. If you didn’t remove the water tank, A LOT of water will come out.

For the hose, we need to plug it. In the picture above we used a smaller hand pump. On the vibration pump we attached our hand pump, which is filled with water.
After the setup above, install the water tank. Plug the machine back in. Power on the machine. Lift the grouphead lever to activate the pump. As you hear the pump running, squeeze the hand pump to try to force water through the pump. If you need more water, turn off the machine, disconnect the hand pump and refill it. The pump should start to suck the water from the hand pump.
NOTE: Performing the above step shouldn’t take more than 15-30 seconds. If this doesn’t work, power off the machine and contact us.
Once the pump is acting normal, you can reconnect the hose to the pipe. Again it is best to temporarily remove the tank, as water will actively flow through it.