Posts
Carimali Bubble: Swap Triac
Disclaimer: The technical statements, support, information and recommendations contained herein are believed to be accurate as of the date hereof, but 1st-line Equipment, LLC does not make representations or warranties, express or implied, as to its accuracy, its completeness, or the results to be obtained. The information is being provided for informational purposes only and is intended for use by persons having adequate skill and expertise regarding the proper selection, use and application of the products and recommendations and at their own risk and discretion.
1st-line Equipment, LLC is not responsible for any injury or damages from such information. Please note that parts are available for purchase from 1st-line Equipment, LLC self service parts portal. These parts do not include any technical support. If you're unfamiliar with the technical aspects of repairing equipment, please contact a professional for proper evaluation.
By continuing to read further, you agree to abide by all the terms and conditions on this website. If you disagree, please leave our website.
If the unit overheats, the TRIAC may have been damaged from a surge. First, please power down the machine and unplug the electrical cord from the outlet. Shut off the water supply,
Second, once cooled down, please watch our video to remove the top panel. There are 3 screws to be removed and the top cover slides forward to you and up and out.
![]()
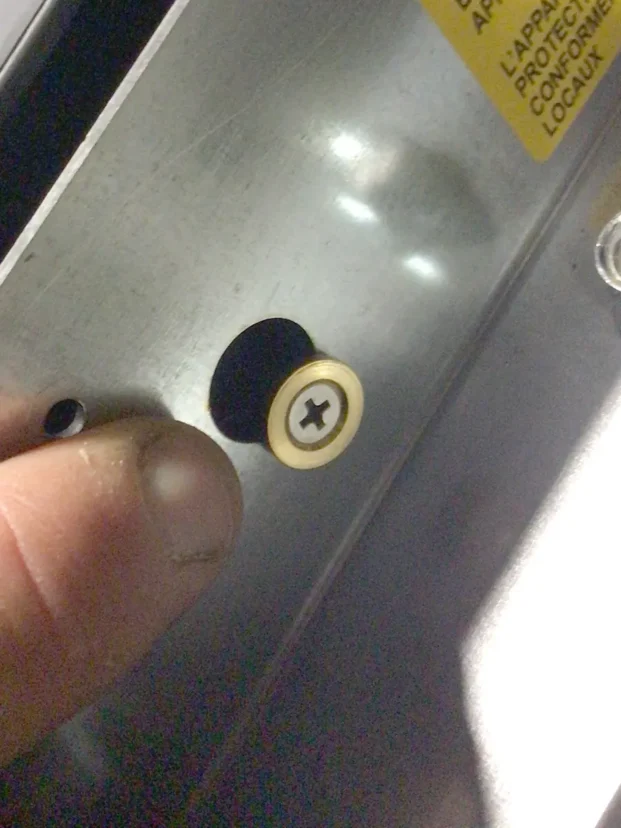
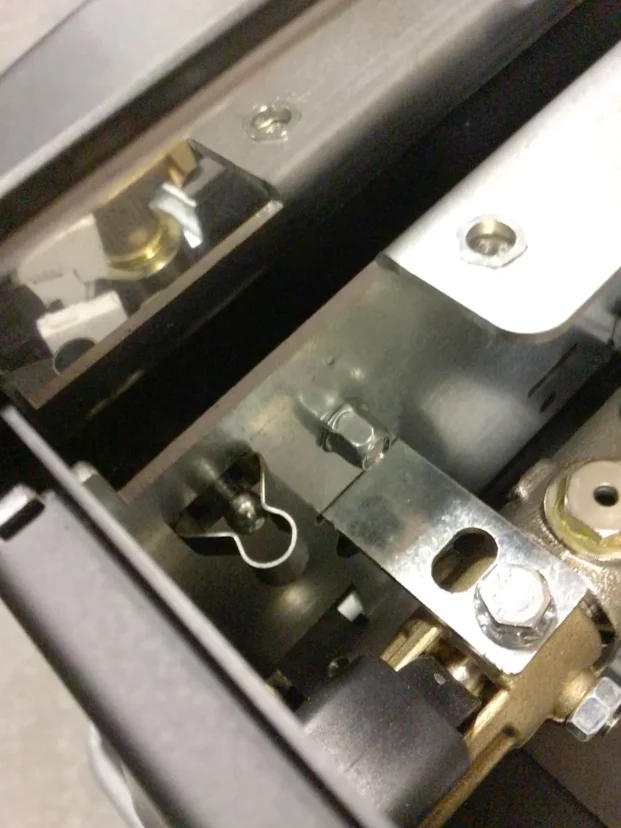
On the left side under the drip tray, this screw needs to be removed.
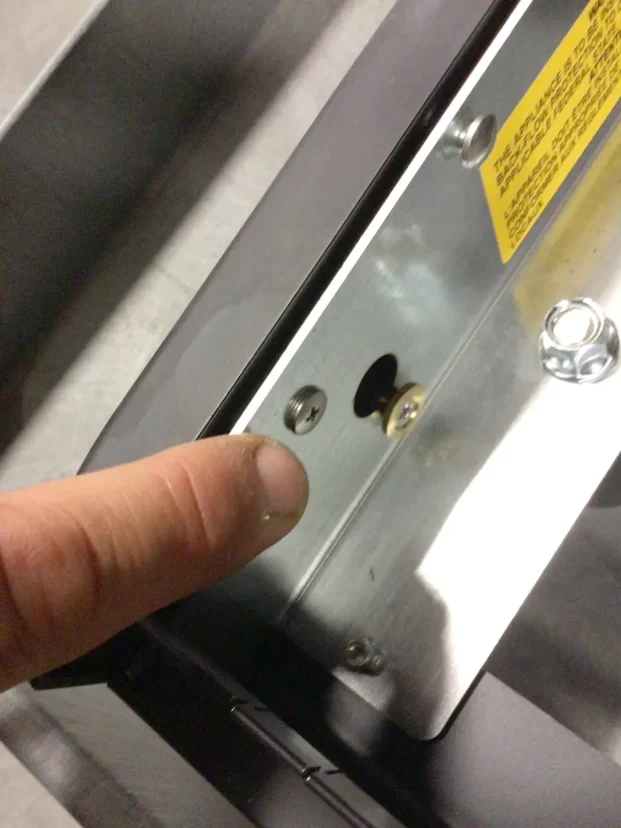
Was difficult to picture, there is a screw facing upward that needs to be removed. On the one group, there may be 2 screws.
Bottom right corner, there is a push pin that taken out of the holding clip. Shown removed as the upper portion of the left panel is pulled outwards by 1 inch. do not pull out too far as the body will damage at the bottom.
The the panel is slid up, and the holding washer and screw on the left side under drip tray and same in rear which can not be seen, allow the panel to come out.
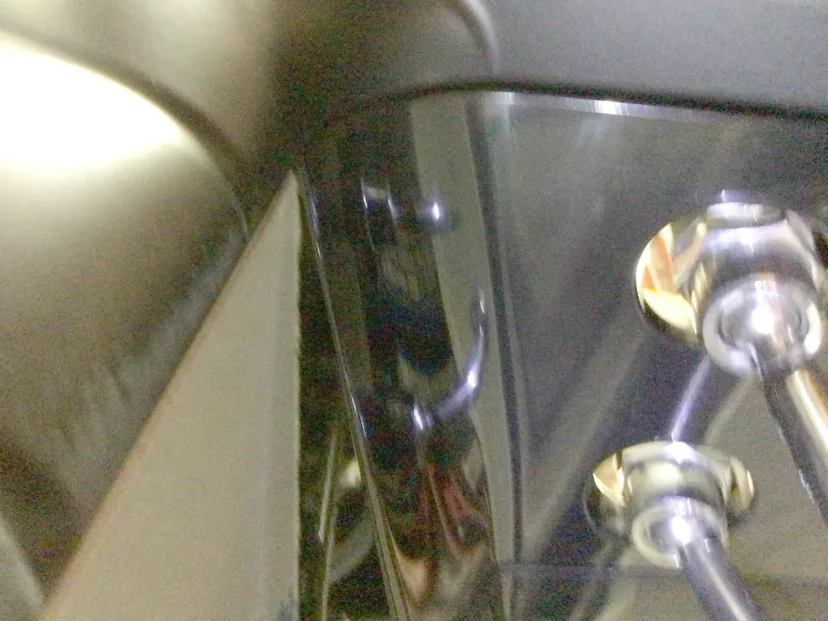
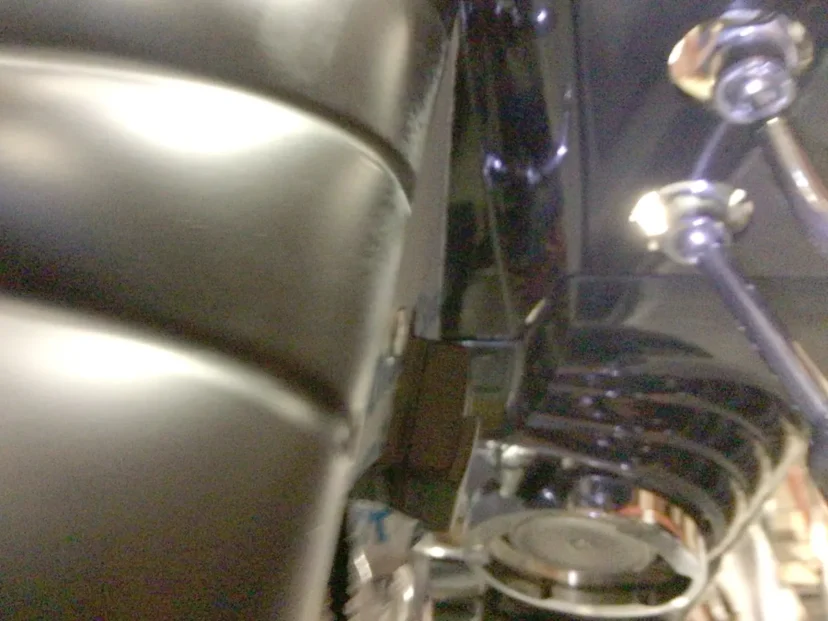
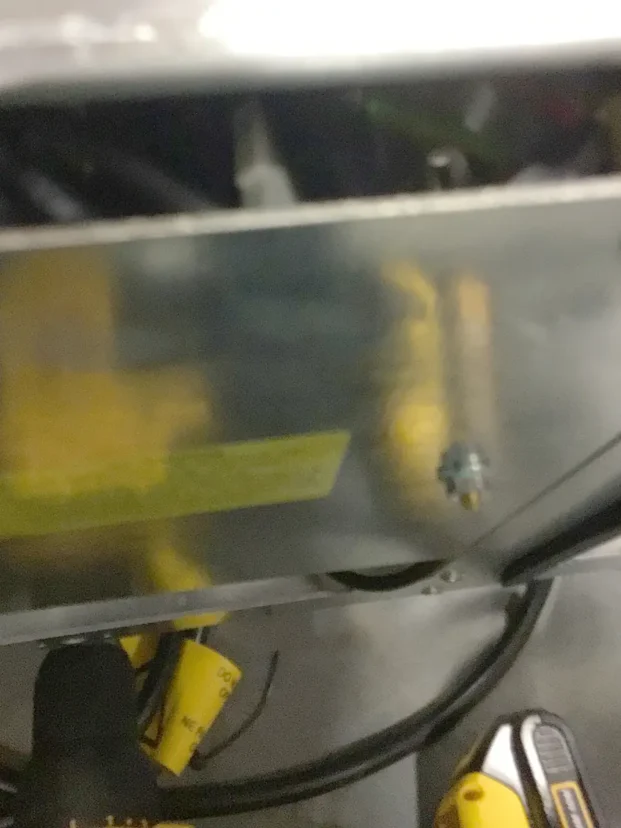
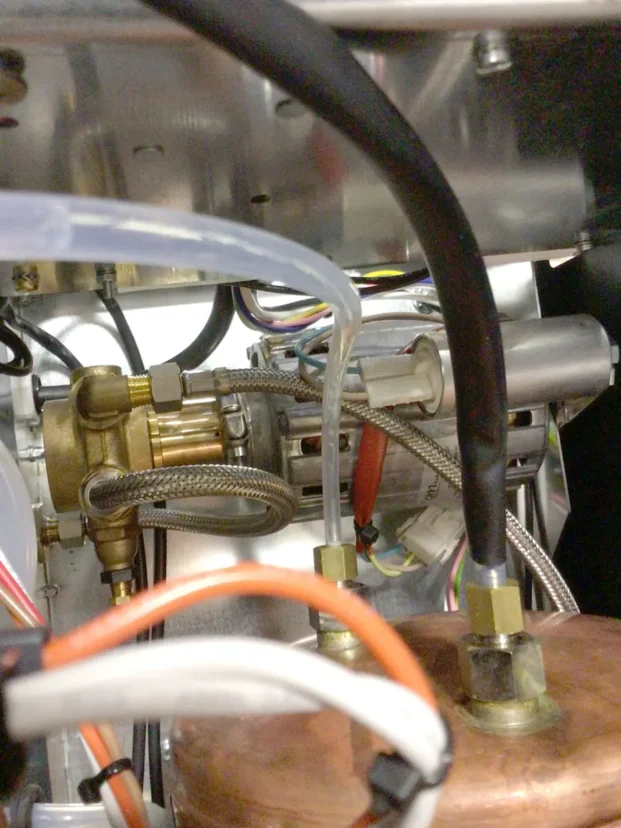
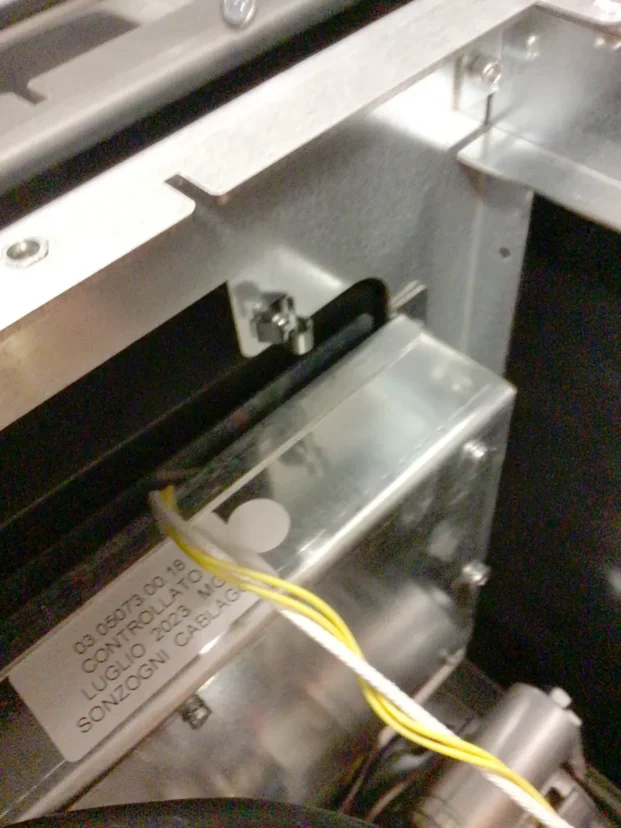
on the left side of the machine, you will see a metal cover for the electronics. This is held in by 3 7mm nuts. Remove the 3 nuts.
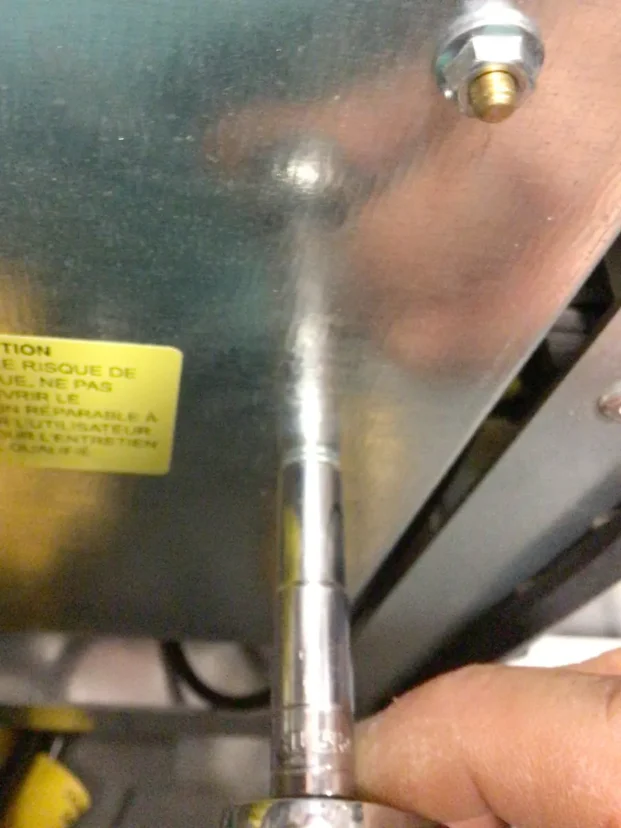

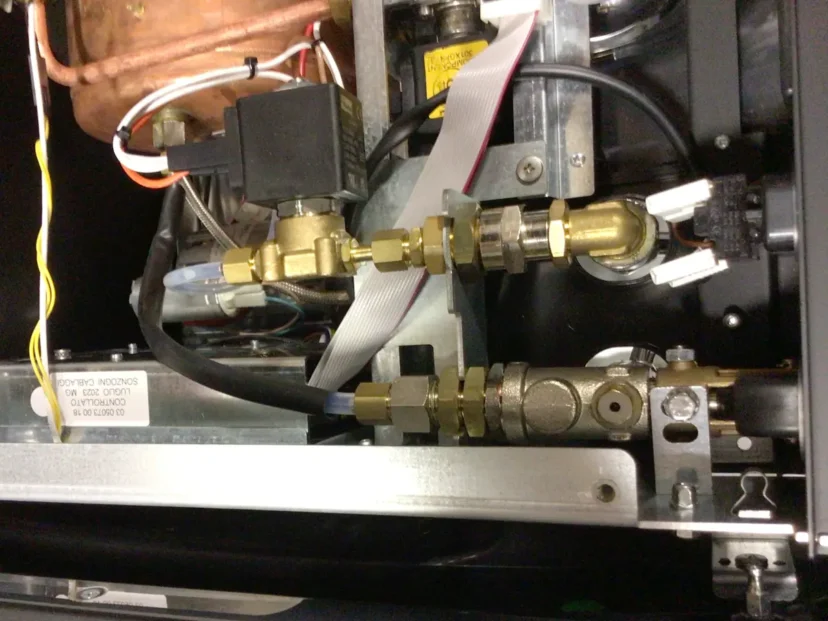
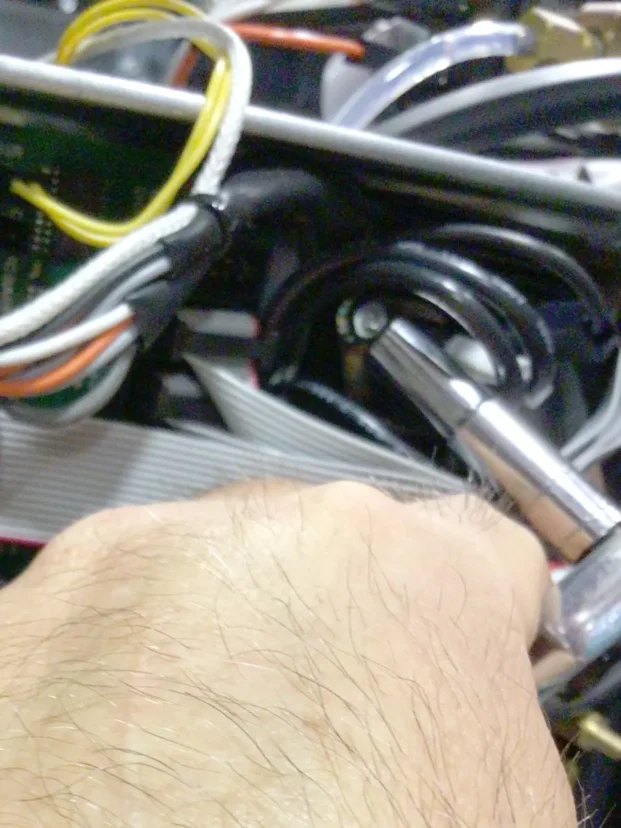
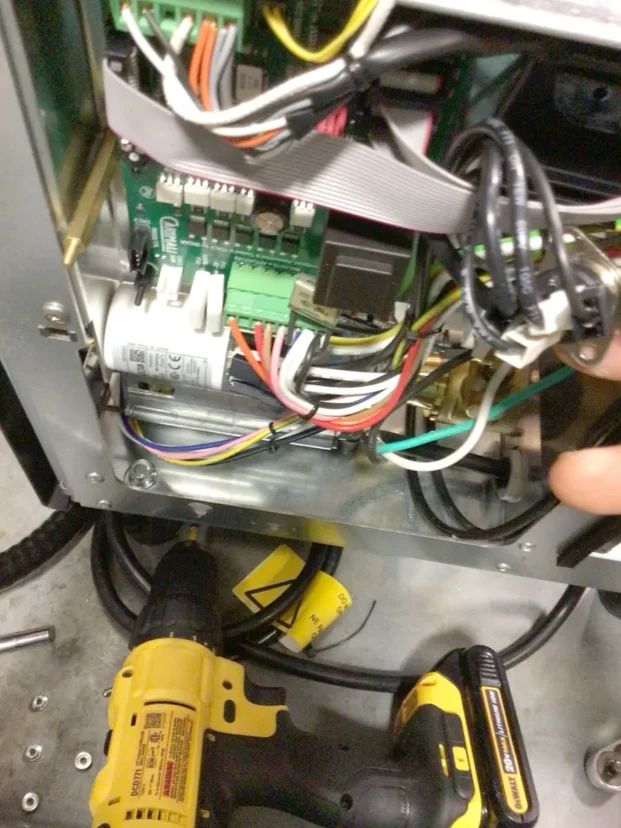
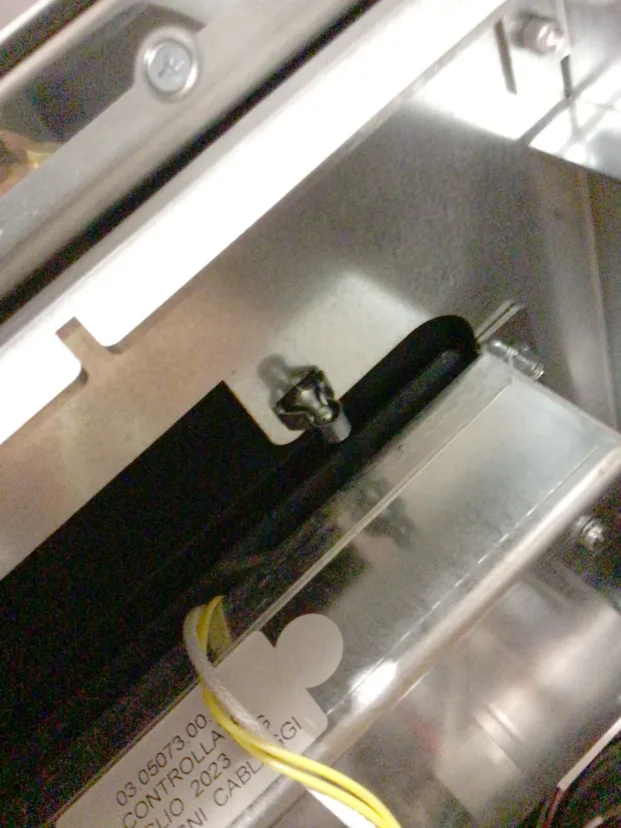
The TRIAC is near the top of the motherboard as shown in the following pictures. Remove the 2 holding nuts with 7mm socket.
BE CARE NOT TO LOOSE THE PINS WHICH CAN EASILY COME OUT THE OTHER SIDE, YOU CAN PLACE MASKING TAKE ON THE BACK SIDE TO LESSEN THE CHANCE OF THE HOLDING PINS COMING OUT.
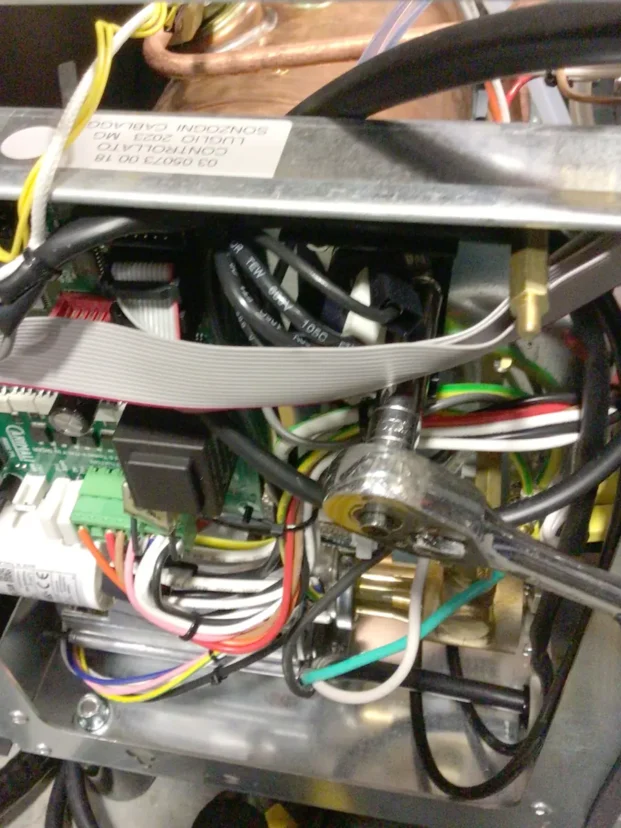
tHE HOLDING PINS ARE FLAT AND IN BETWEEN THE WHITE TUBE AND BLACK INSULATION IN THE BACKSIDE PANEL OF THE MOTHERBOARD.
Remove both nuts.
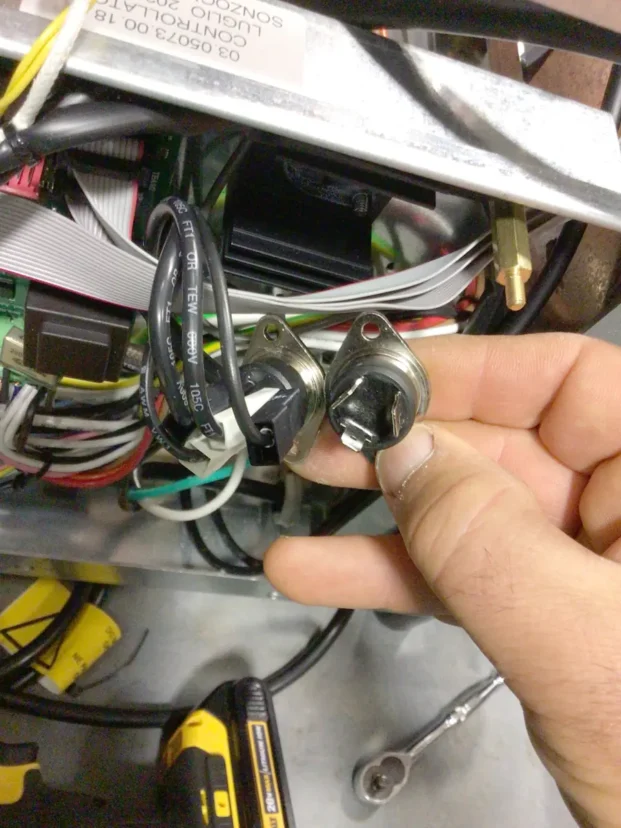
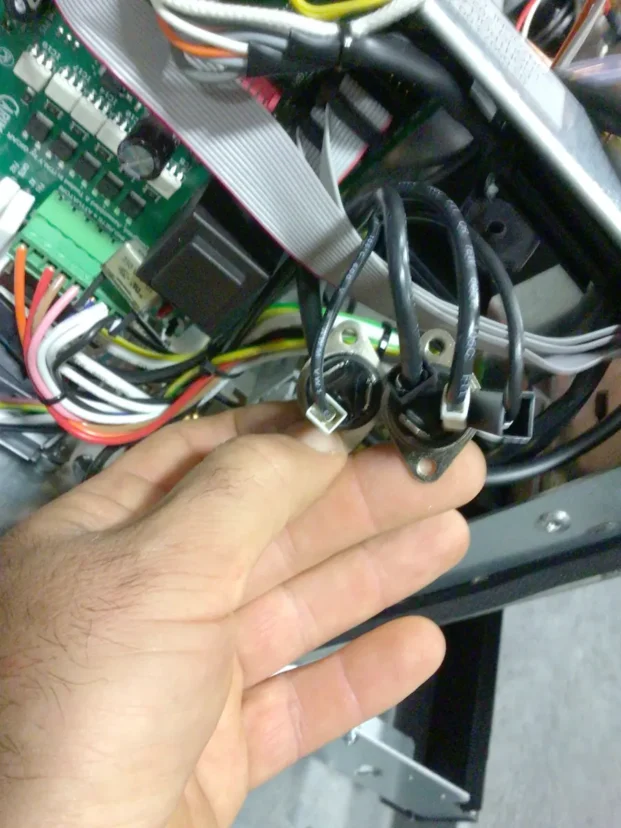
Pull out the hold TRIAC with wires attached.
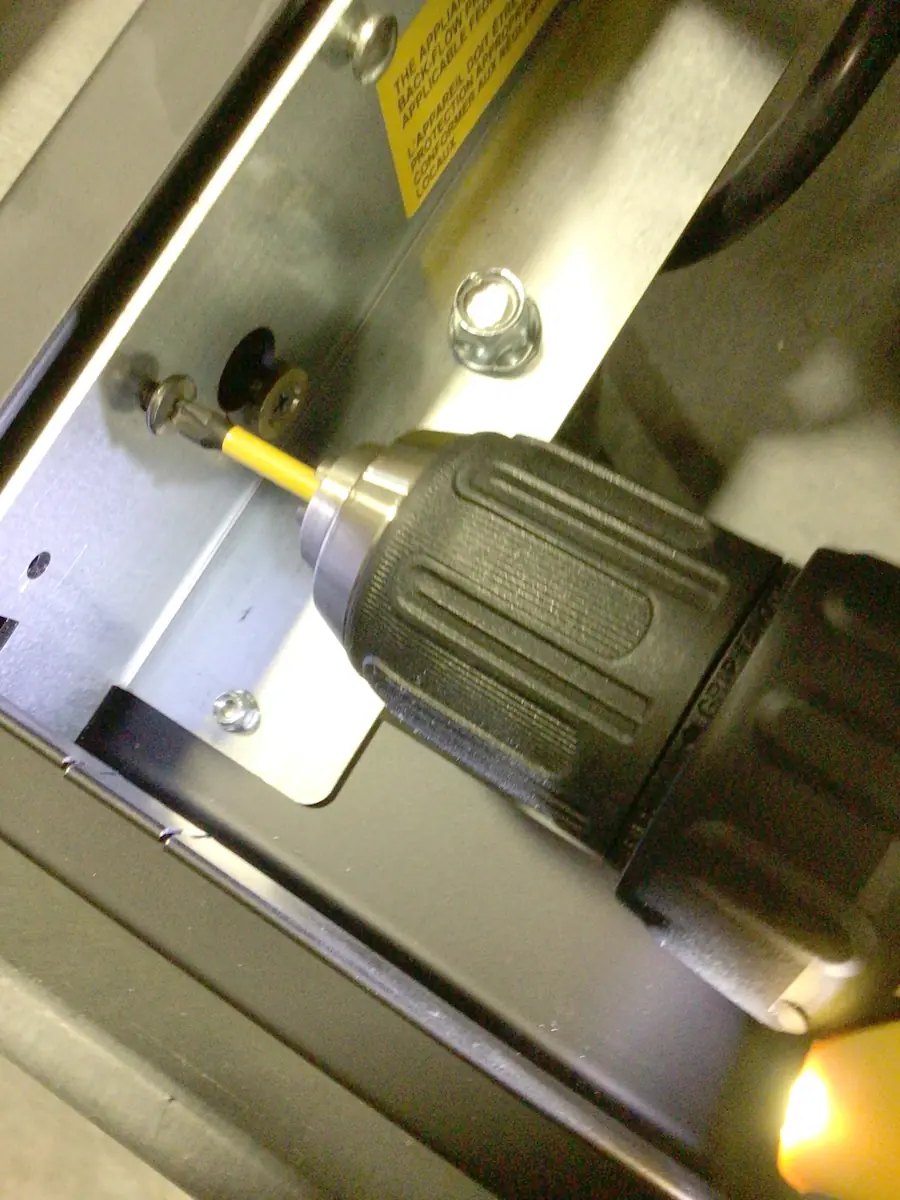
Match the newer TRIAC so the vertical non-slanted terminal is on the left side as pictured.
Move one wire over at a time. Do not mix up the wires.
Do not lose the holding nuts and insert one into the socket and start by one hand while your other hand is holding the pin on the other side.
It is easier to start the right side nut first and hand tighten then do the left side on the TRIAC.

Place the cover back on and put the 3 buts back on hand tighten.
Align the washer and nut of bottom of panel panel in front and rear into larger slots and slide down to hold.
Push the upper part so the 2 pins get placed into the holding clips.
Insert and tighten the holding screw on left side under drip tray top hold body panel
Insert screw vertically upwards to hold panel

Place back 4 screws fro top panel.
![]()
Plug in machine and allow to heat up. The overheat situation should be terminated.
Please note the above information is subject to copyright. It cannot be published by any means without the expressed written consent of 1st-line Equipment, LLC.