
VBM Steam/Hot Water Valve Gasket Repair
- Note: The instructions below are for the older style VBM models before 2020.
Repairing the valves is not too difficult. If the gasket is being removed from the valve stem and the valve can not, we believe this problem is caused by the vacuum pressure in the valve pulling the closing end gasket out of its cavity due to too much grease on the gasket and in the cavity.
If your machine is leaking from the holes in the steam tip or the hot water wand maintains a constant drip, the closing end gasket may be worn and can be turned around one time. After the first time, it needs to be replaced.
There are 3 different closing end gaskets. IT IS IMPERATIVE TO CHECK INSIDE THE MACHINE’S VALVE BEFORE ORDERING AS WE ARE NOT RESPONSIBLE IF YOU ORDER THE INCORRECT GASKETS.
To complete this operation, you will need:
- 1 large crescent wrench
- 1 medium crescent wrench
- A few paper towels and/or a couple of pieces of soft cloth
- Turn machine off and release steam completely through the wand.
- Fold 2 pieces of soft cloth or 2 portions of paper towel to use as a lining between the metal of the crescent wrenches and the chrome of the steam valve. (Fig 1)
- While holding in place the round part of the valve with the large wrench, use the medium wrench to loosen the chrome nut of the steam valve. It should just take a little turn before it is loose enough to loosen by hand. Make sure the round part (closest to the face of the machine) you’re holding with the other wrench doesn’t turn. (Fig. 2)
- Finish loosening the nut by hand. (Fig. 3)
- Remove the shaft by unscrewing the knob. (Fig. 4)
- Use a sharp tool such as an ice pick to pull the soft closing gasket out of the inside of knob part assembly. (Fig. 5 and 6)
- Wipe the closing gasket and the cavity it sits in free of grease.
At this point, you can follow steps 9 – 12 to reassemble to valve to see if the problem has been corrected. If it has not, continue with the following steps after repeating steps 1 – 7.
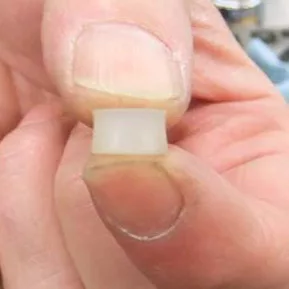
- Using a sharp blade or utility knife, remove a sliver of the gasket – approximately 1 mm deep and ½ mm wide. (Fig. 7)
To reassemble the shaft:
- Re-insert the gasket, wide part toward the interior of the cavity (knob part of the assembly).
- Align the shaft with the valve and screw in the knob until just after it catches the threads.
- Tighten the chrome nut until it is finger-tight but snug.
- Screw down the knob until it is snug – not as hard as you can – but just until you feel the gasket you just cleaned engage with the interior of the valve.
Fig 1
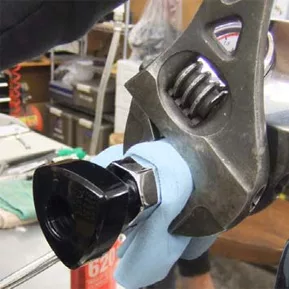
Fig 3
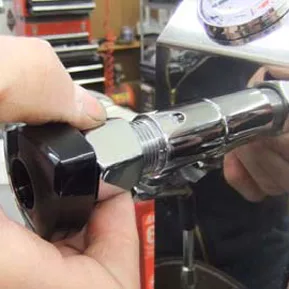
Fig 5
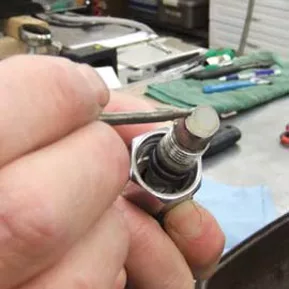
Fig 7
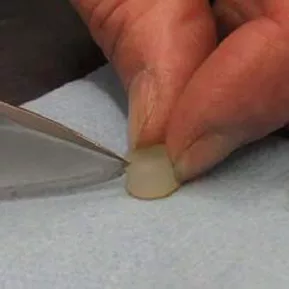
Fig 2
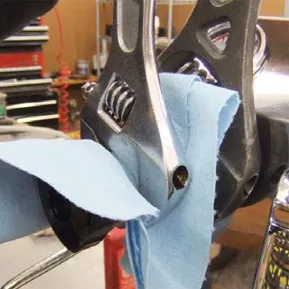
Fig 4
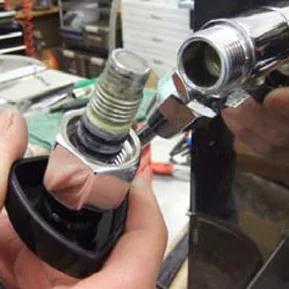
Fig 6
Please note the above information is subject to copyright. It cannot be published by any means without the expressed written consent of 1st-line Equipment, LLC.