
Accessing the inside – Domobar Super
- Note: These instructions are the same for All Domobar Super models (HX or DB / tank or switchable). The pictures below show the Domobar Super HX switchable model.
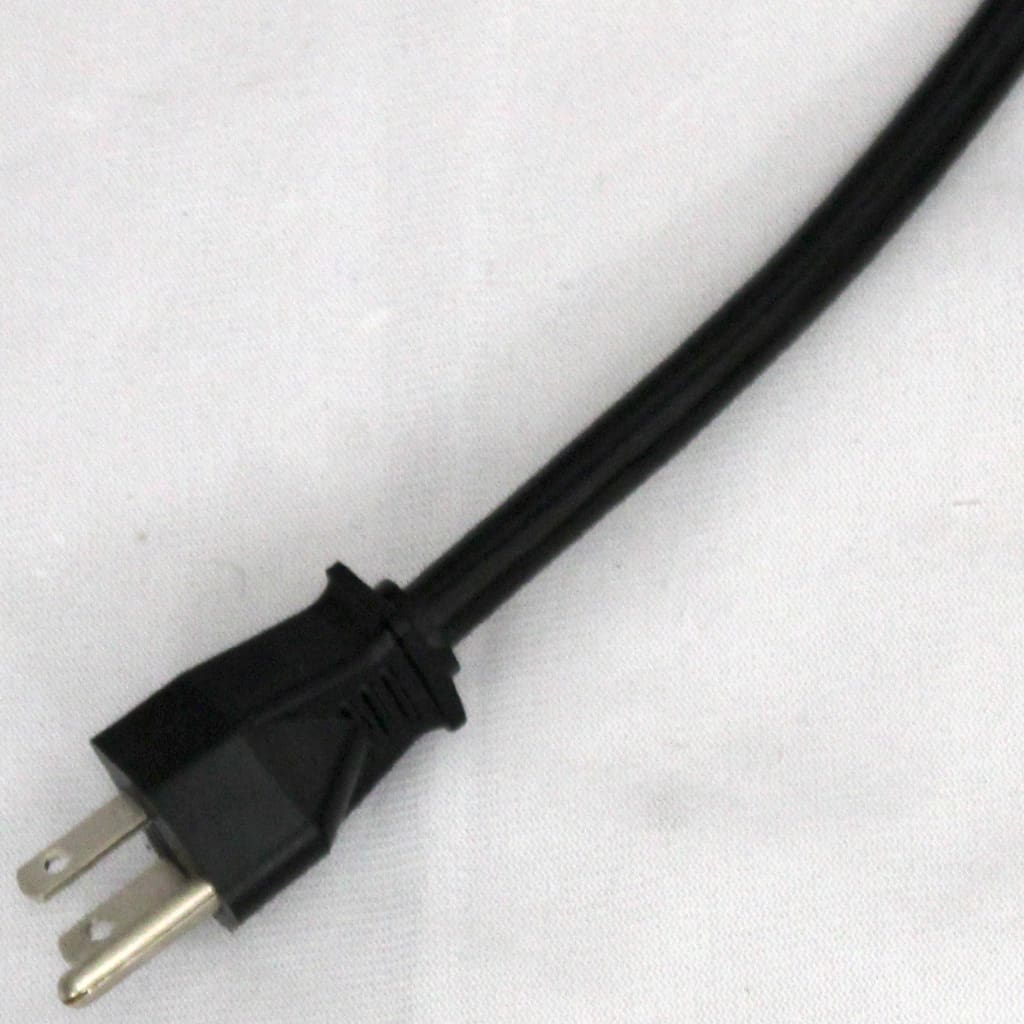
| Power off the espresso machine and disconnect the plug from the outlet. | 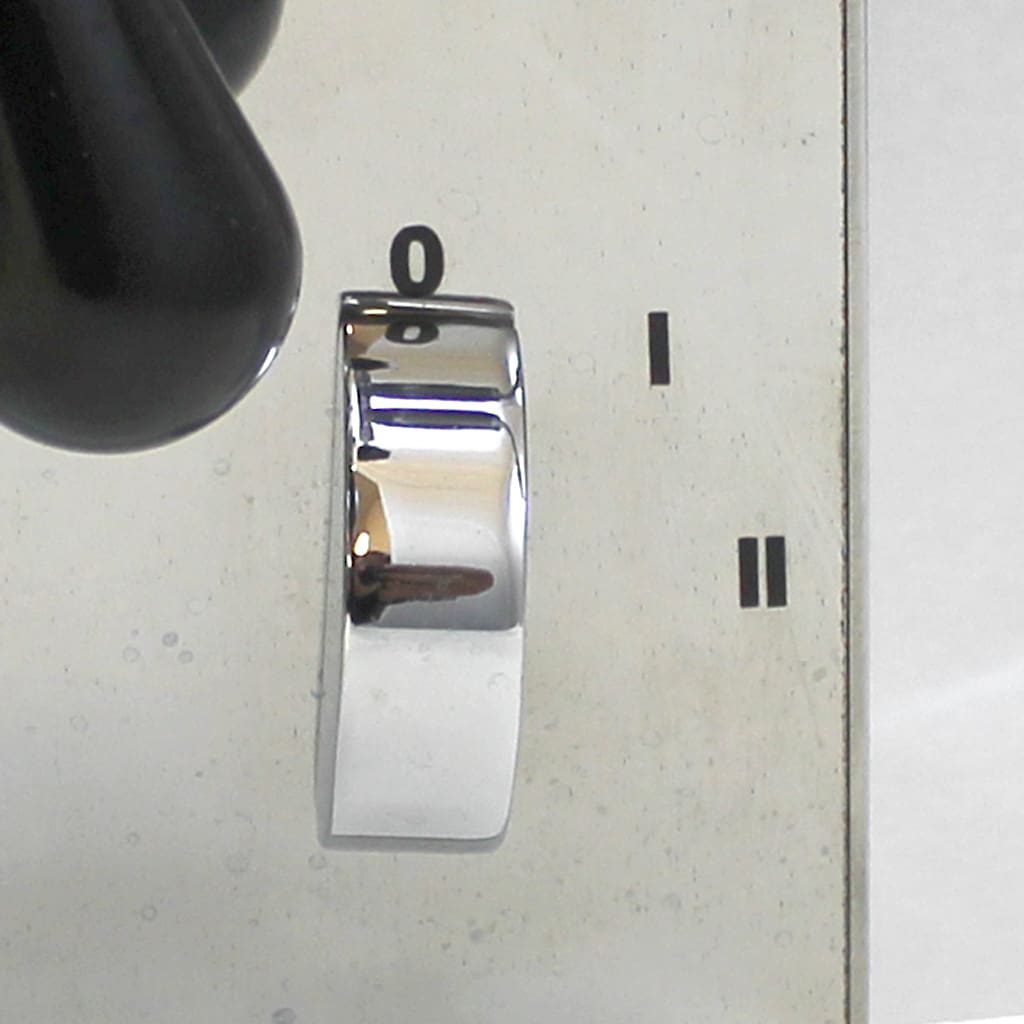 |
 |
|
|
||
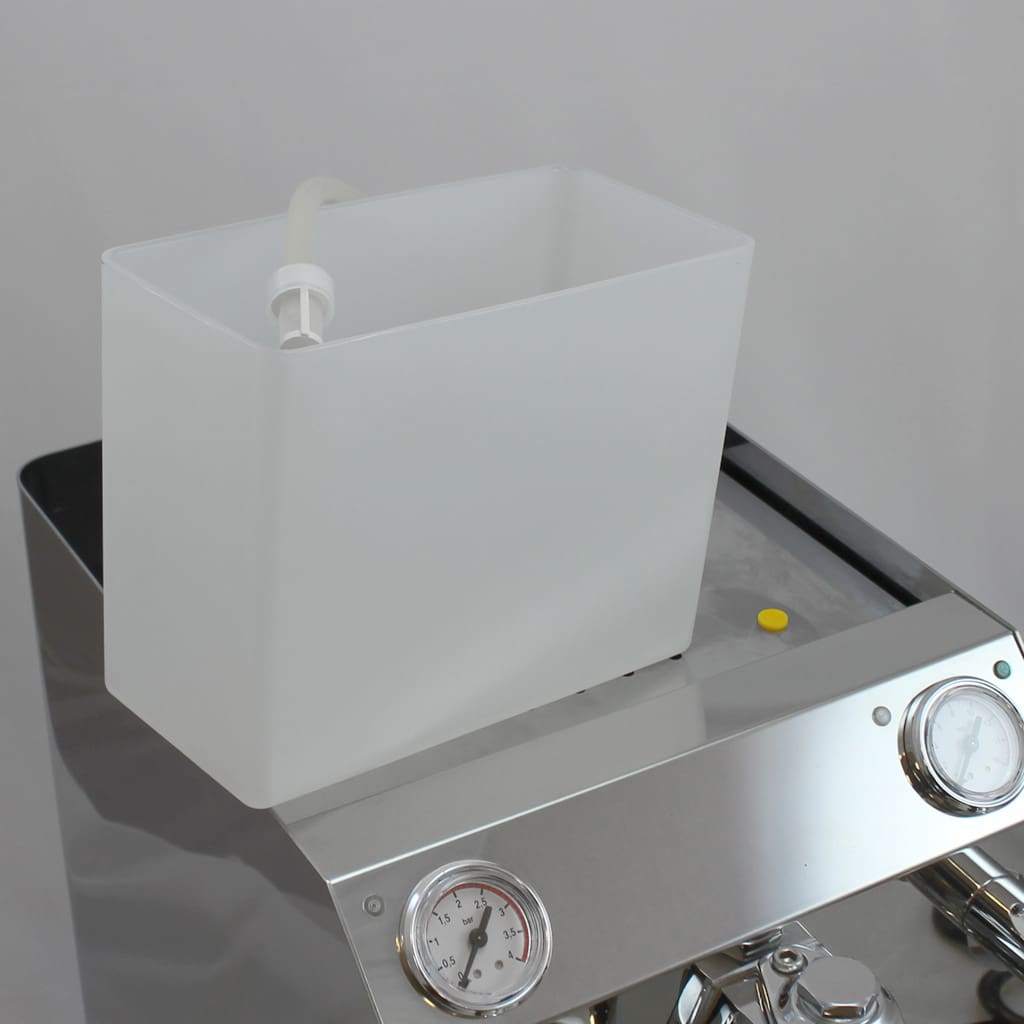
| Remove the top cover and the water tank inside. | 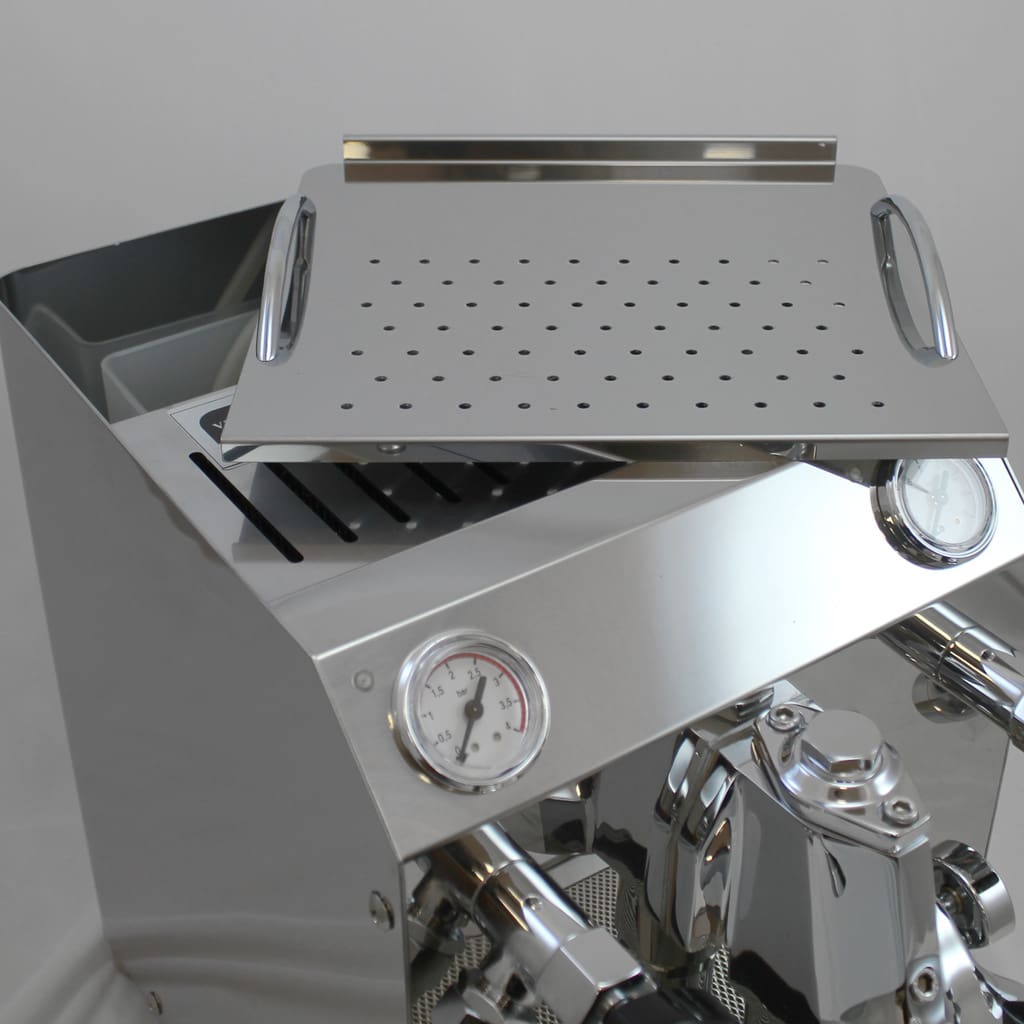 |
 |
|
|
||
From here you will have access to:
|
 |
 |
 |
||
|
|
||
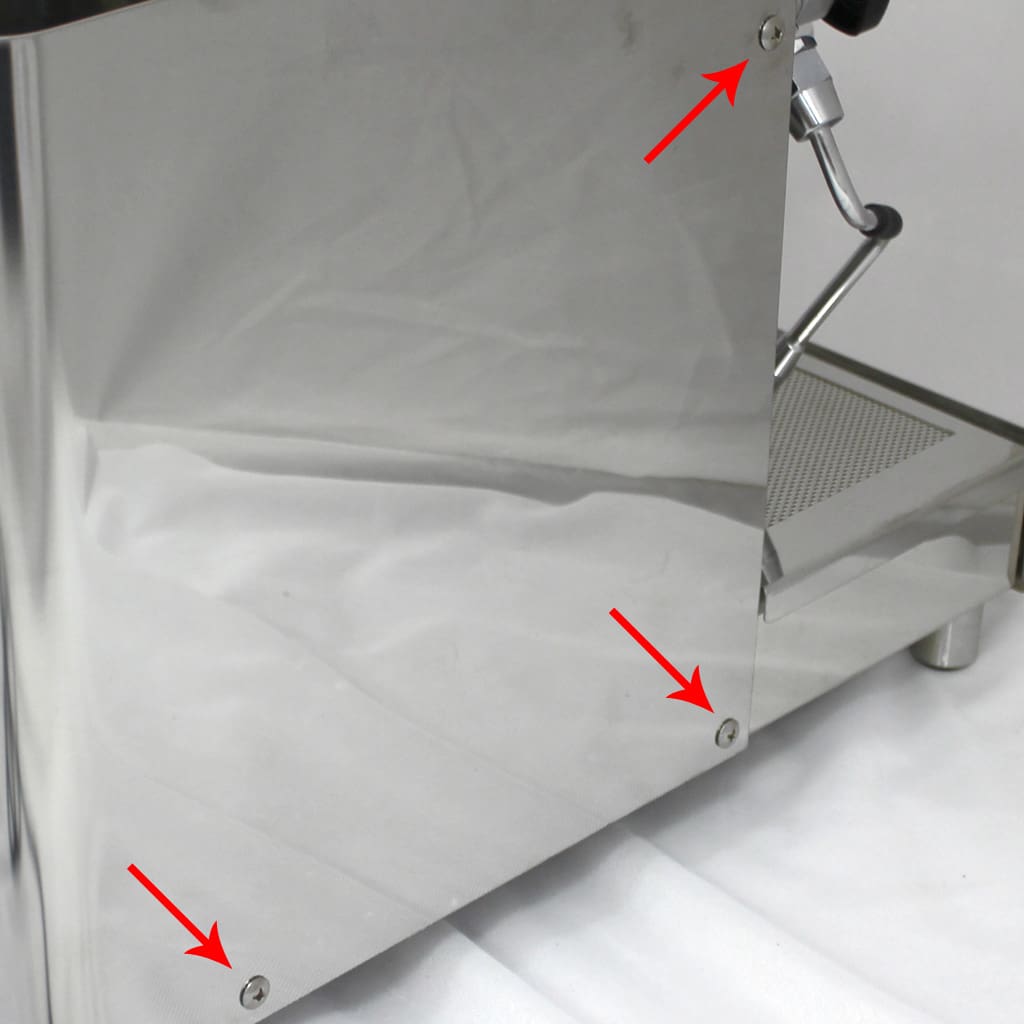
| To gain acess to the inside the body panel must be removed. On the left and right side of the machine there are 3 screws (6 total). Once removed the body panel will slide off. | 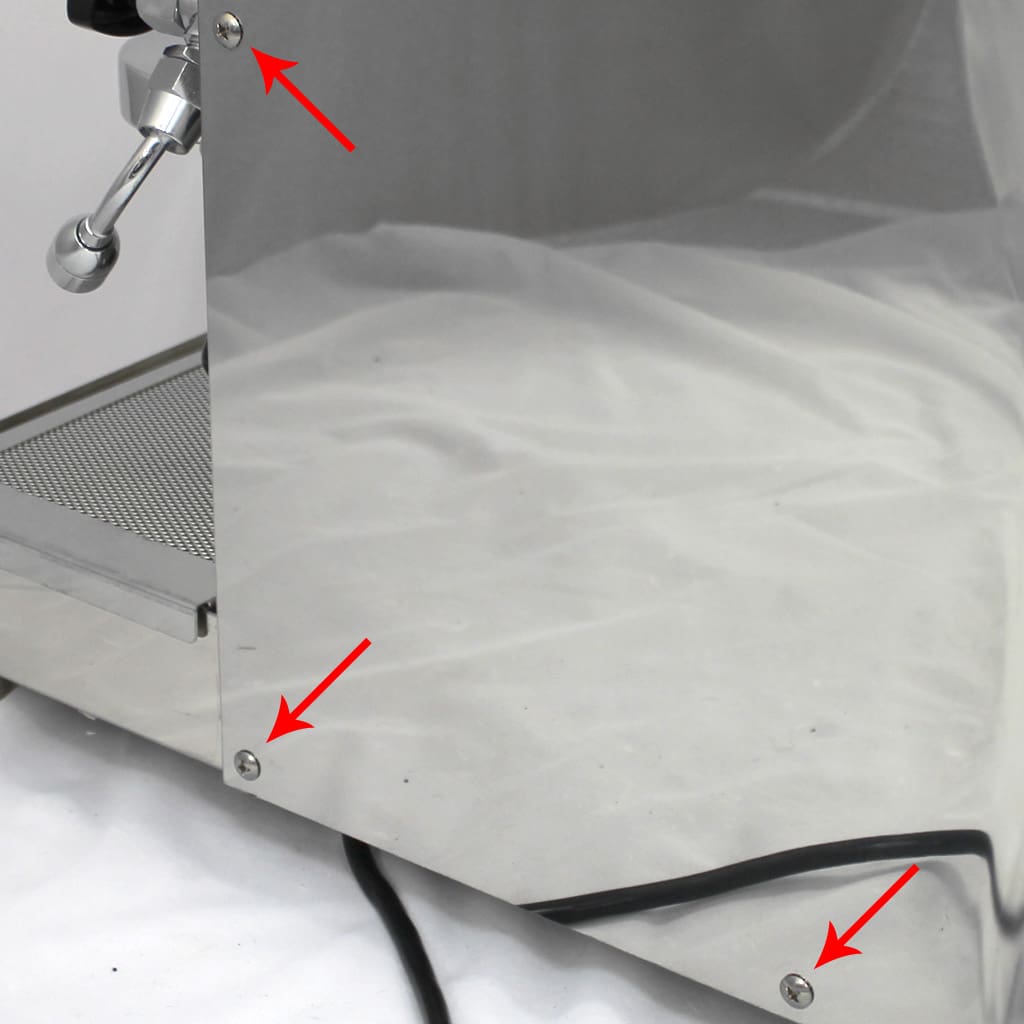 |
 |
|
|
||
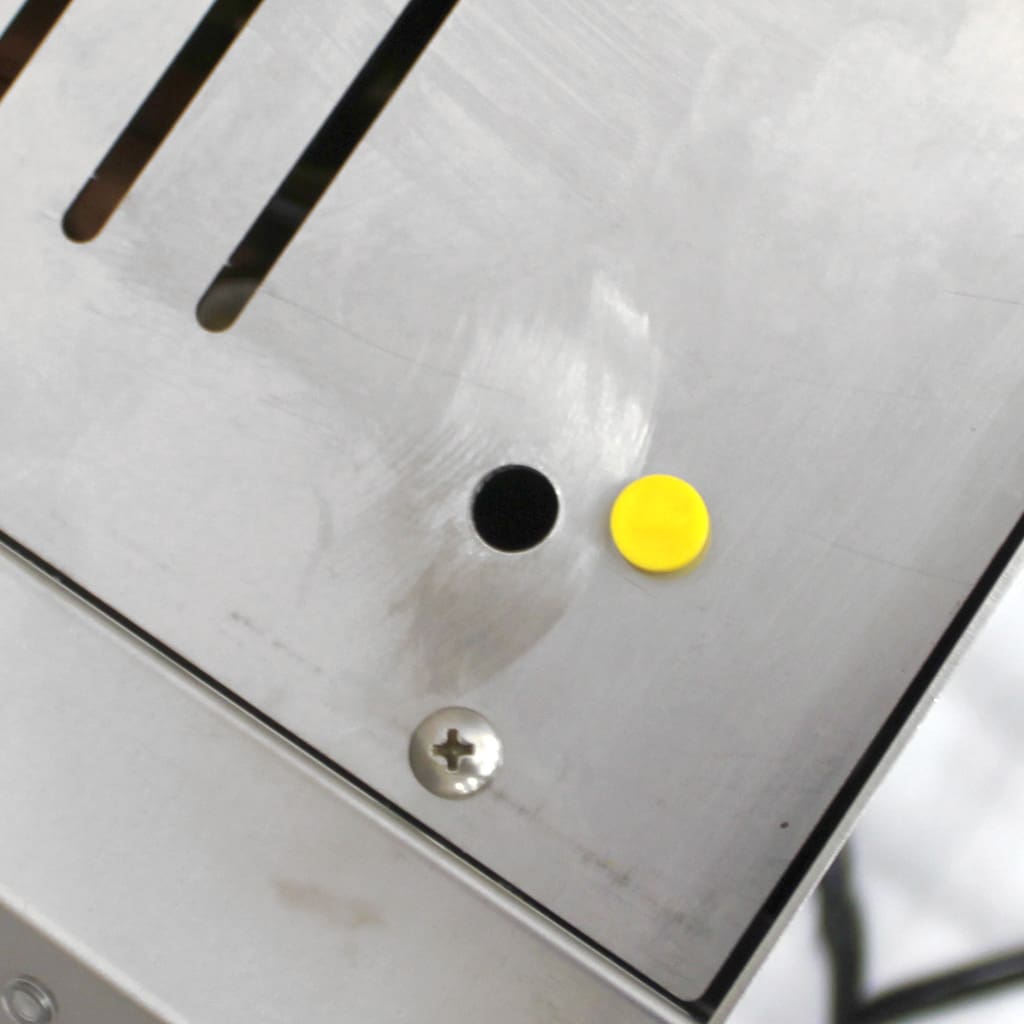
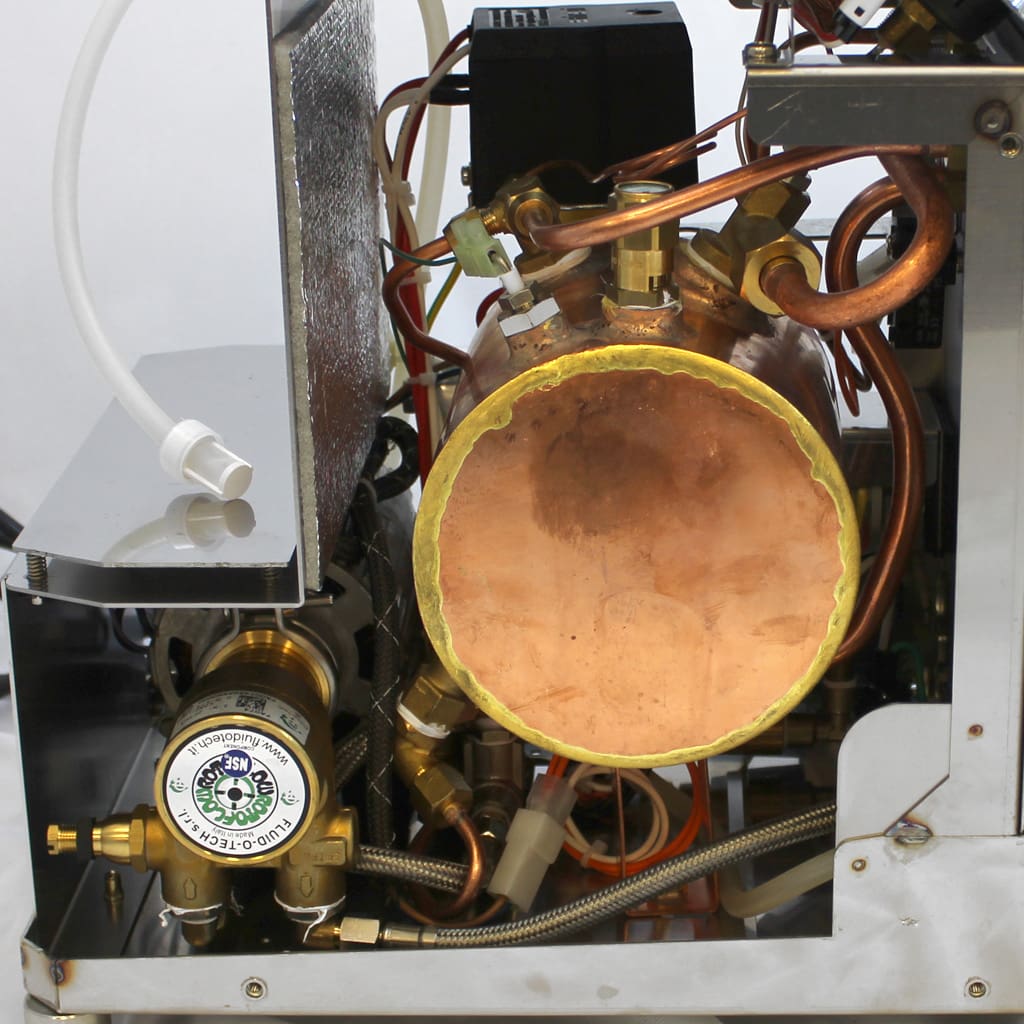
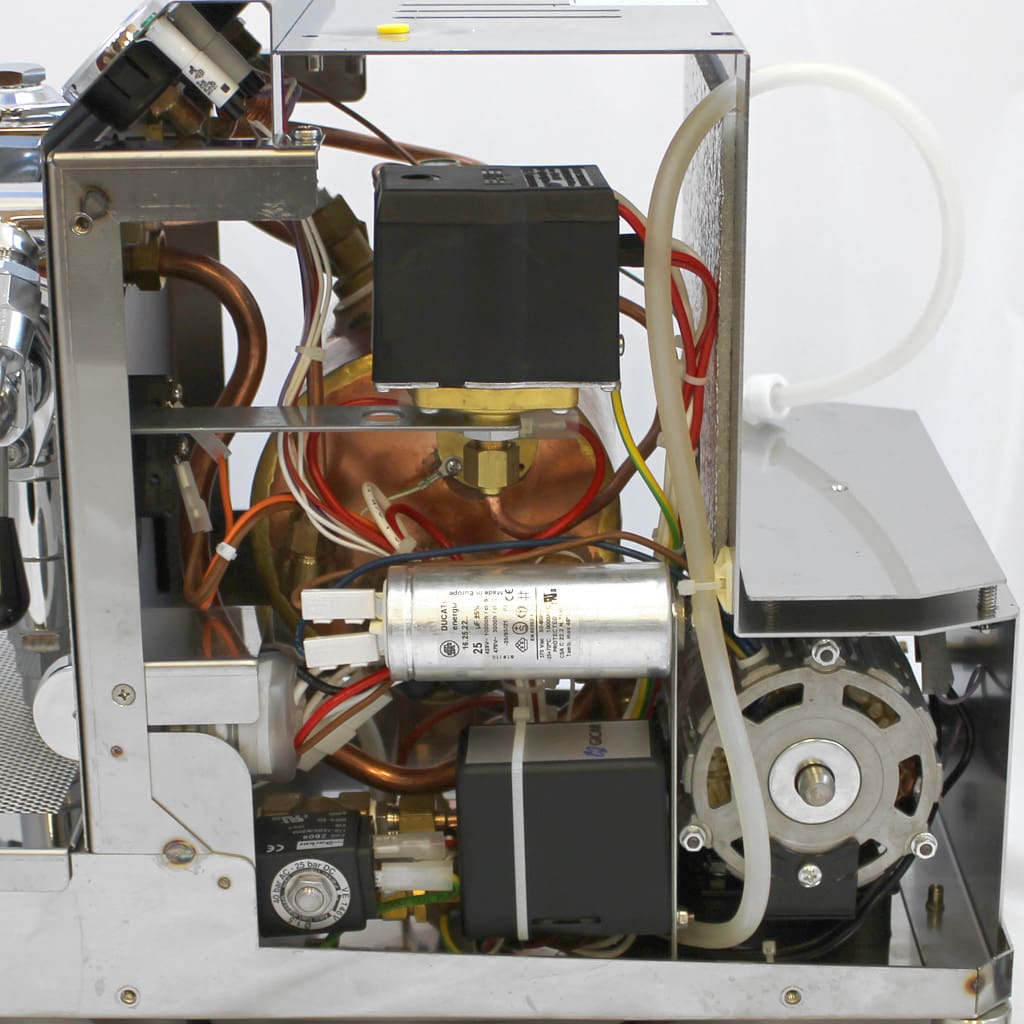
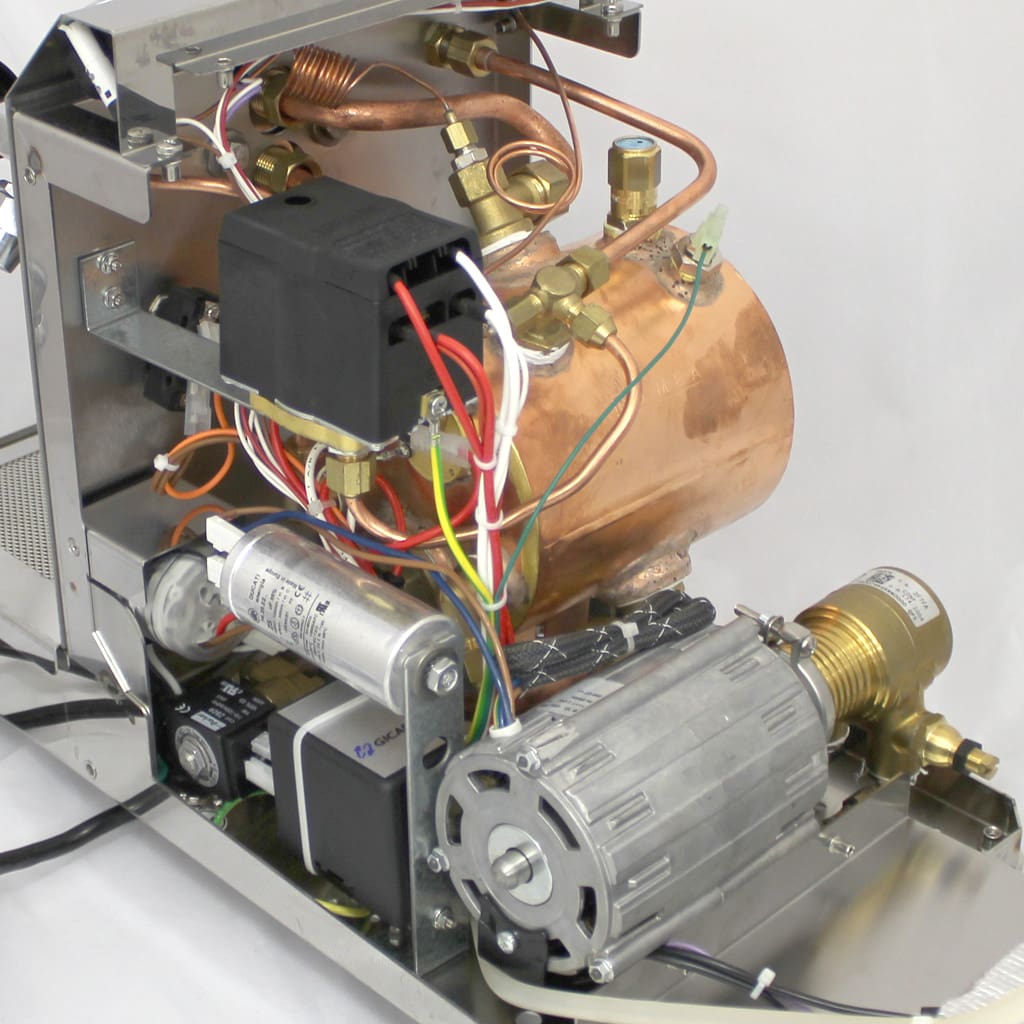
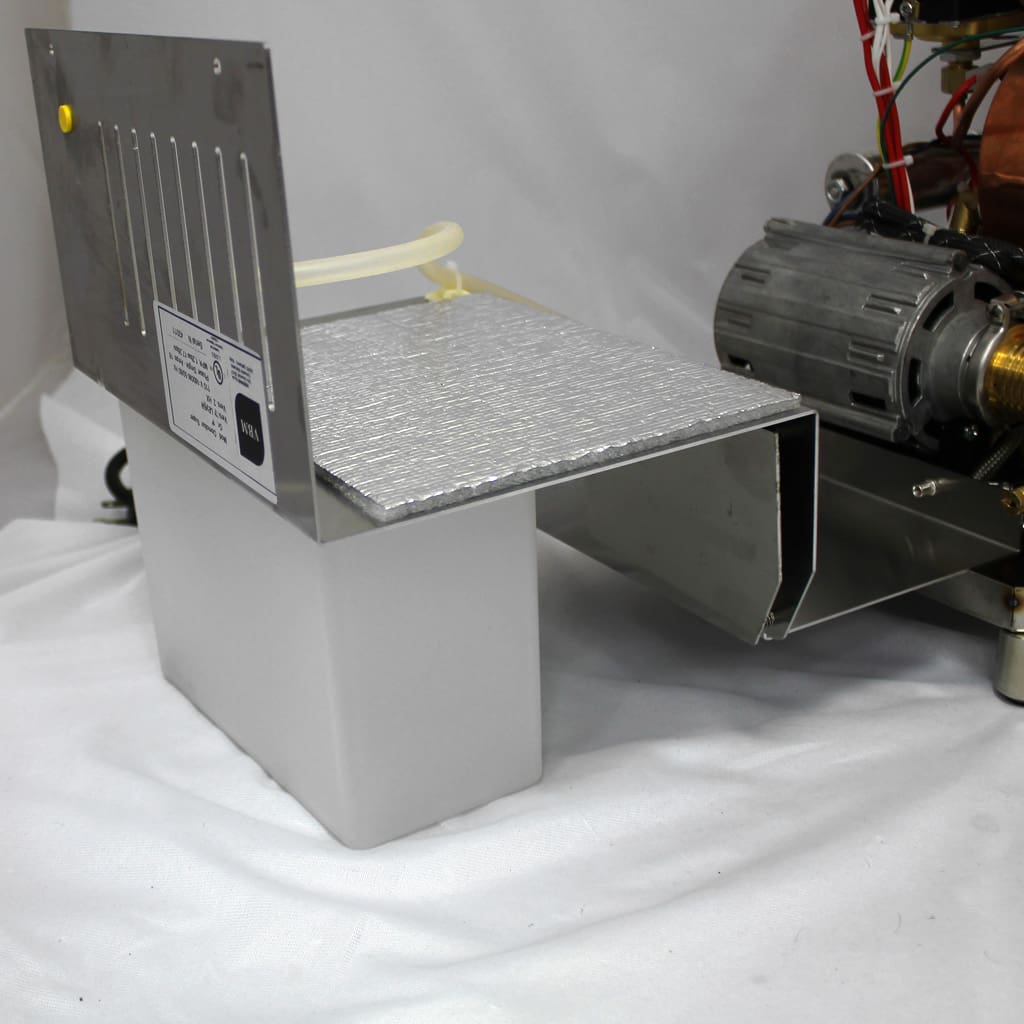
| You will now have side access to the inside to diagnose the machine.
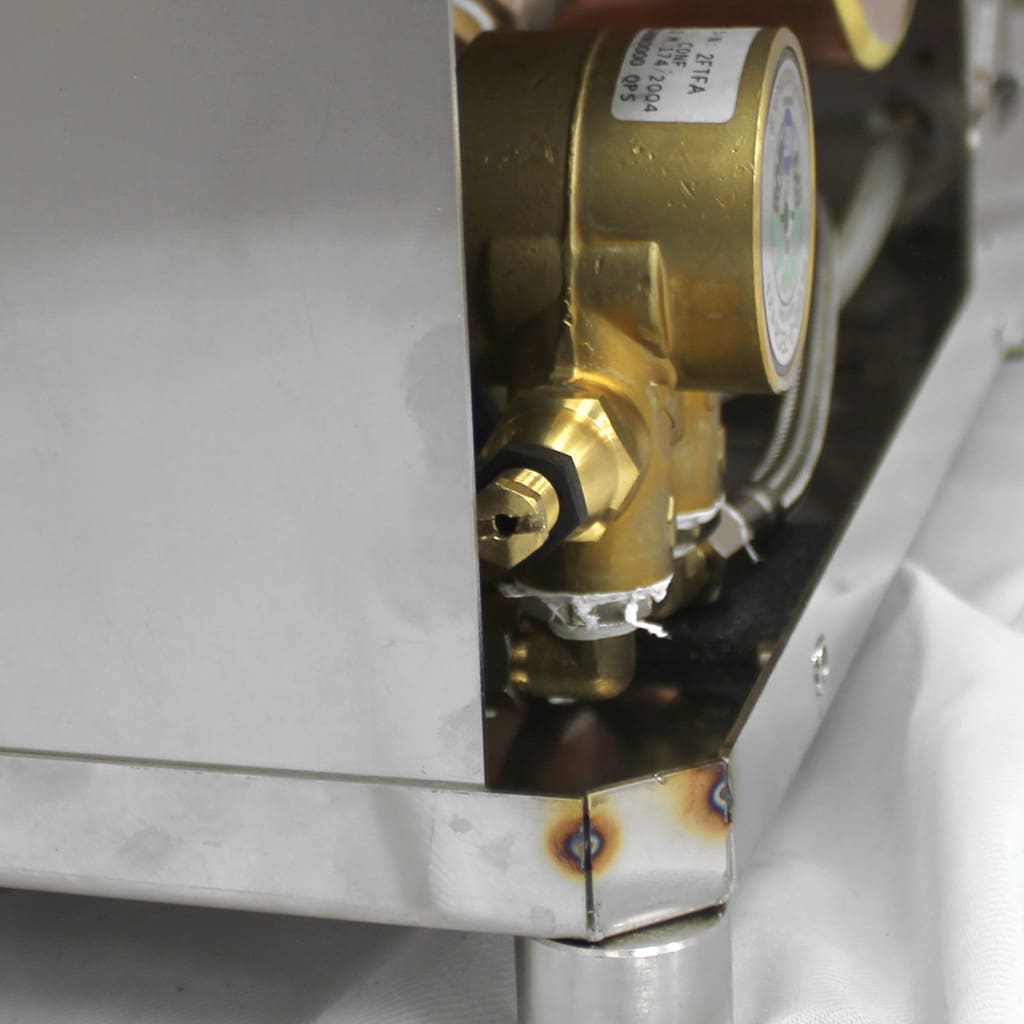
From the rear you will be able to adjust the OPV. Using a flathead screwdriver, turn clockwise to increase pressure, counter clockwise to decrease pressure. |
 |
 |
 |
||
|
|
||
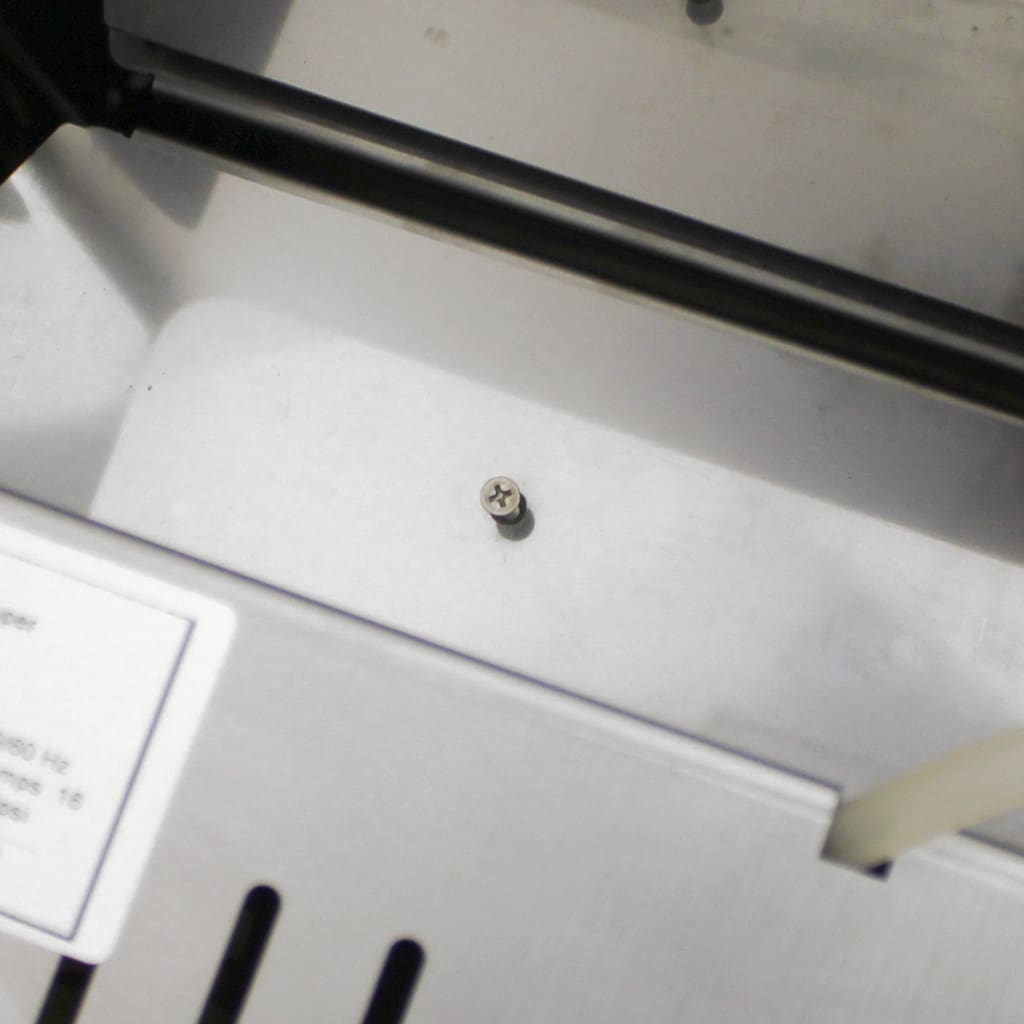
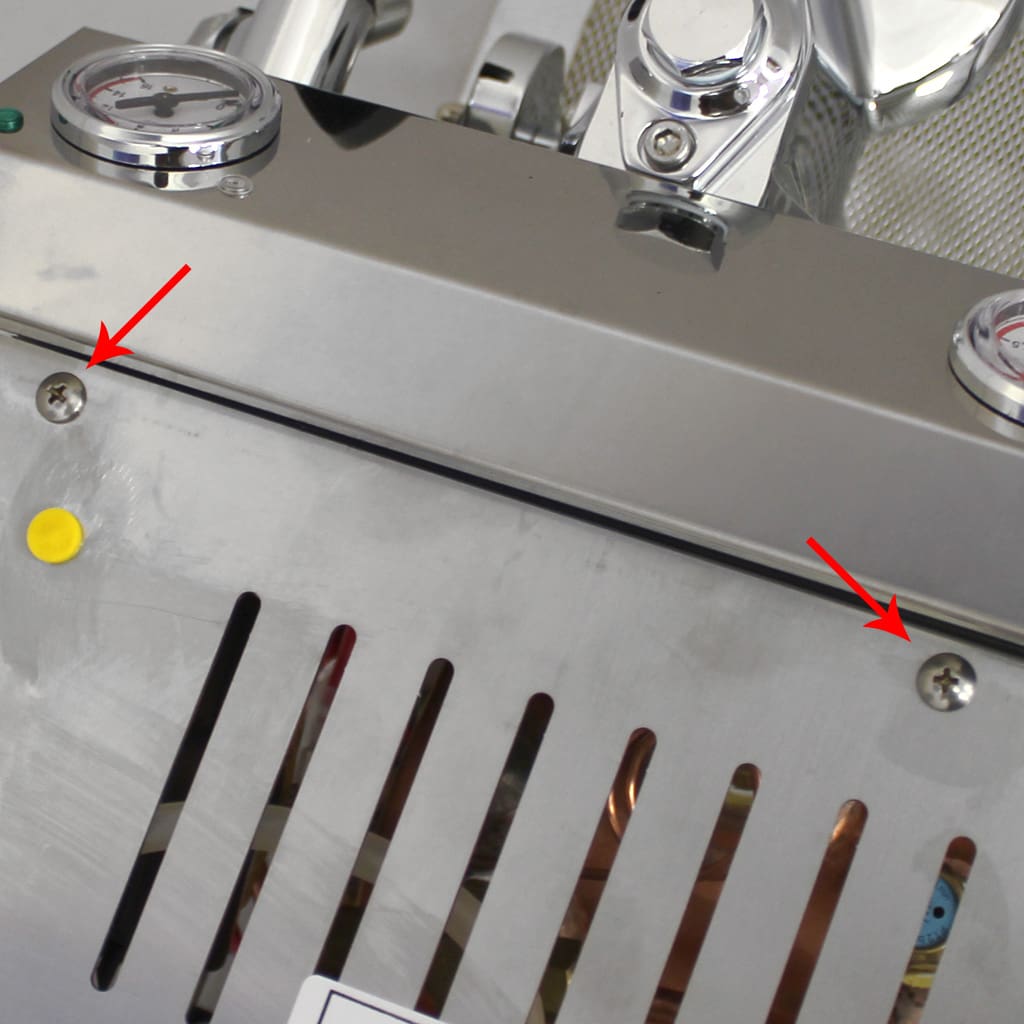
| To gain full access to the inside, there are 2 screws on the bottom and top of the machine. If you have to tilt the machine on its side to remove the bottom screws, lay the machine on a towel or pillow. | 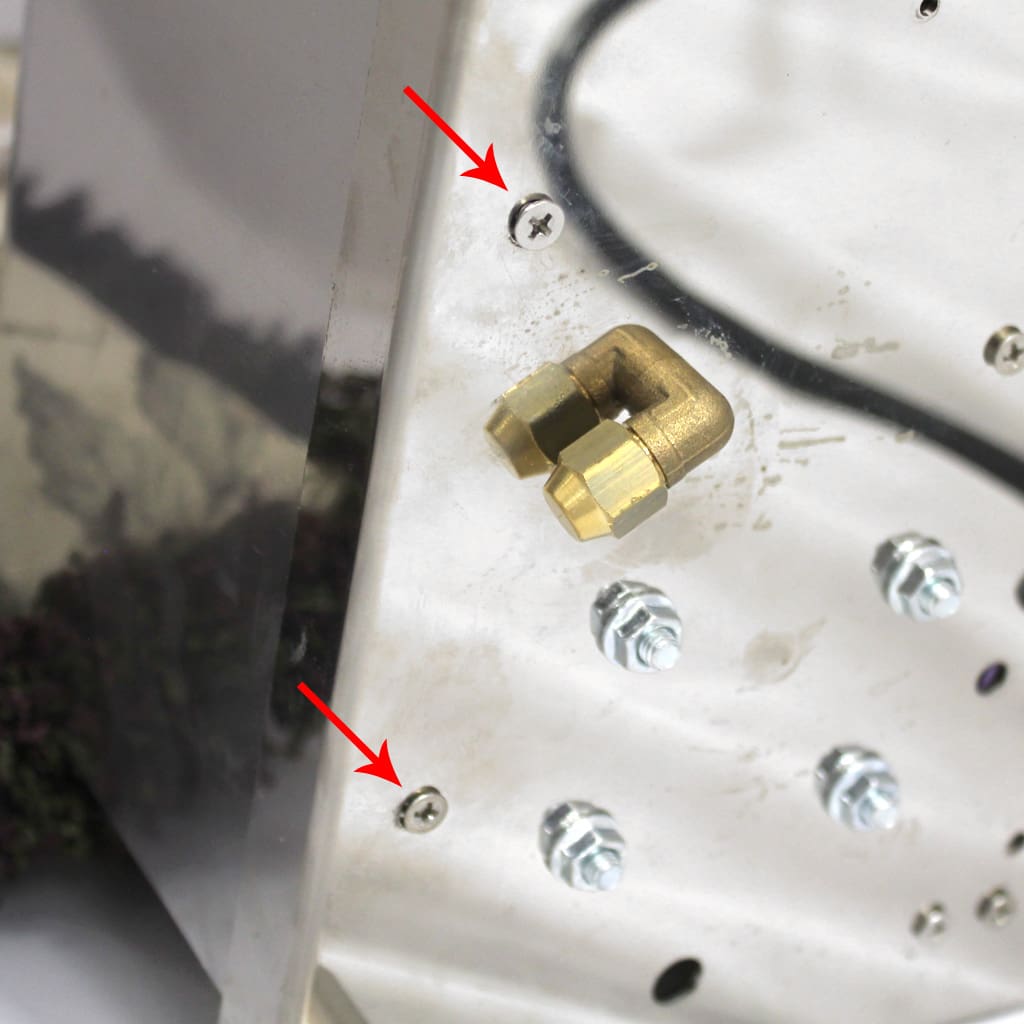 |
 |
|
|
||
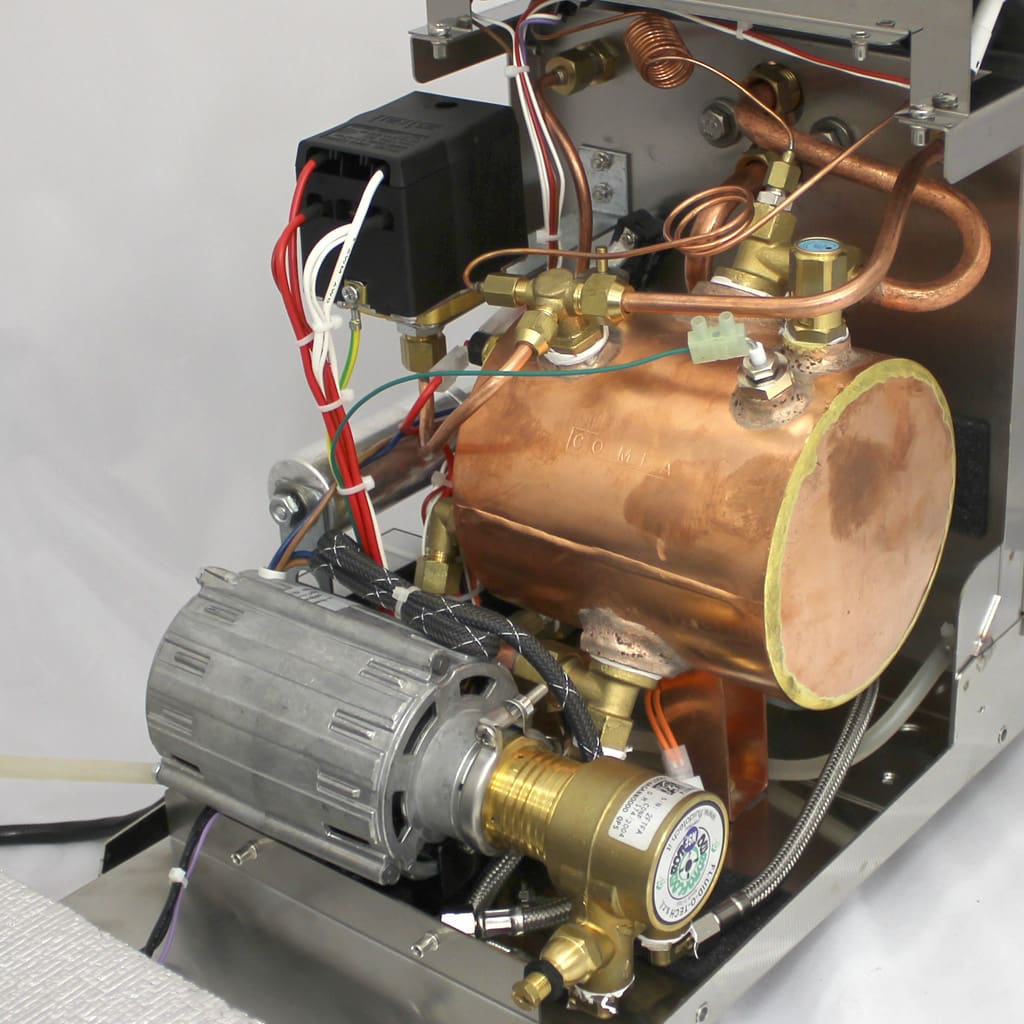
| You will now have complete access to the inside to replace parts.
The inside panel has wires attached to it. The best recommendation is to use the water tank to have the panel rest on the water tank. |
 |
 |
 |
||