
Accessing the inside – Domobar Junior
Power off the espresso machine and disconnect the plug from the outlet. To avoid burning yourself, allow the machine to cool down at least 2 hours before moving forward.
Remove the top cover and the water tank inside.
From here you will have access to the following:
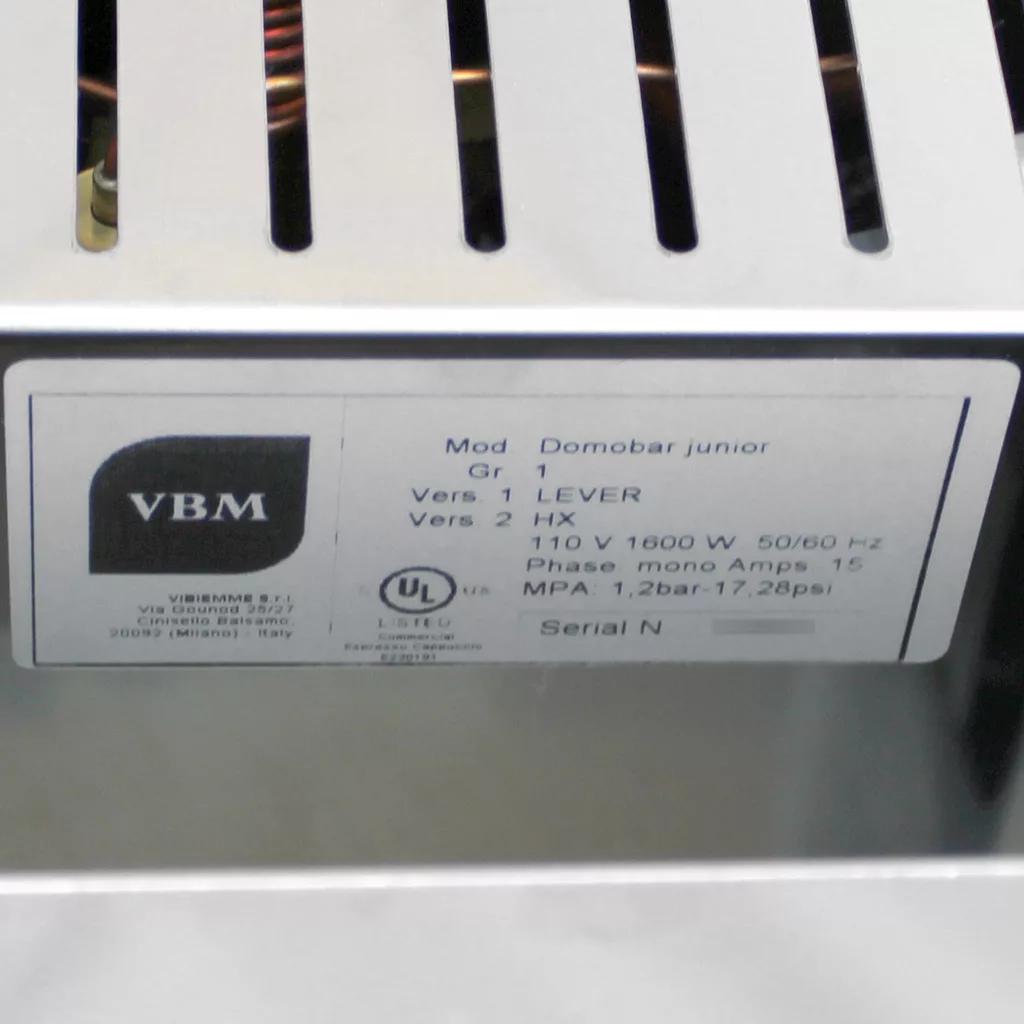
- the manufacturer’s label which has the serial number and certifications.
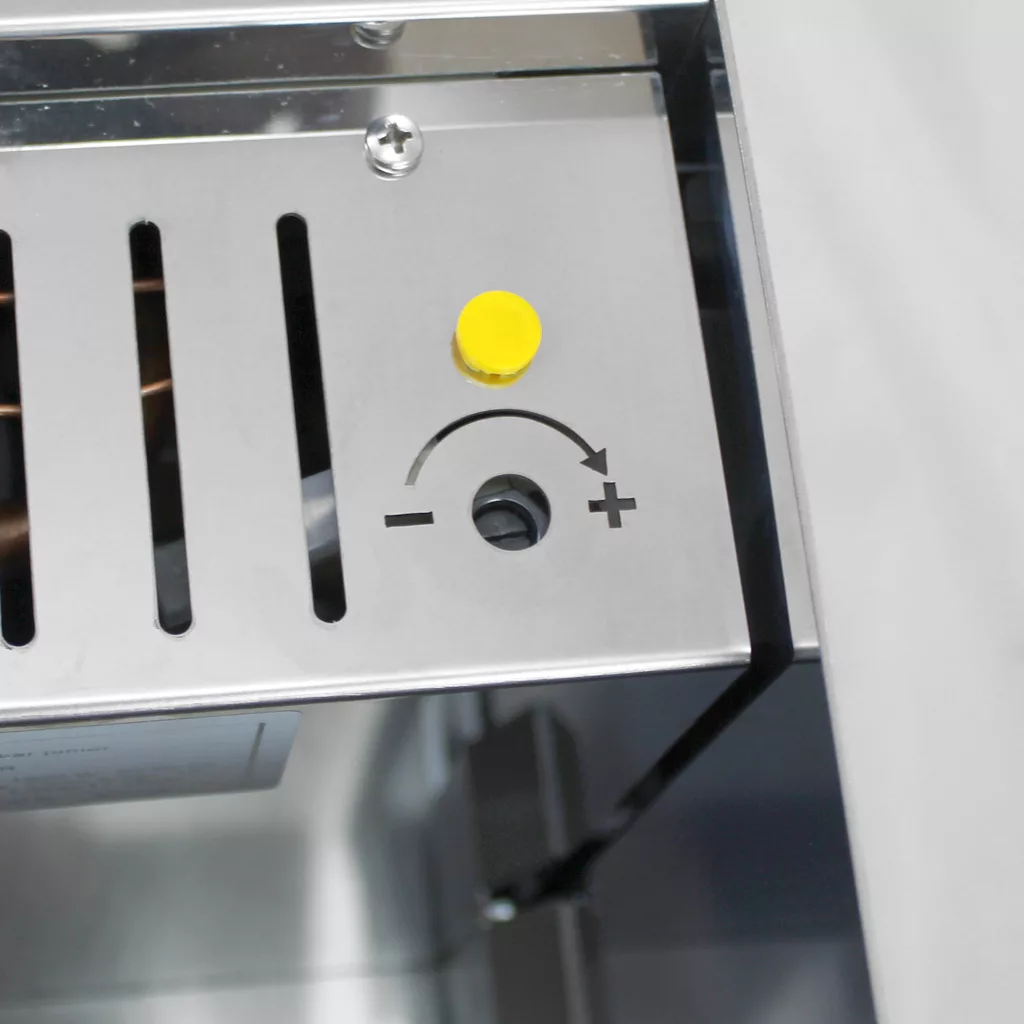
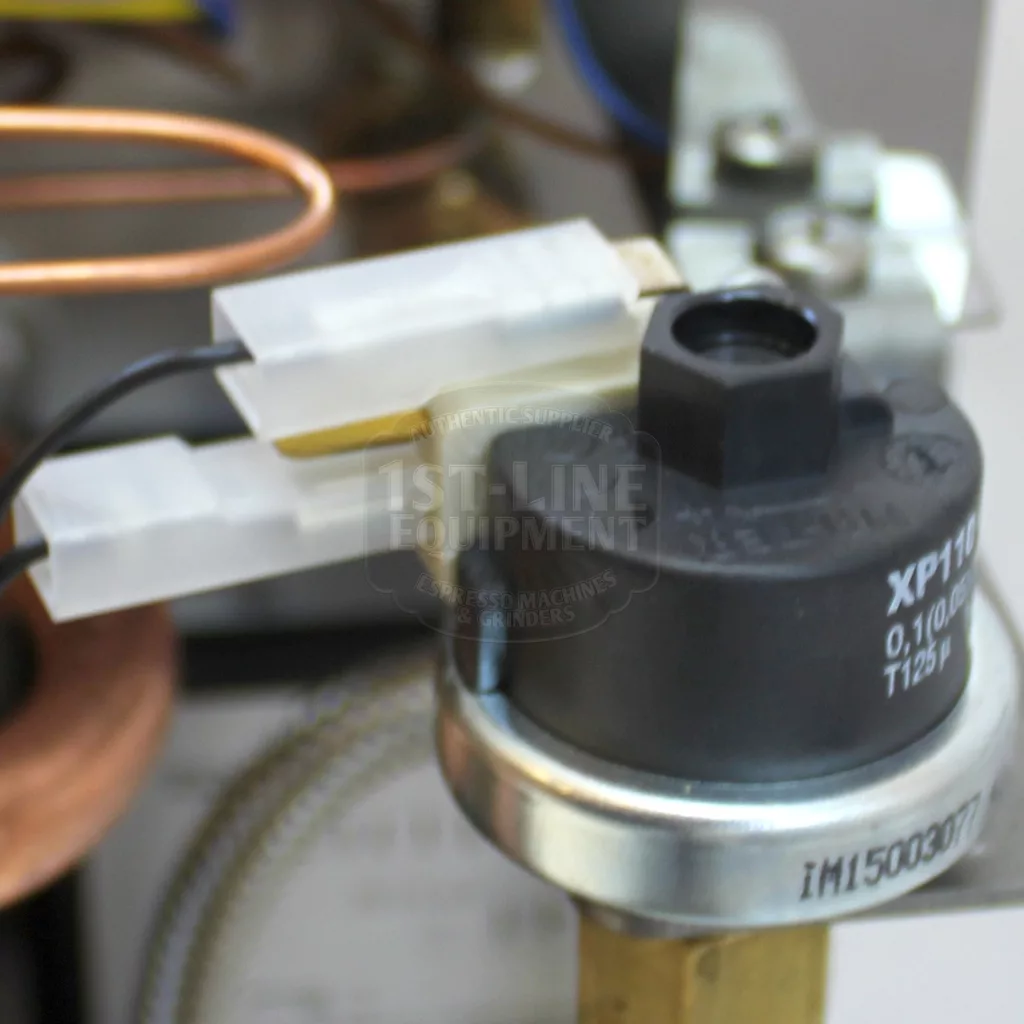
- the pressurestat adjustment – using a flathead screwdriver, turn clockwise for more boiler pressure, and counterclockwise for less boiler pressure.
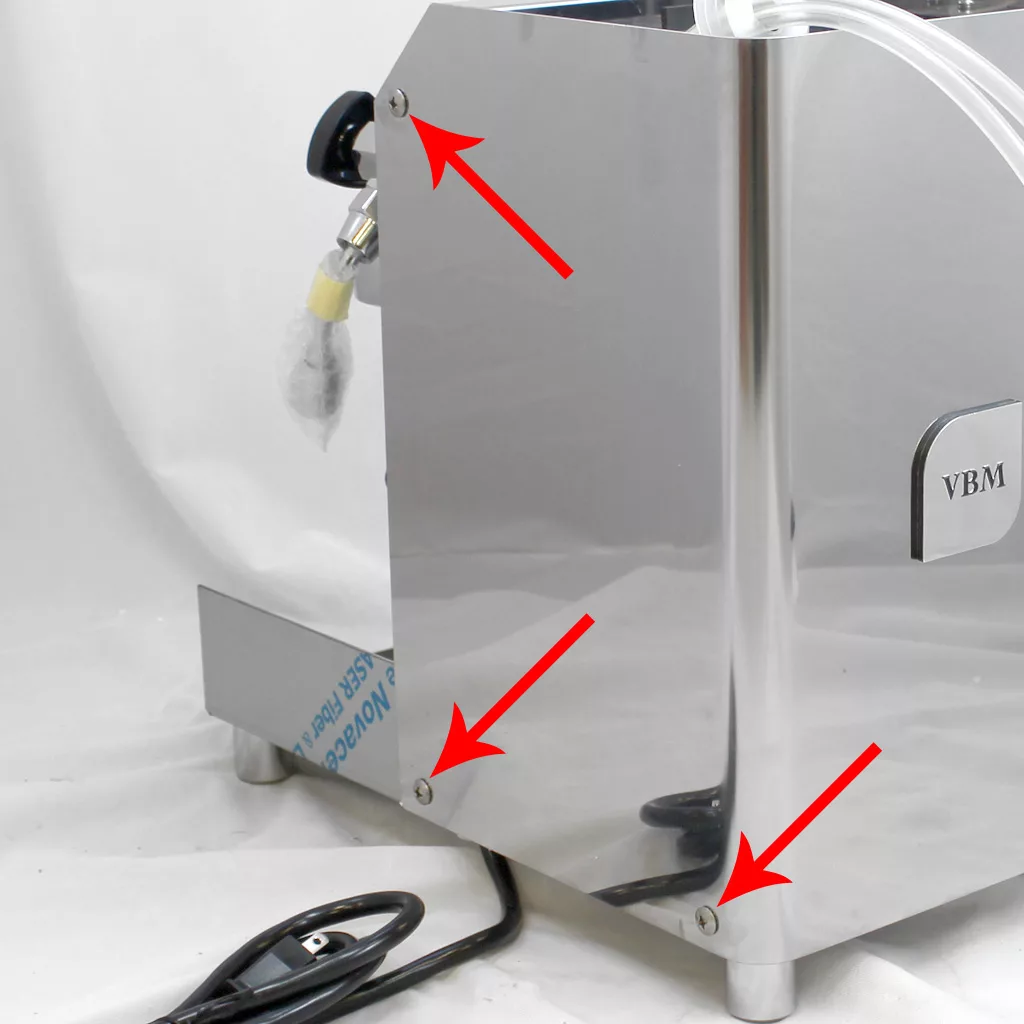
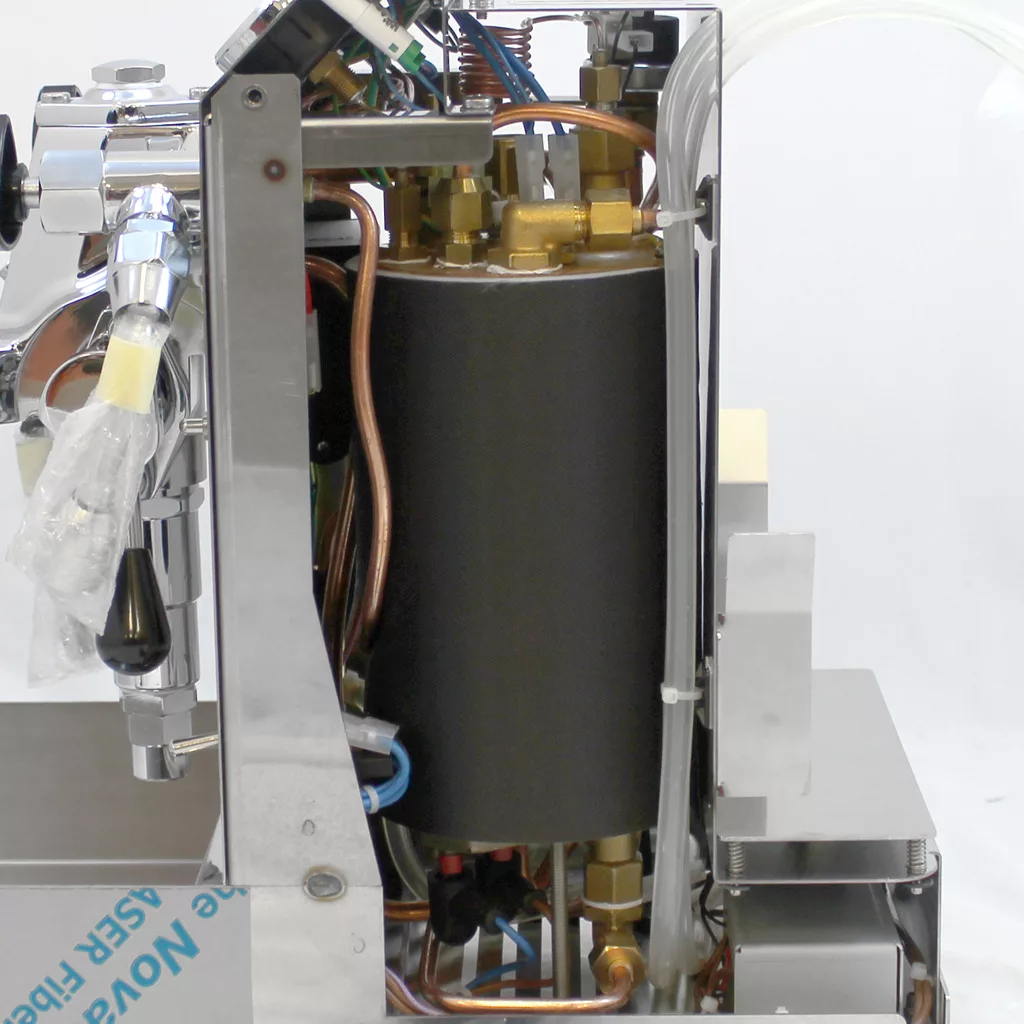
To gain access to the inside, the body panel must be removed. On the left and right sides of the machine, there are 3 screws (6 total). Once removed the body panel will slide off.

You will now have side access to the inside to diagnose the machine.
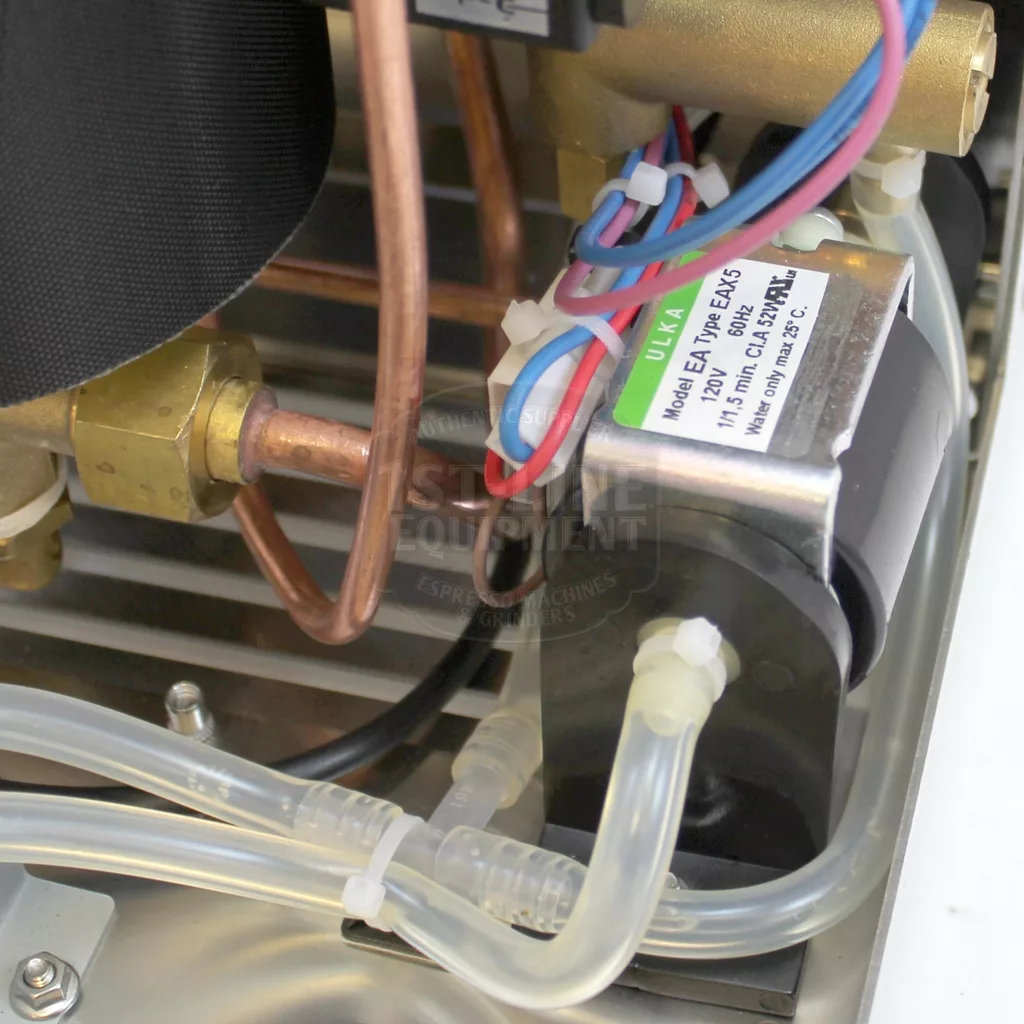
On the left side where the vibration pump is, you will be able to adjust the OPV. Using a flathead screwdriver, turn clockwise to increase pressure, counter clockwise to decrease pressure.
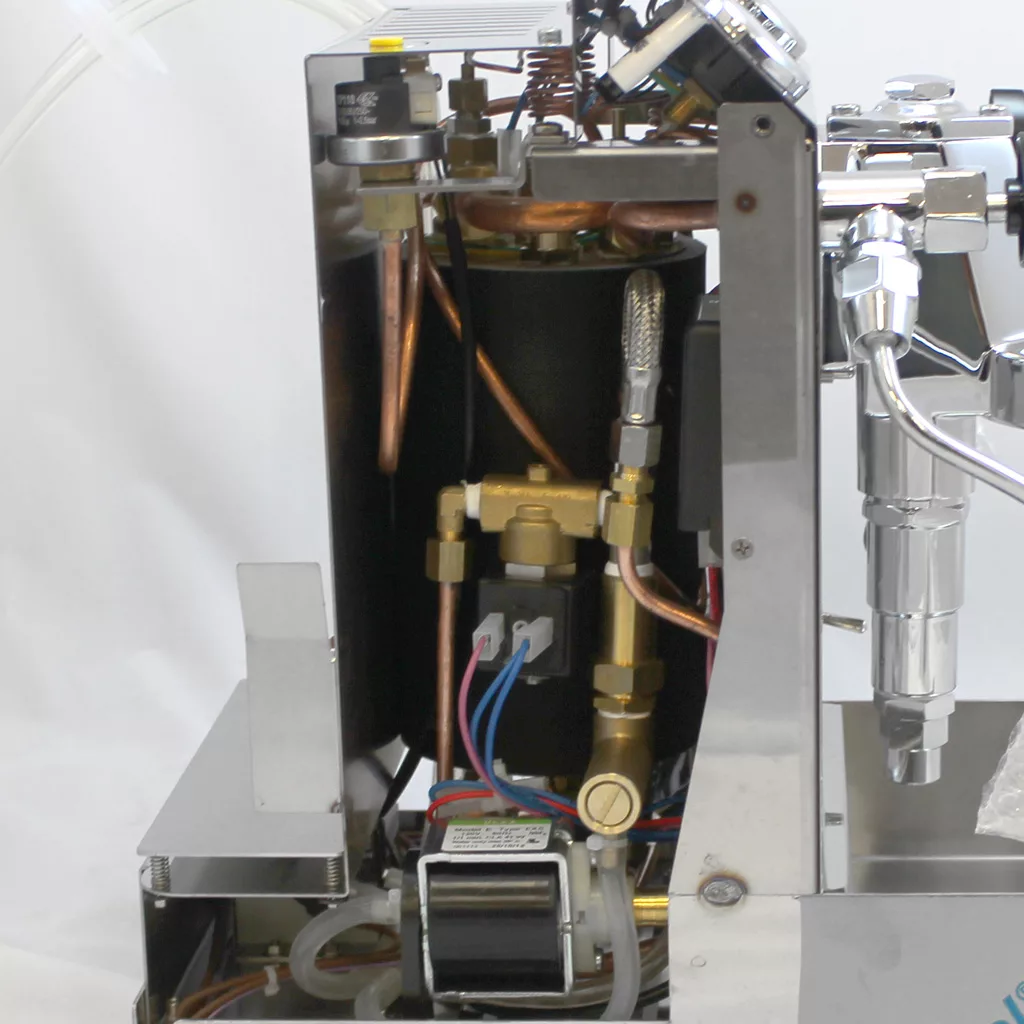
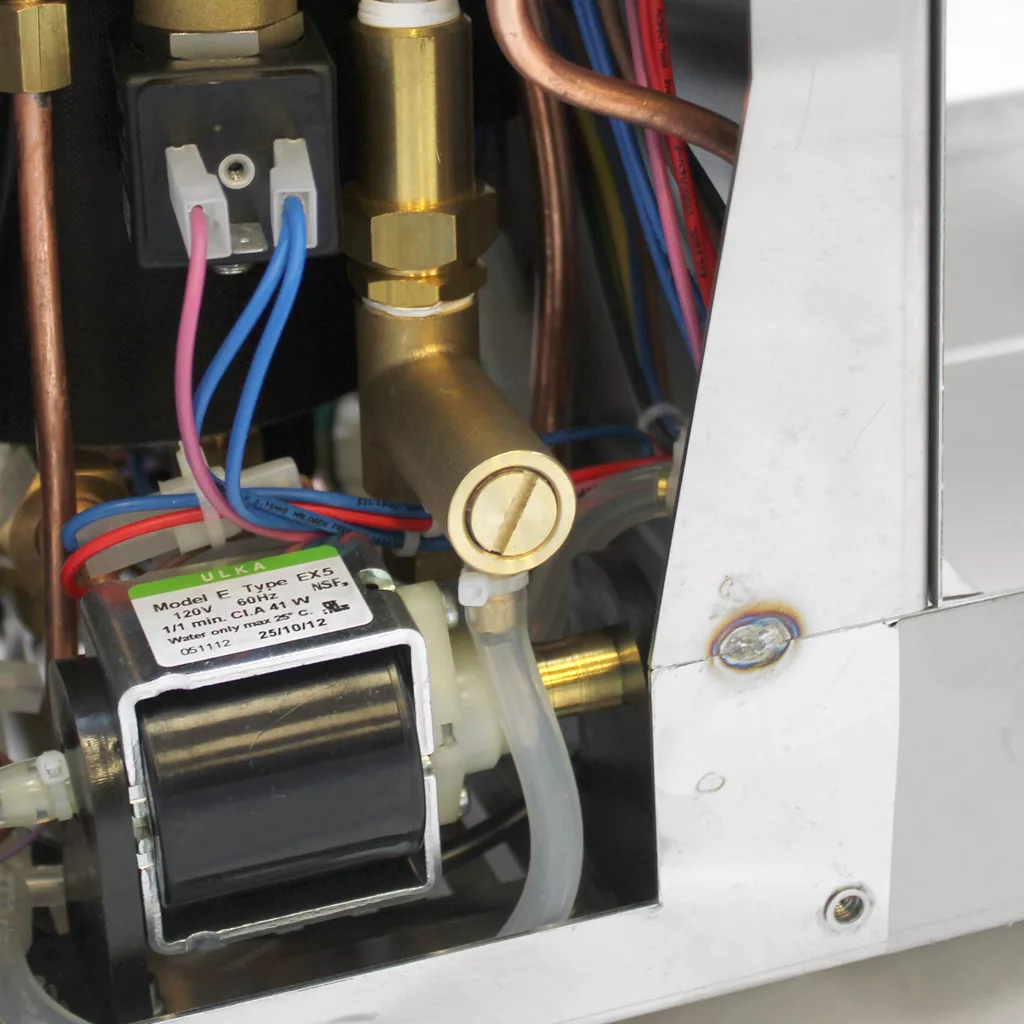
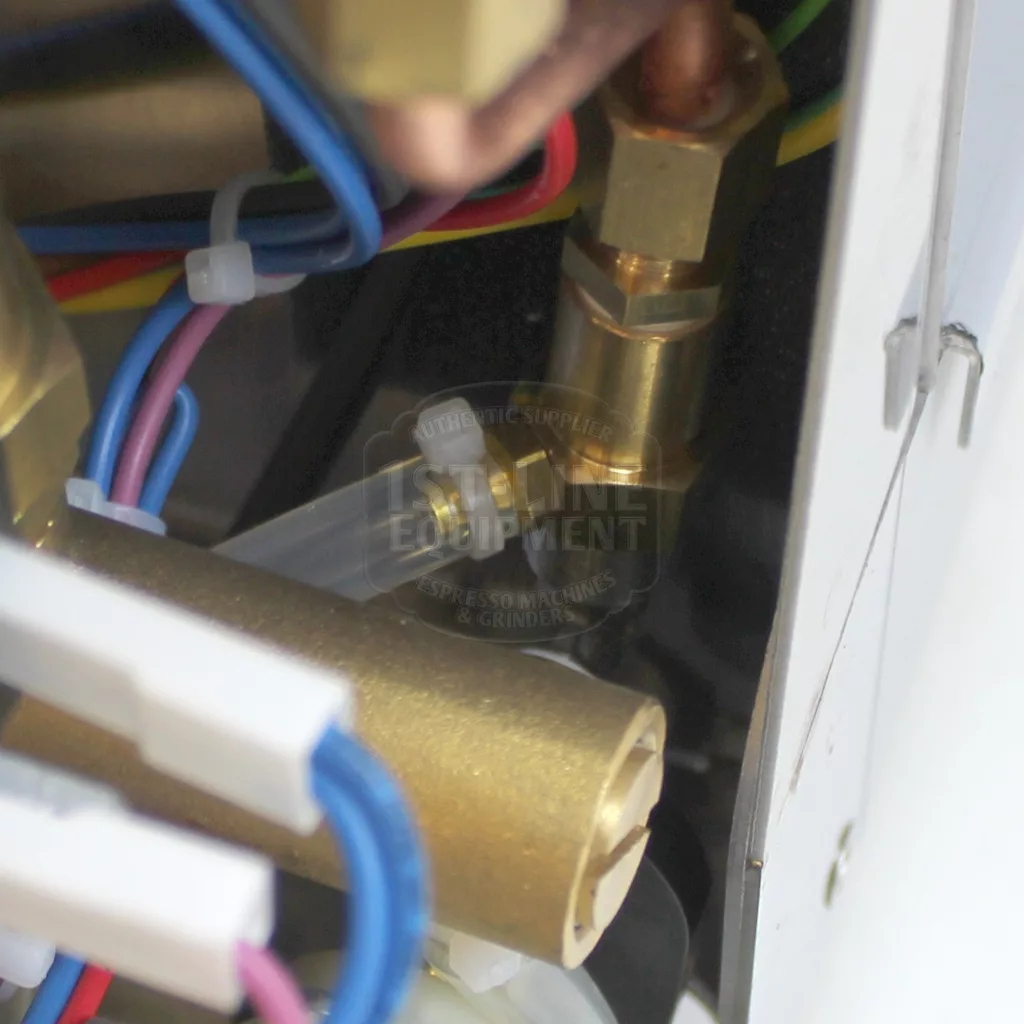
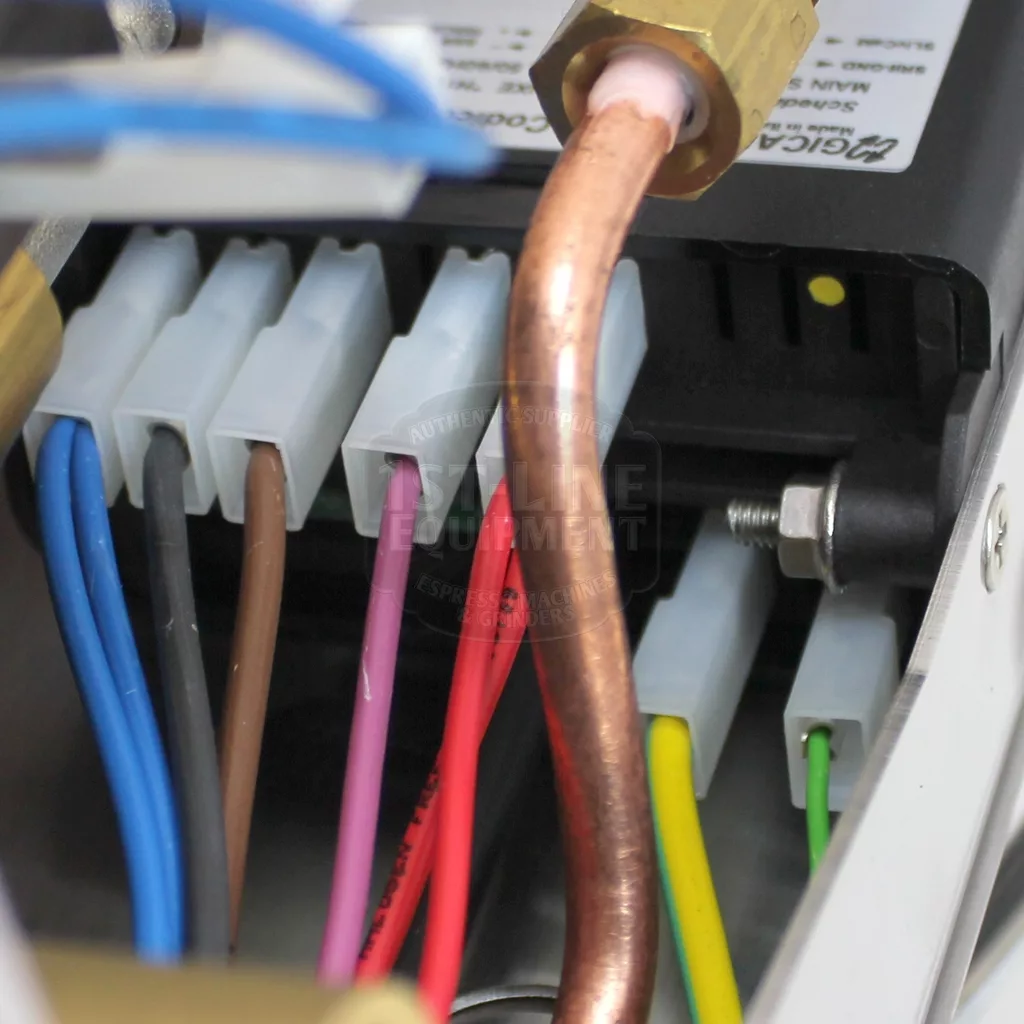
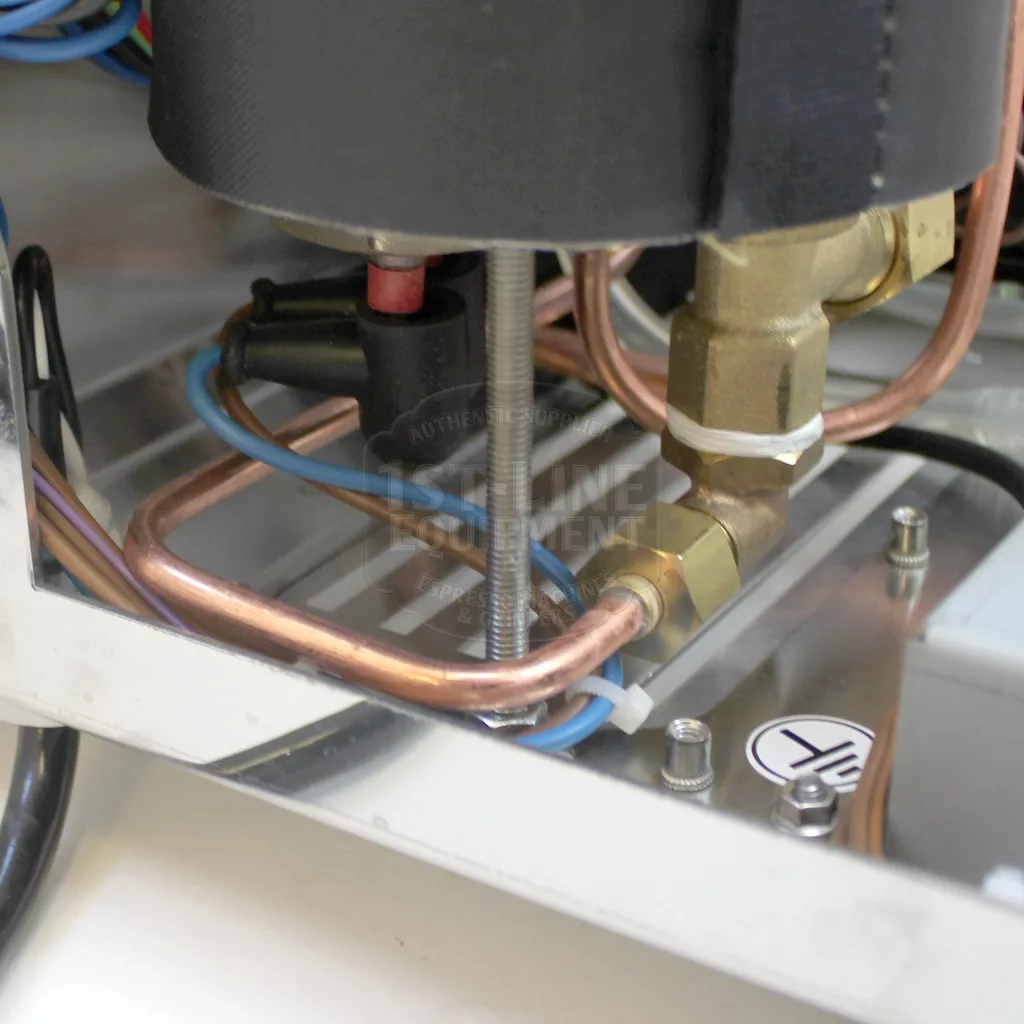
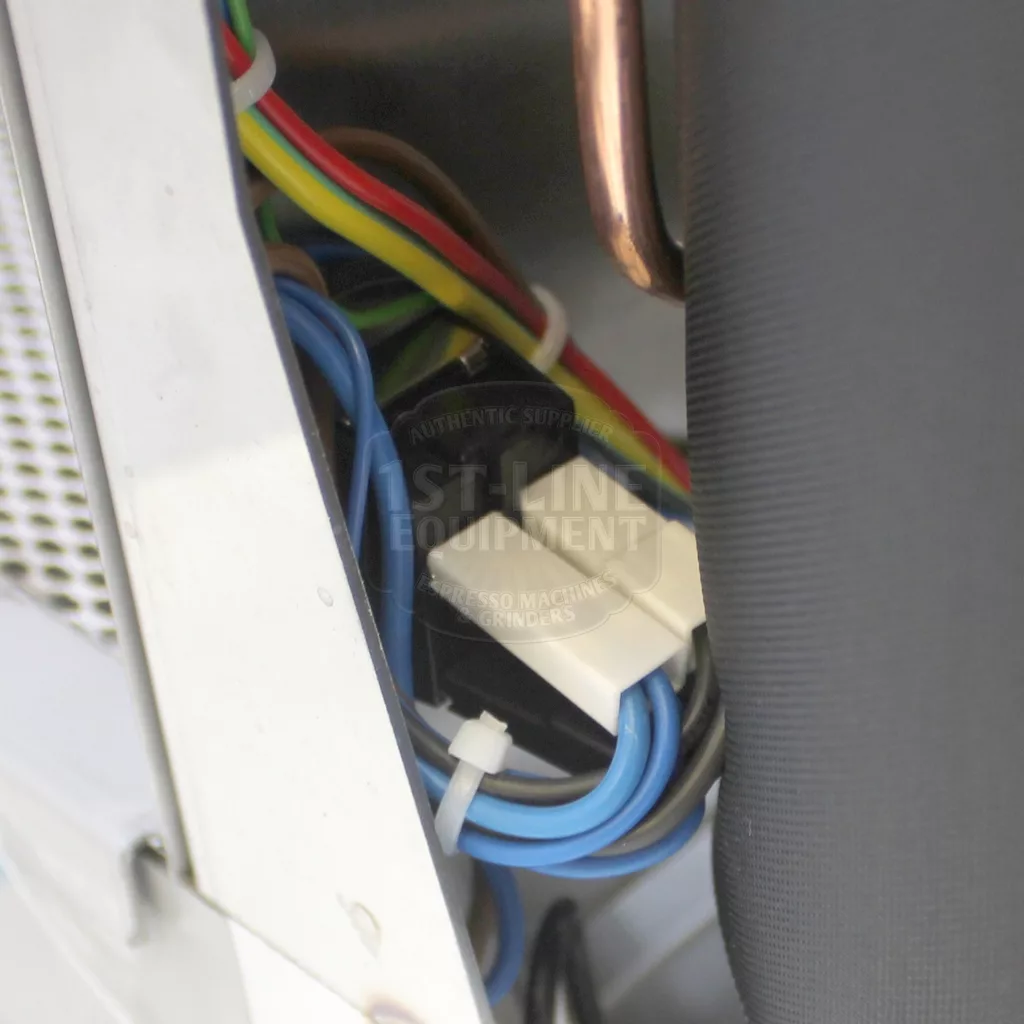
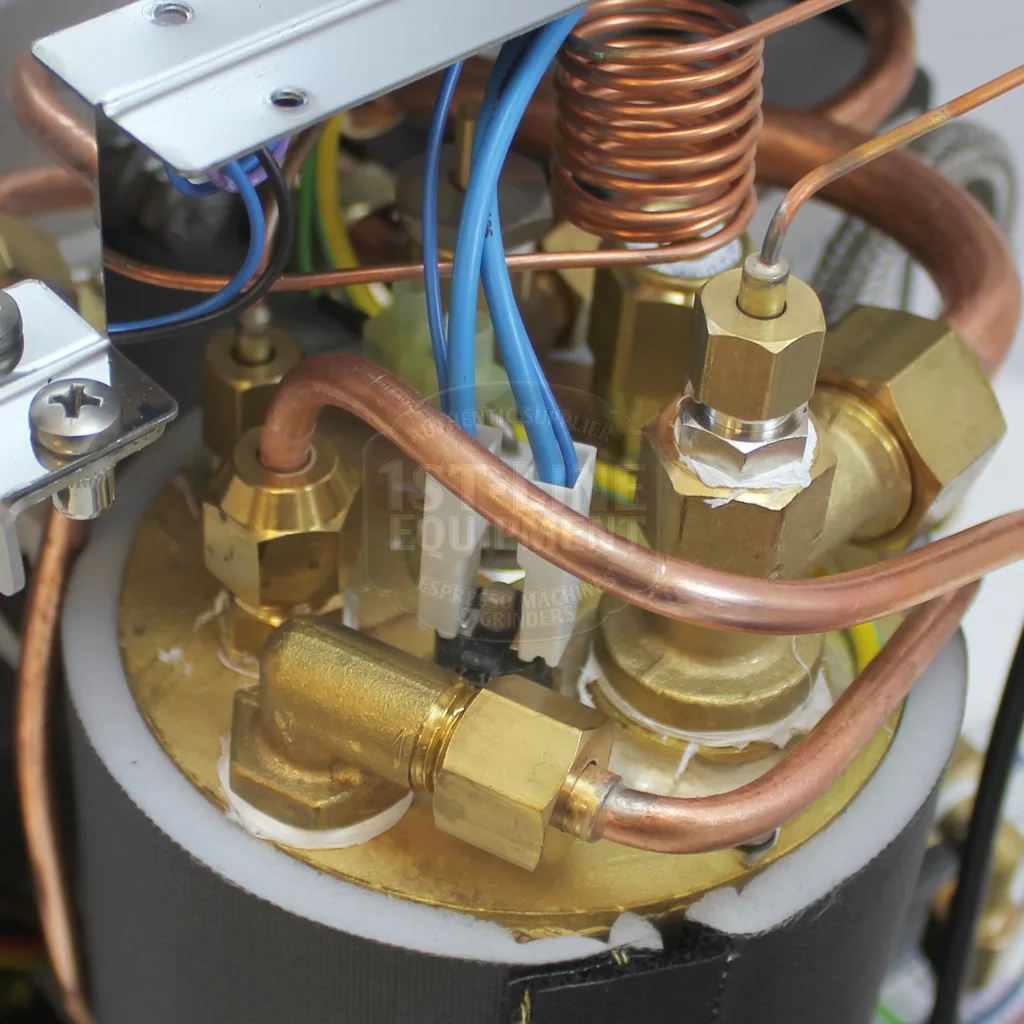
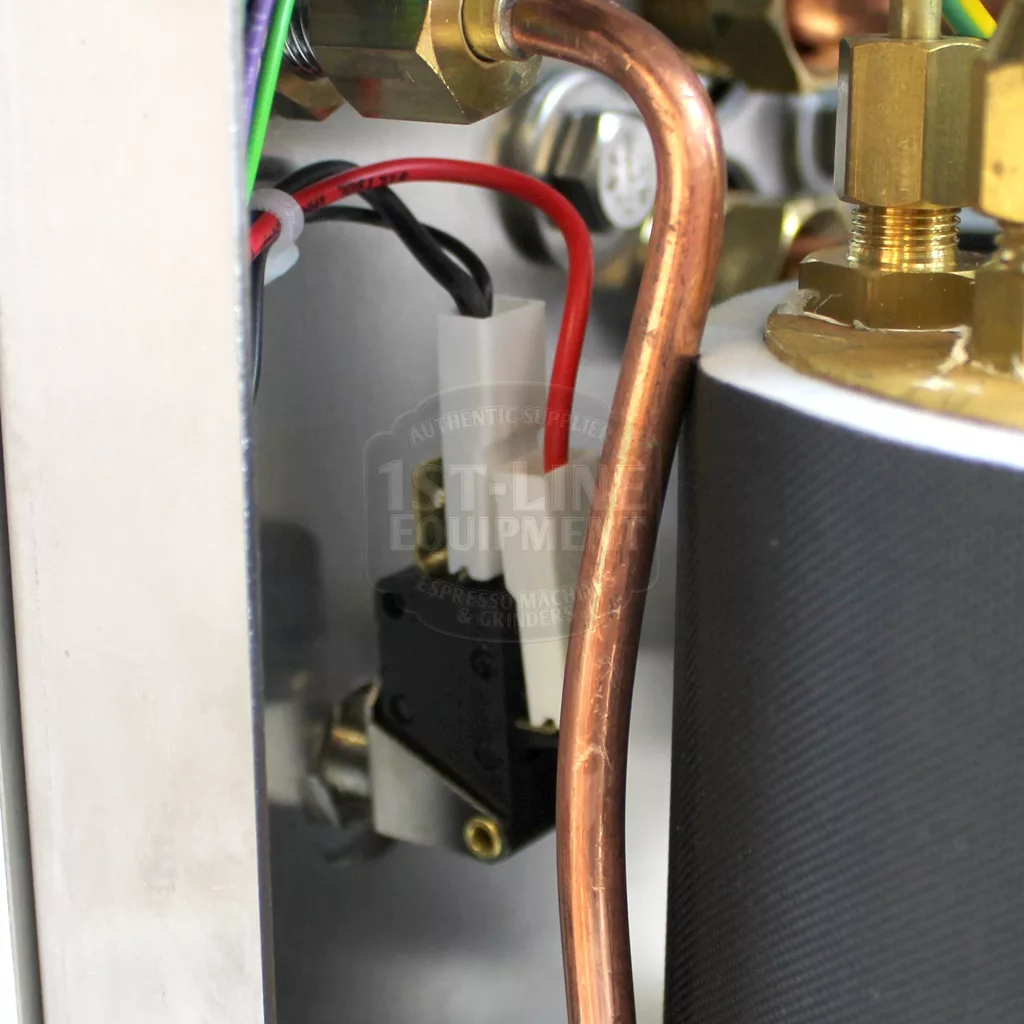
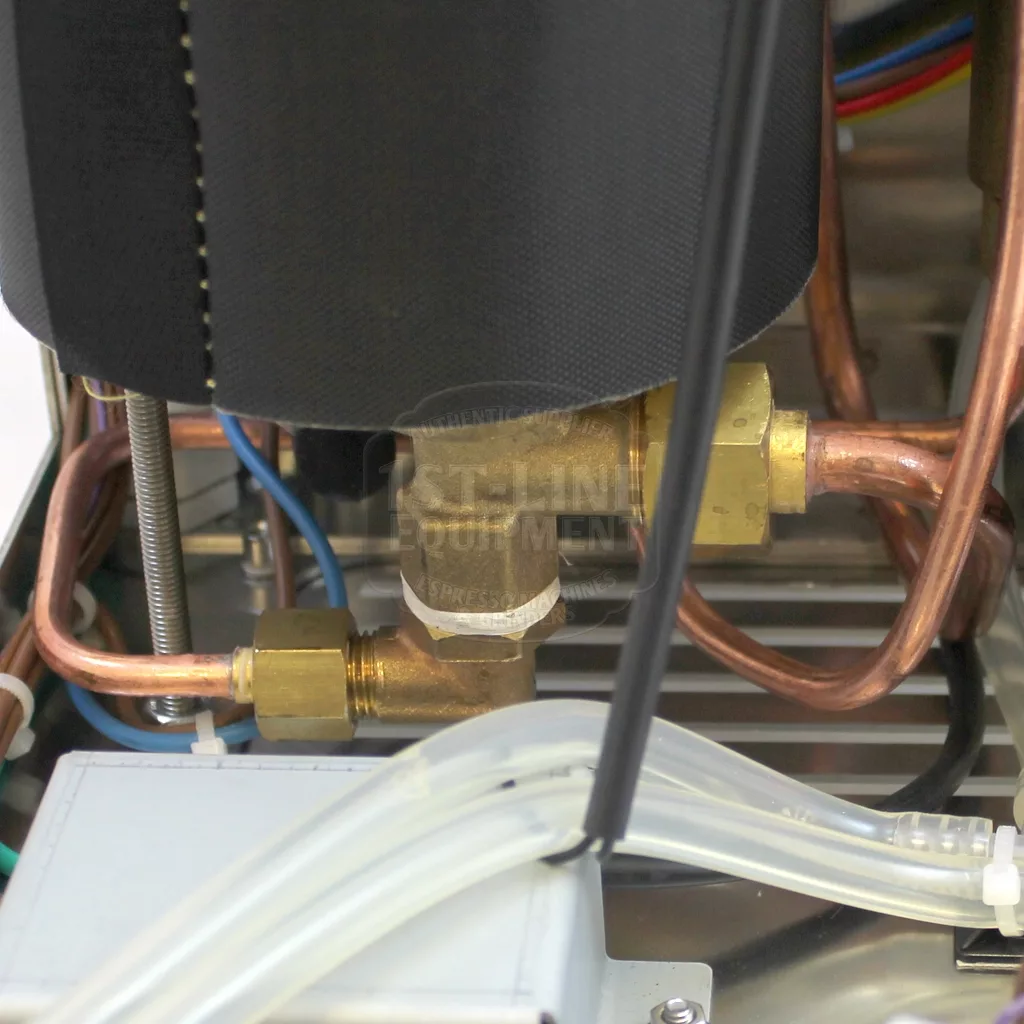
More detailed pics of the inside
Please note the above information is subject to copyright. It cannot be published by any means without the expressed written consent of 1st-line Equipment, LLC.