
Accessing the inside – Rancilio Silvia
Power off your machine and unplug the power cord from the outlet. It is recommended to allow your machine to cool off for at least 1 hour.
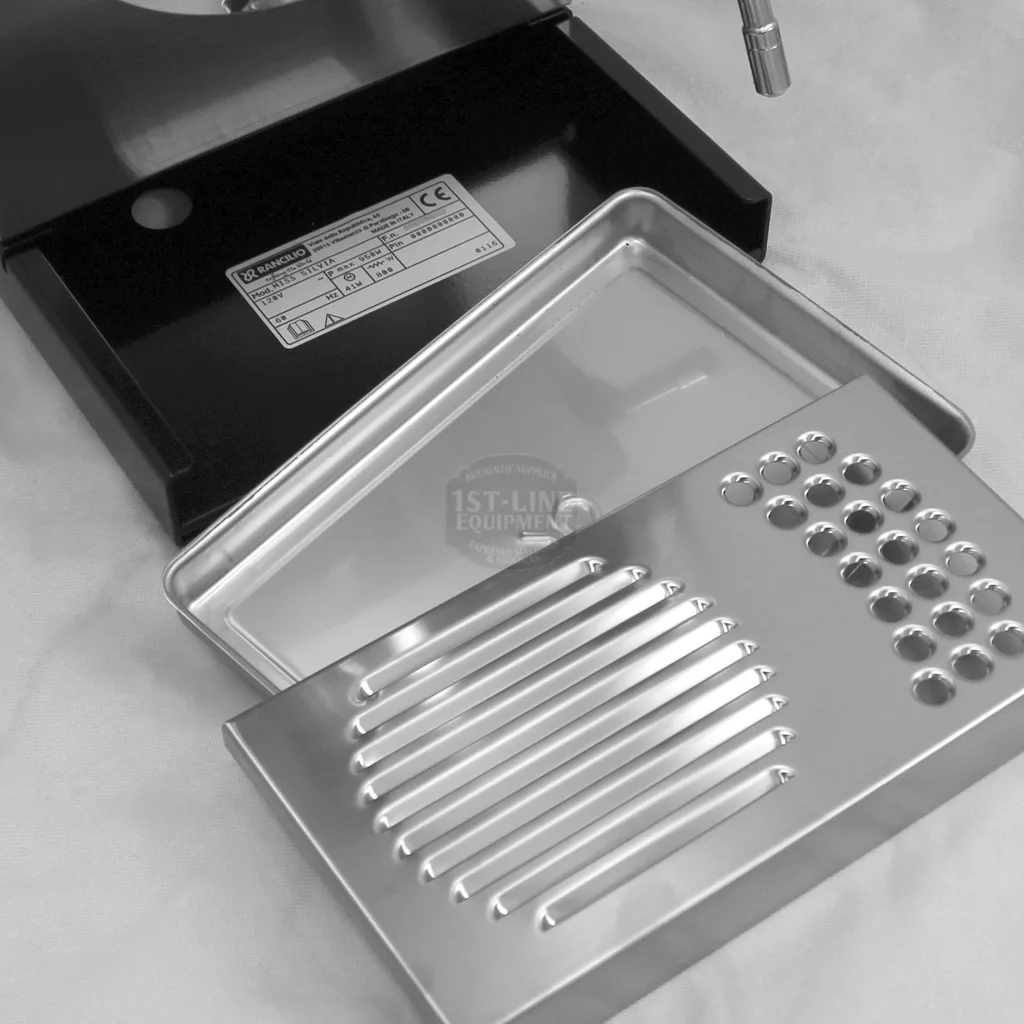
Underneath the drip tray you will find the label for your machine which has the serial number.
Remove the water tank from your machine. If you have a water softener or need to attach one, note that it attaches to the longer hose.
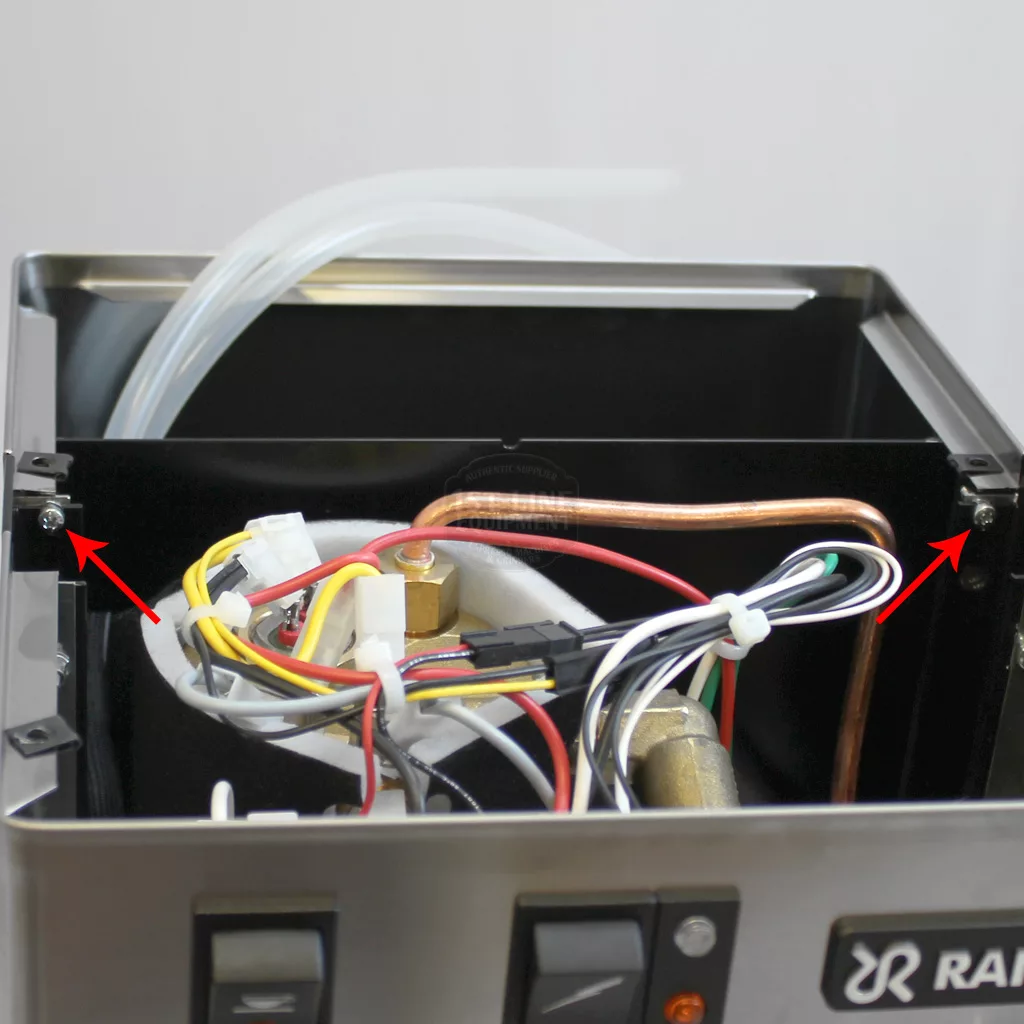
On the top panel, there are 4 screws. Use a Philips head screwdriver to remove them.
This will give you access to:
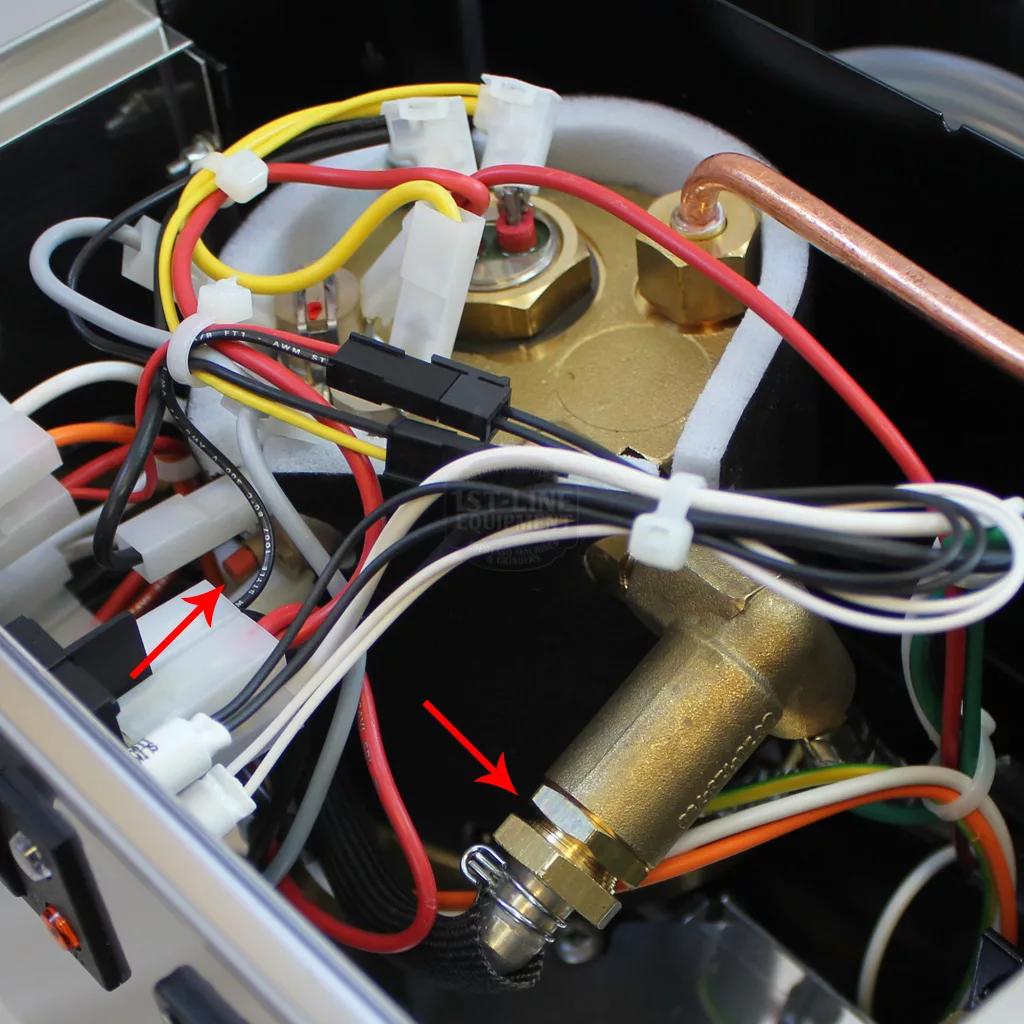
- Safety thermostat to reset
- Over pressure valve (OPV) to adjust brew pressure – see detailed instructions
- Boiler and heating element
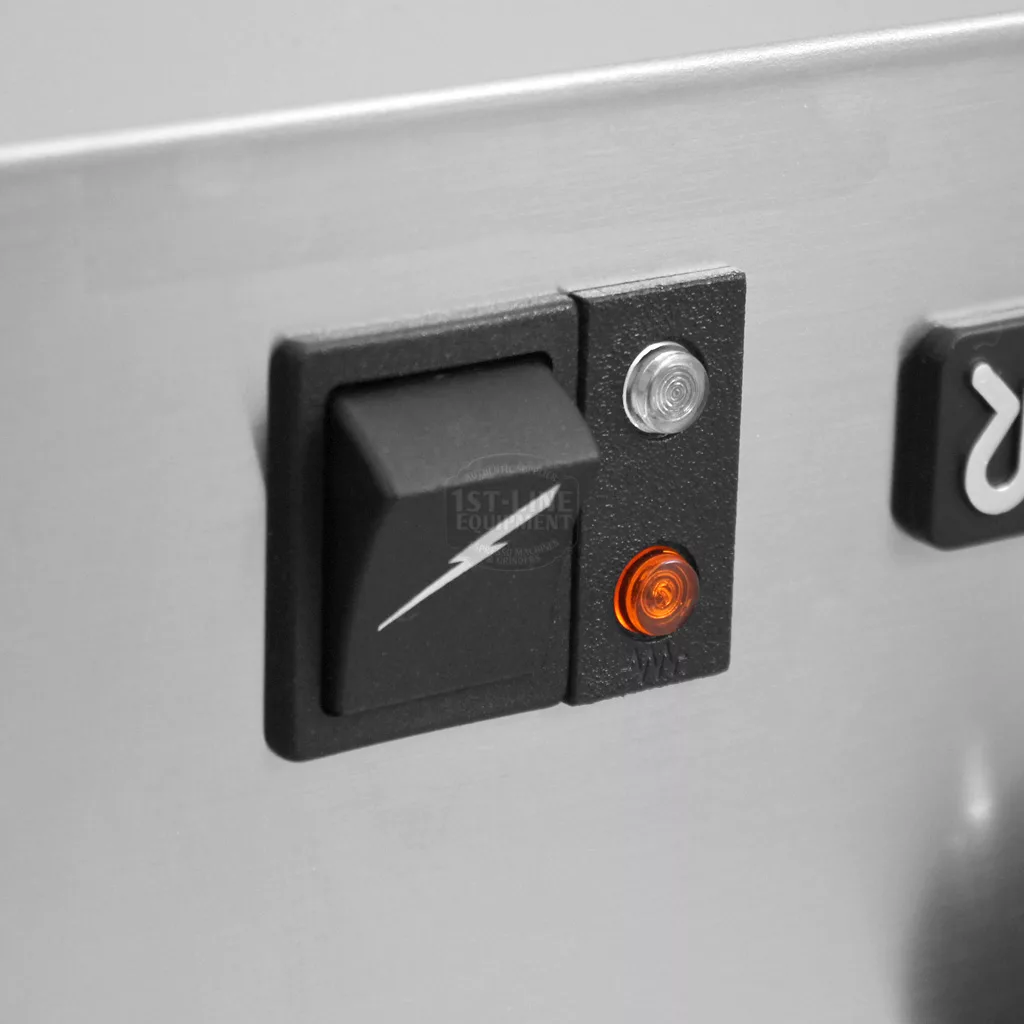
- Wires for the switches
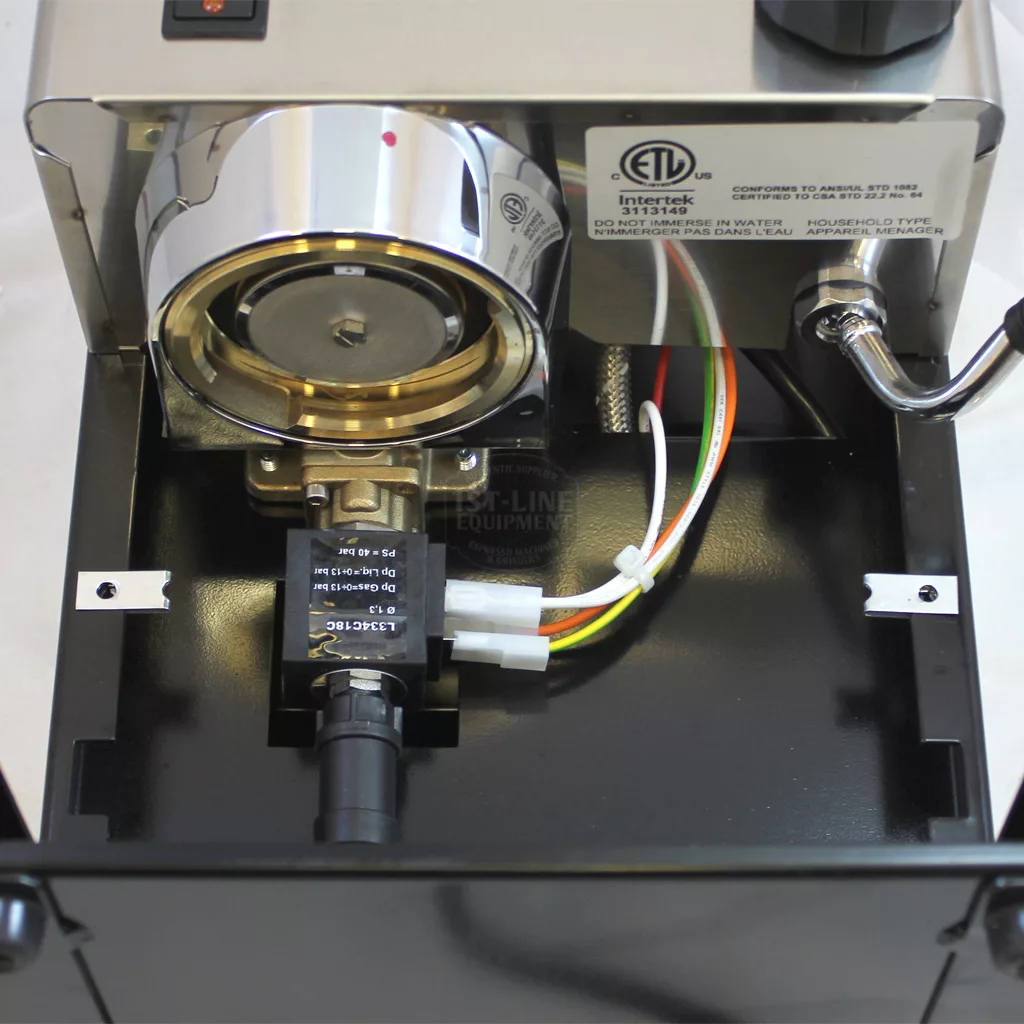
On the front panel below the grouphead, there are 2 screws. Use a Philips head screwdriver to remove them.
This will give you access to:
- 3 way solenoid valve to clean – see detailed instructions

Getting to the pump can be a little tricky. The back panel has to be removed. There are 2 screws near the top. You may need a thin Philips head screwdriver in order to angle it into the screw.
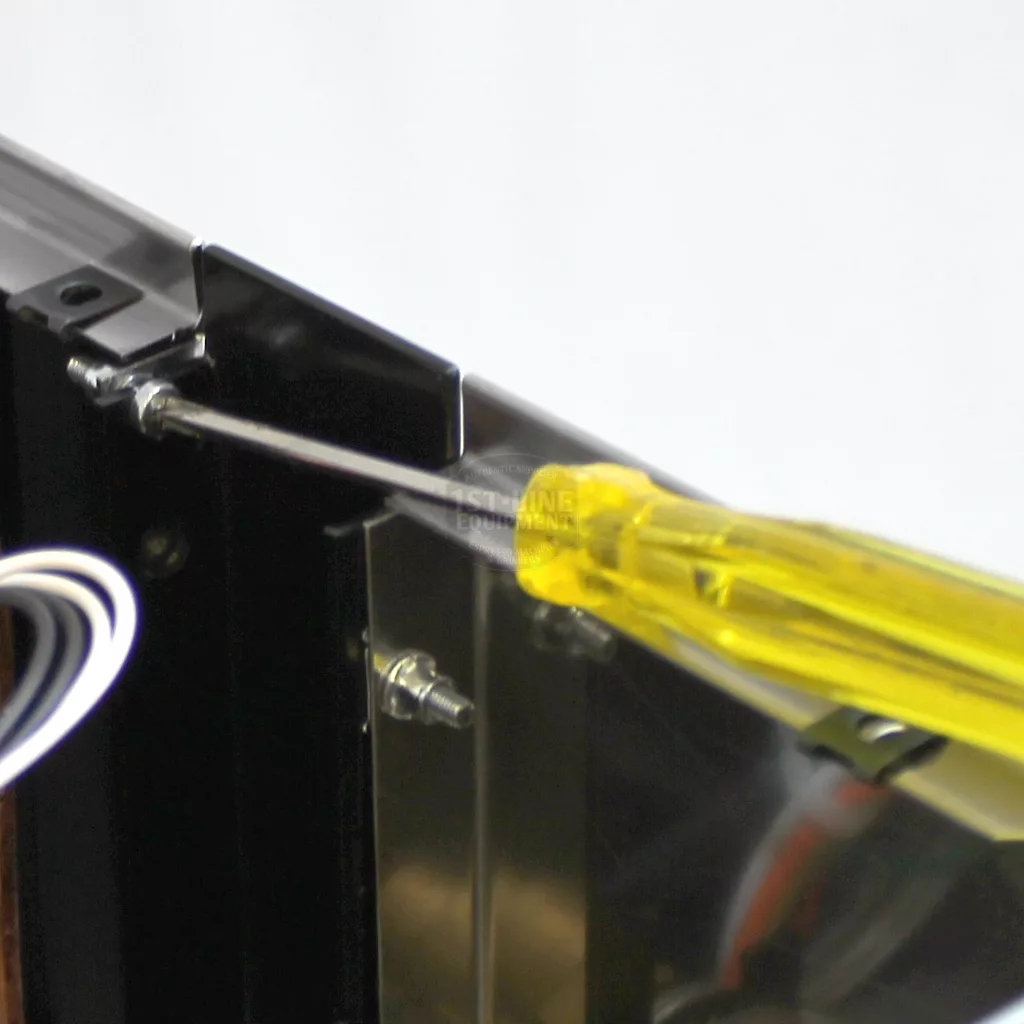
There is 1 more screw underneath the plate where the tank sits on.
The pump sits below the plate where the tank sits on. There are 2 support brackets that hold the pump in place. To remove the brackets, use an Allen key wrench to remove the screws underneath your machine.

Please note the above information is subject to copyright. It cannot be published by any means without the expressed written consent of 1st-line Equipment, LLC.