
Accessing the Burrs – Quamar Q50
Disclaimer: The technical statements, support, information and recommendations contained herein are believed to be accurate as of the date hereof, but 1st-line Equipment, LLC does not make representations or warranties, express or implied, as to its accuracy, its completeness, or the results to be obtained. The information is being provided for informational purposes only and is intended for use by persons having adequate skill and expertise regarding the proper selection, use and application of the products and recommendations and at their own risk and discretion.
1st-line Equipment, LLC is not responsible for any injury or damages from such information. Please note that parts are available for purchase from 1st-line Equipment, LLC self service parts portal. These parts do not include any technical support. If you're unfamiliar with the technical aspects of repairing equipment, please contact a professional for proper evaluation.
By continuing to read further, you agree to abide by all the terms and conditions on this website. If you disagree, please leave our website.
- Remove the bean hopper. If it is full with beans, push in the stopper. There will be beans that have already passed into the grinding chamber. It’s best to grind out those beans.
- Unscrew the set screw that holds the hopper in place. A Phillips head screwdriver is needed.
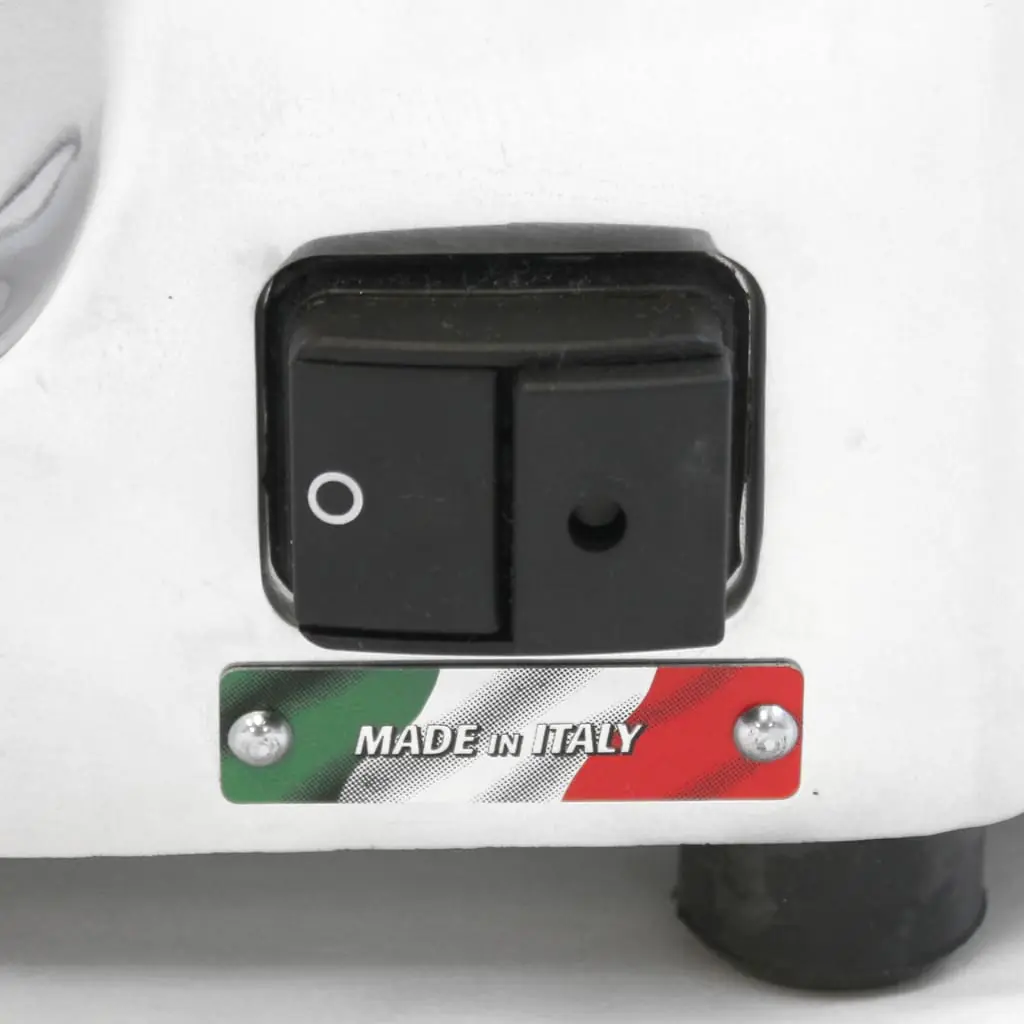
- For safety purposes, power off the grinder and unplug from the electrical outlet.

- To remove the top burr carrier, hold the setting lock button down and continuously turn the adjustment dial in the coarse direction (clockwise). It will take multiple turns.
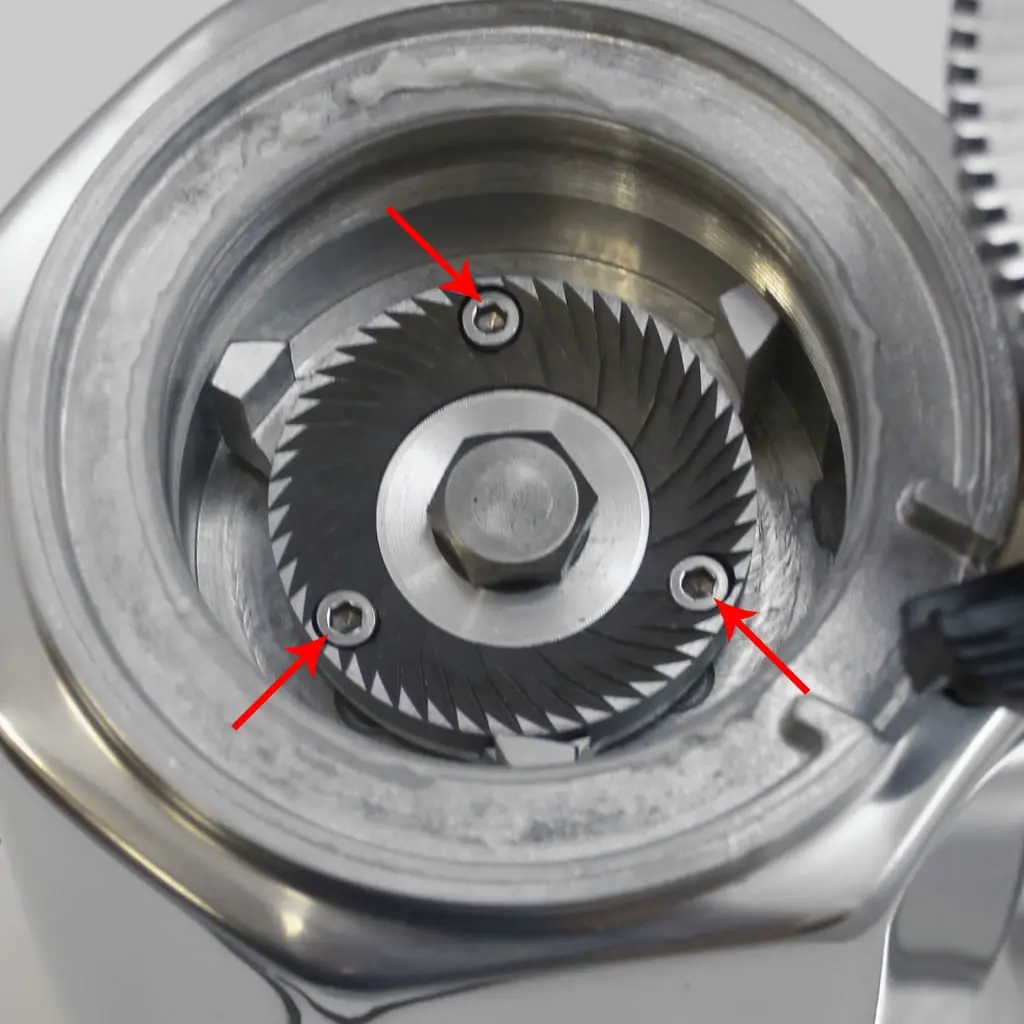
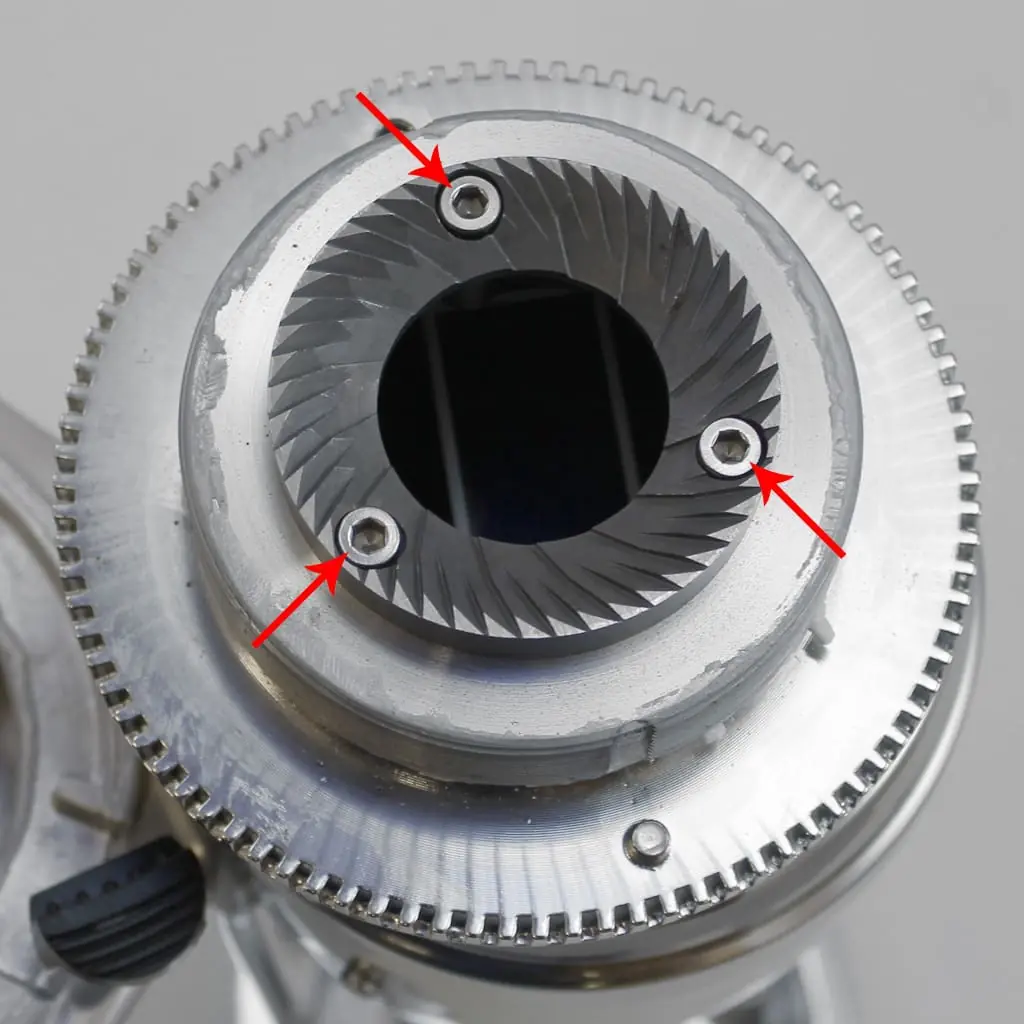
- Once the top burr carrier is off, you will have access to the burrs and the grinding chamber. You can clean the burrs with a wire brush. You can also sweep / scoop / vacuum out any excess coffee you may find.
- If you need to replace the burrs, you will need an Allen key screw to remove the 3 screws that are holding each burr.
- You also have access to the coffee chute if it gets clogged. You can use a brush or any thin tool to push any coffee grinds through.
Please note the above information is subject to copyright. It cannot be published by any means without the expressed written consent of 1st-line Equipment, LLC.