
Accessing the inside – Cuadra

Power off your machine and let it cool for at least an hour or 2.
Unplug the power cord from both the outlet and the machine.
Remove the drip tray, top cover, and water tank.

On the top, there are 4 Allen key screws (usually 2.5 mm). This holds the top inside panel and the side panels.
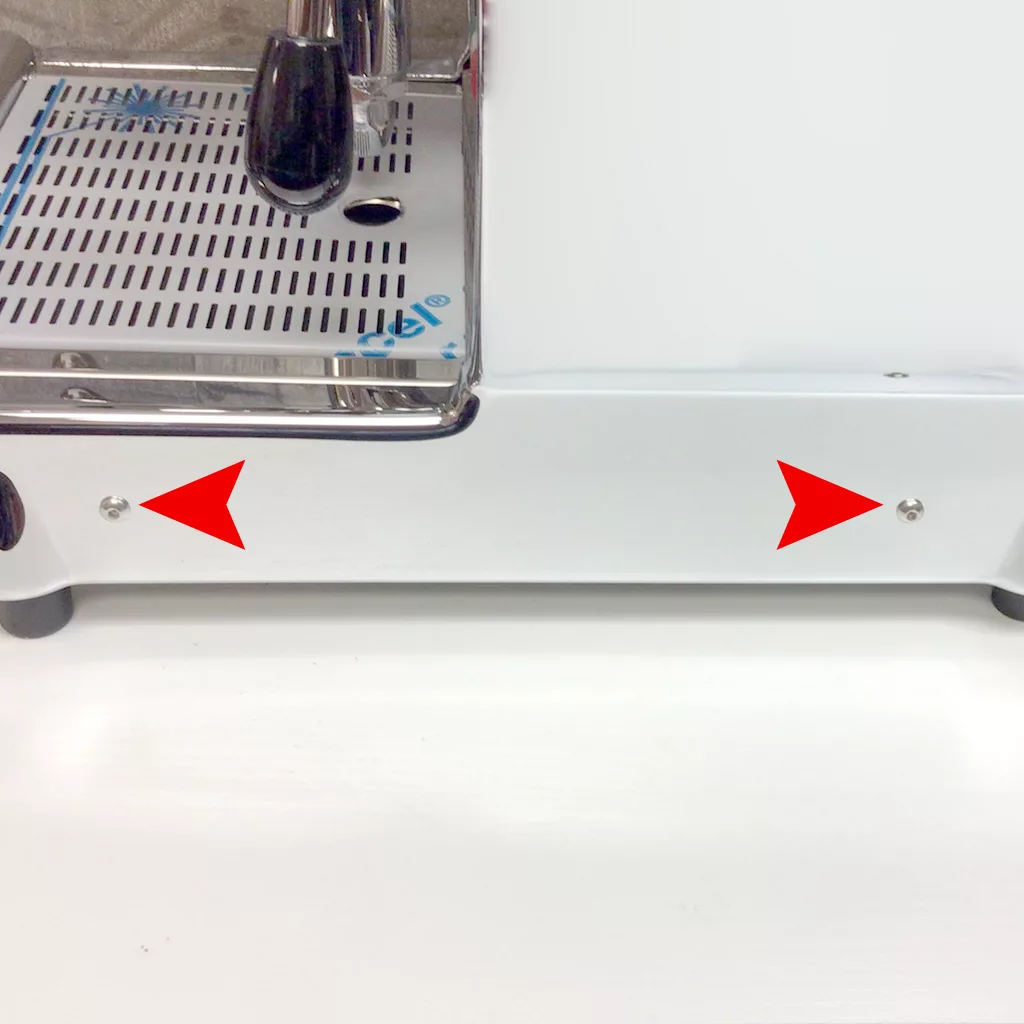
On the side of each side panel, there are 2 Allen key screws (usually 2.5 mm).
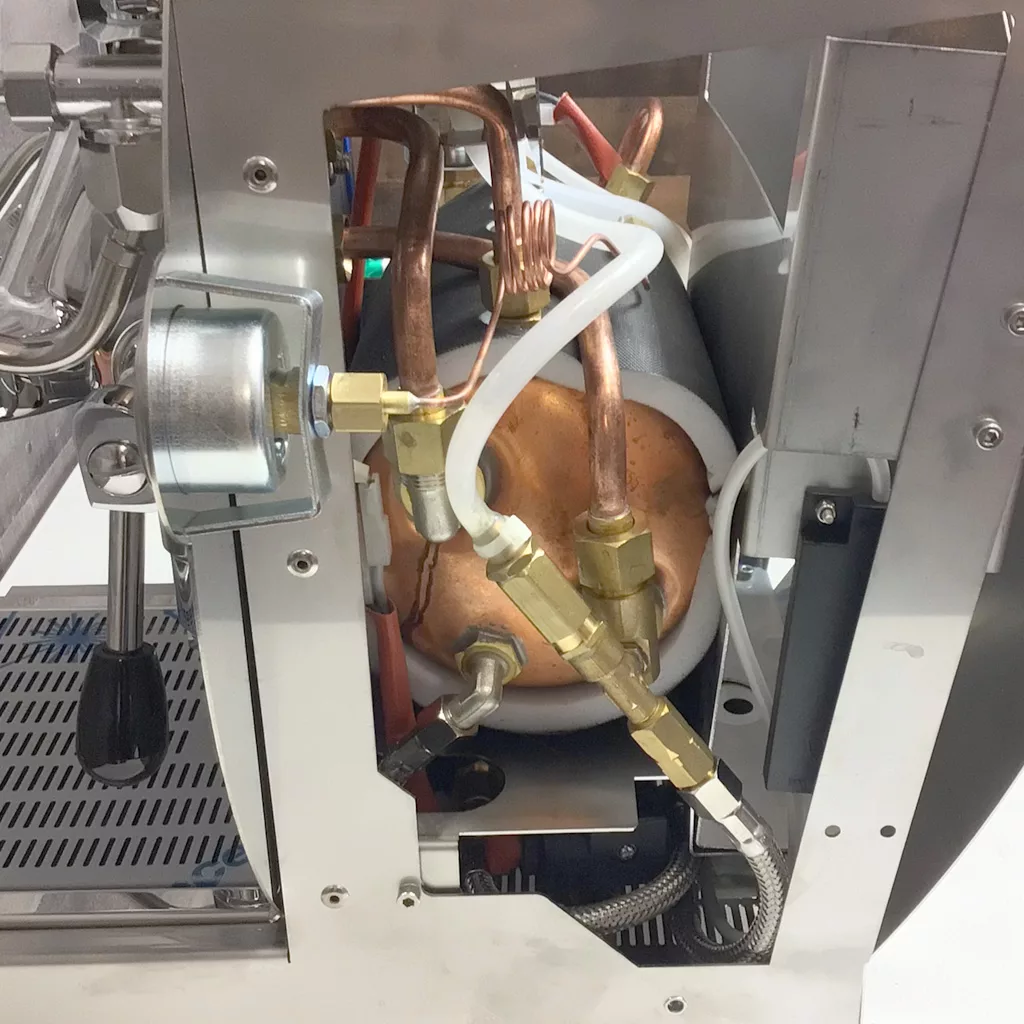
Once the panels are removed you will have side access to the inside. On the right side, you can access the pressure gauge.
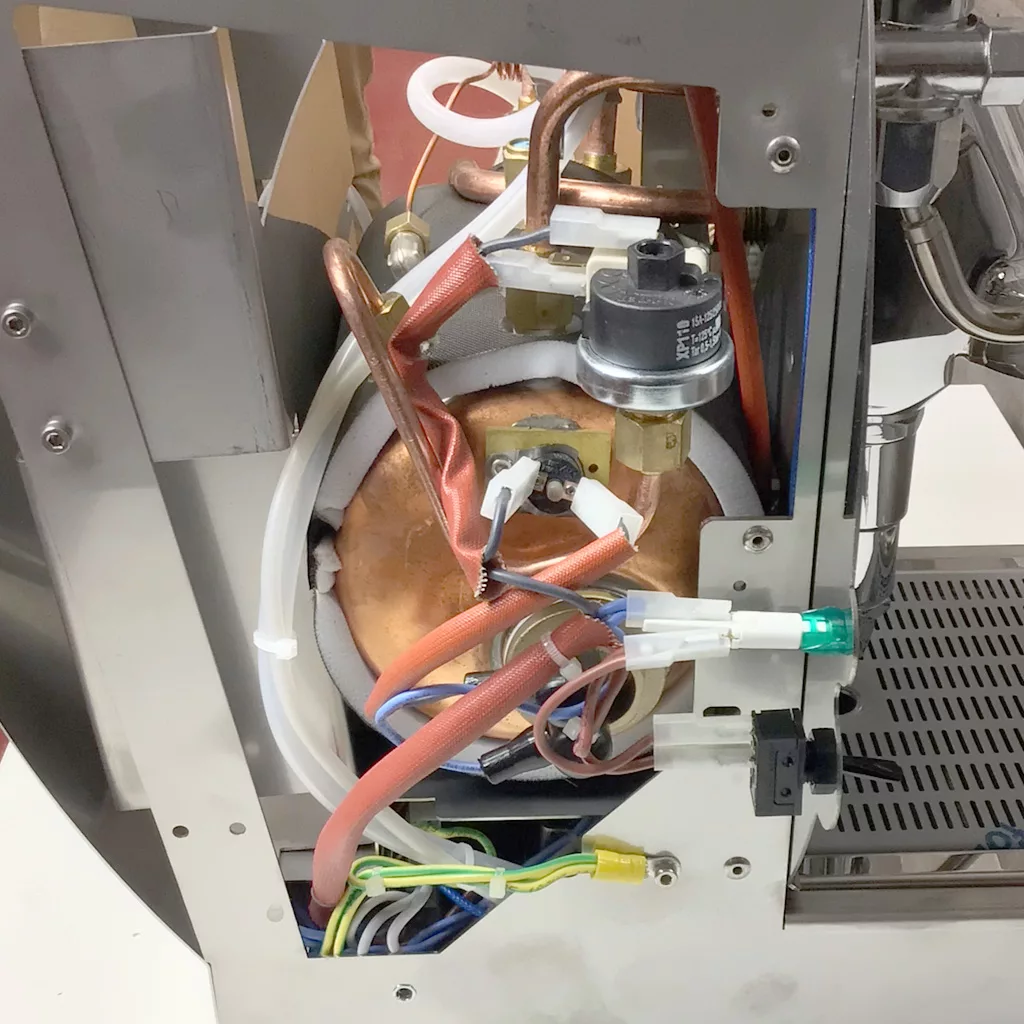
On the left side, you can access the pressurestat, safety thermostat reset, heating element, indicator light, & power switch.
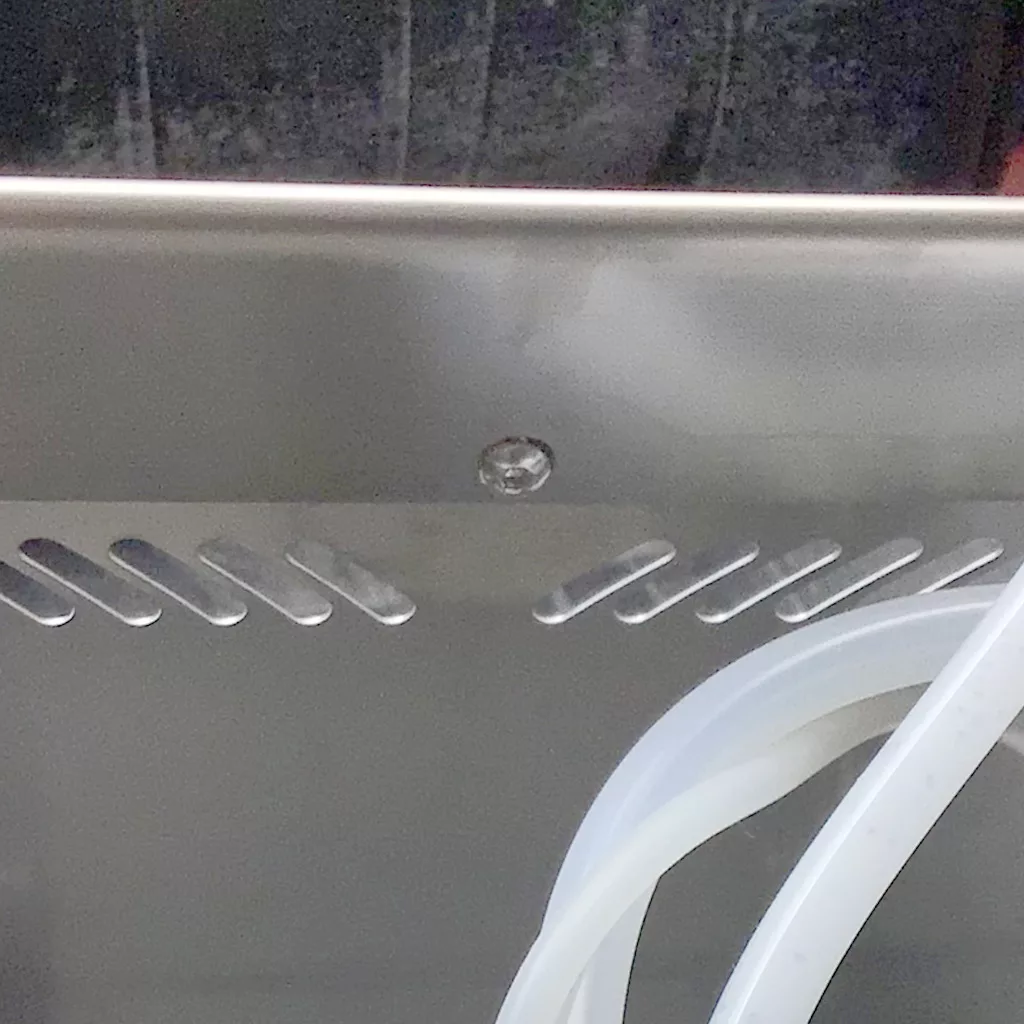
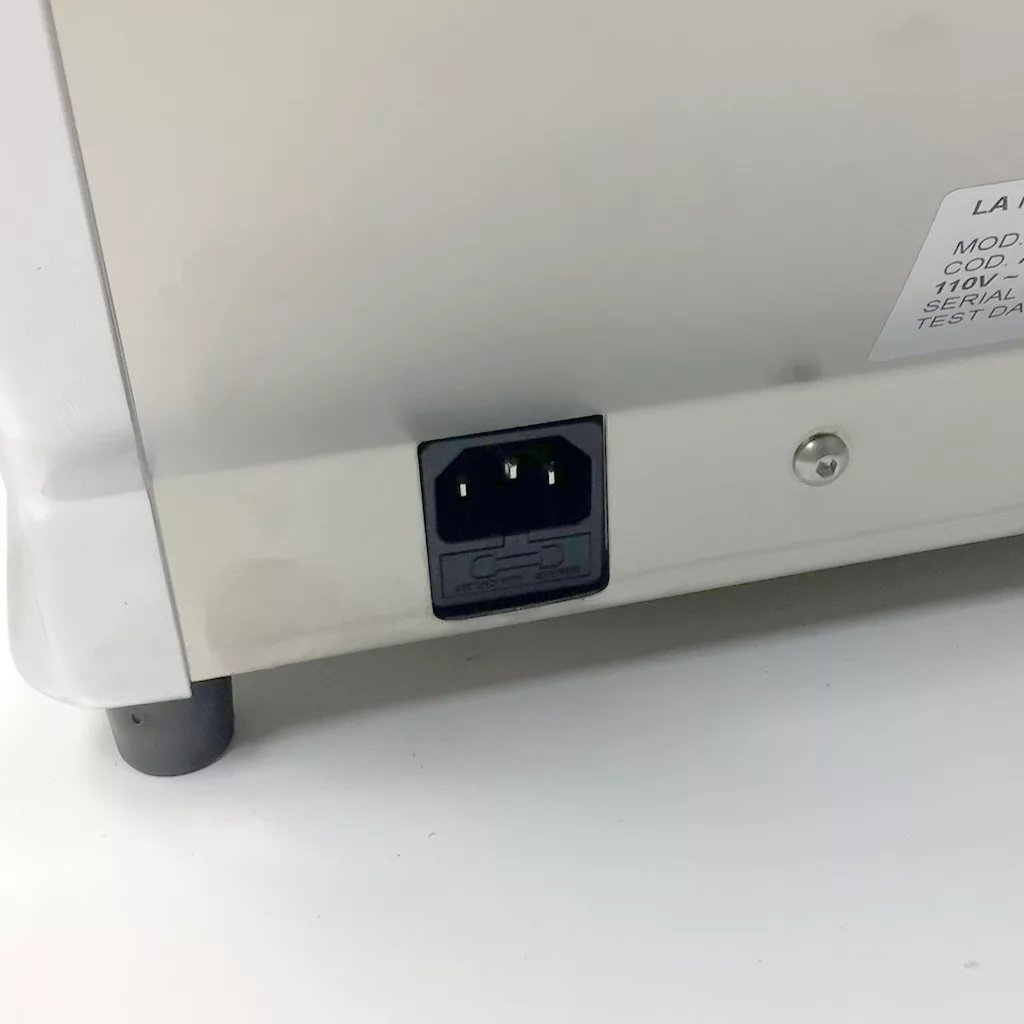
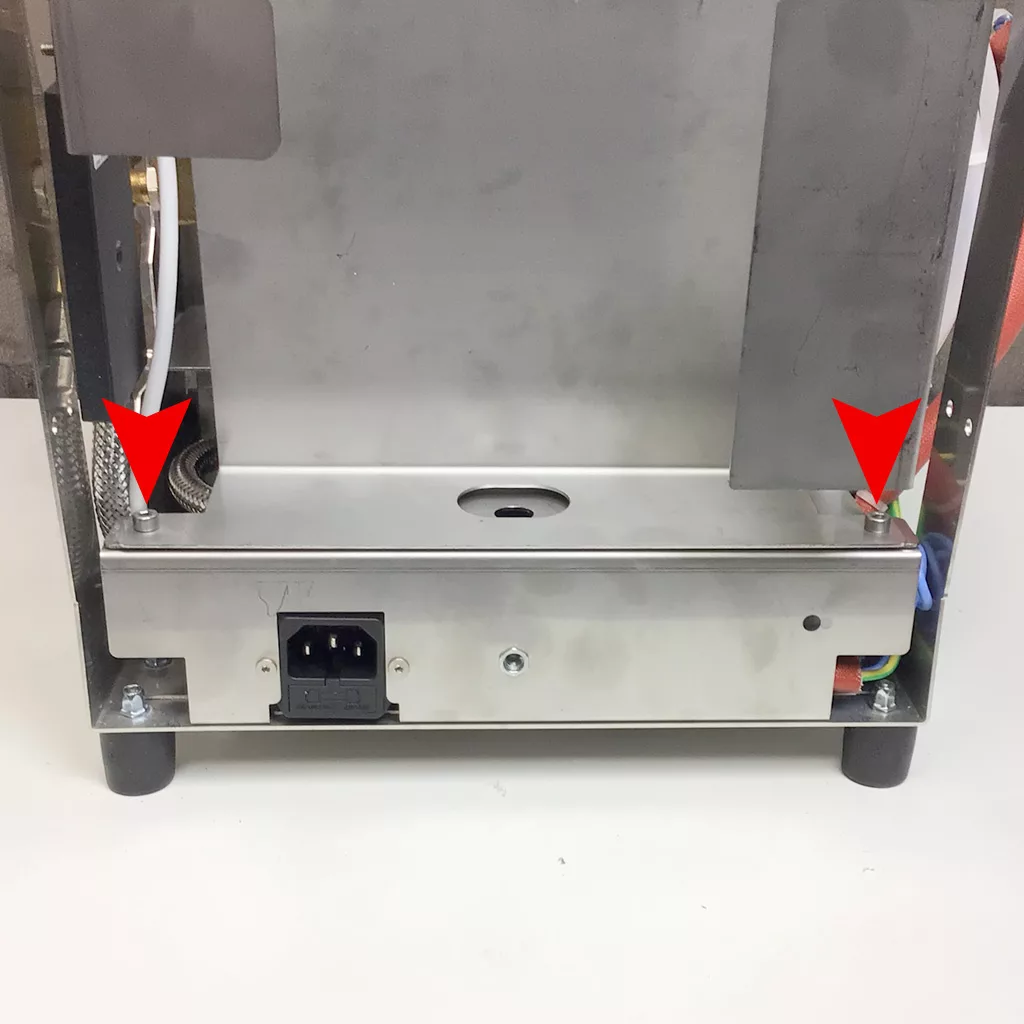
To remove the back panel, there are 2 screws to remove. One is near the top of where the water tank sits.

The other is near where the power cord is plugged in.
To remove the inside back panel, there are 2 Allen key screws on the bottom inside.
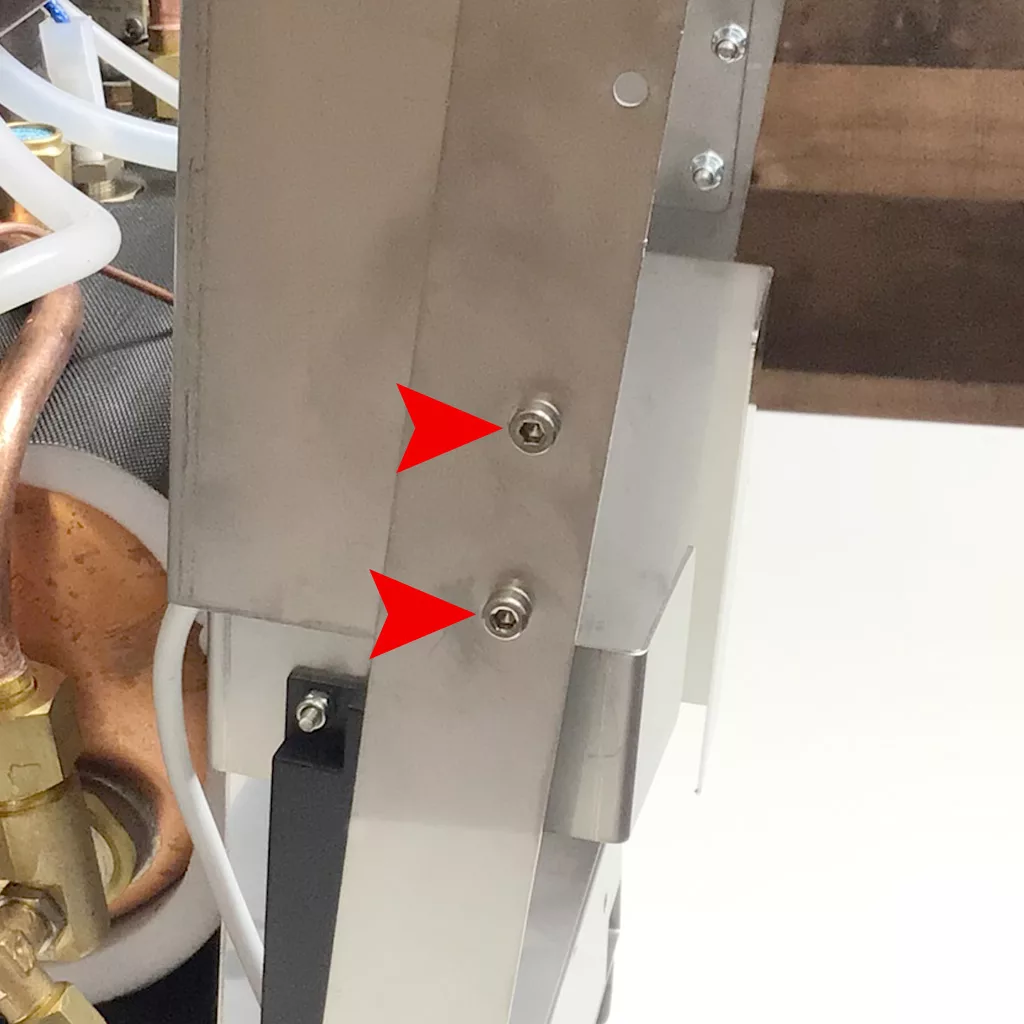
There are also 2 Allen key screws on each side of the inside frame.
This will give you back access to the boiler. To remove the inside bottom plate there are 2 more screws to remove.
This is the screw on the right side.
The screw on the left side is connected to a wire.
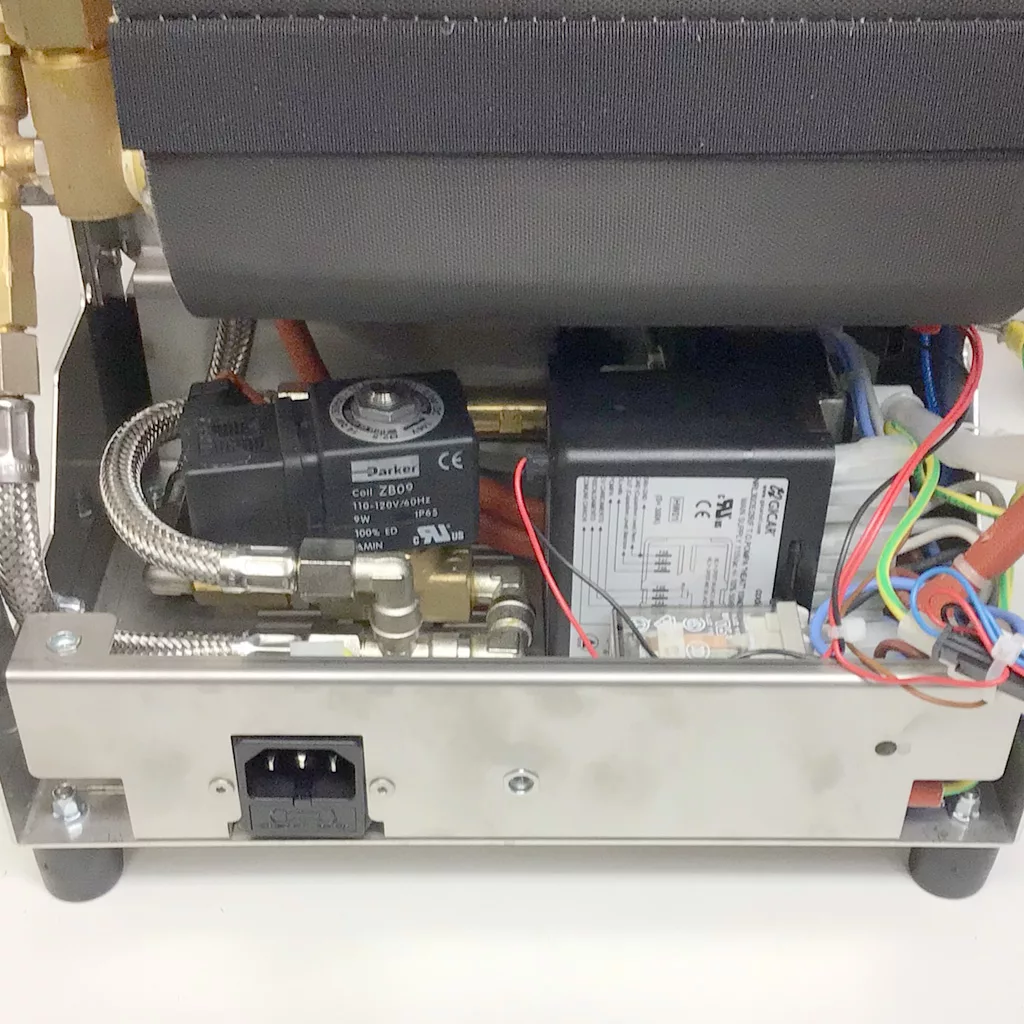
Once the inside bottom plate is removed, you will have access to the pump, brain unit, solenoid valve, & relay.
Please note the above information is subject to copyright. It cannot be published by any means without the expressed written consent of 1st-line Equipment, LLC.